Martha Washington Candy: A Delicious Southern Treat
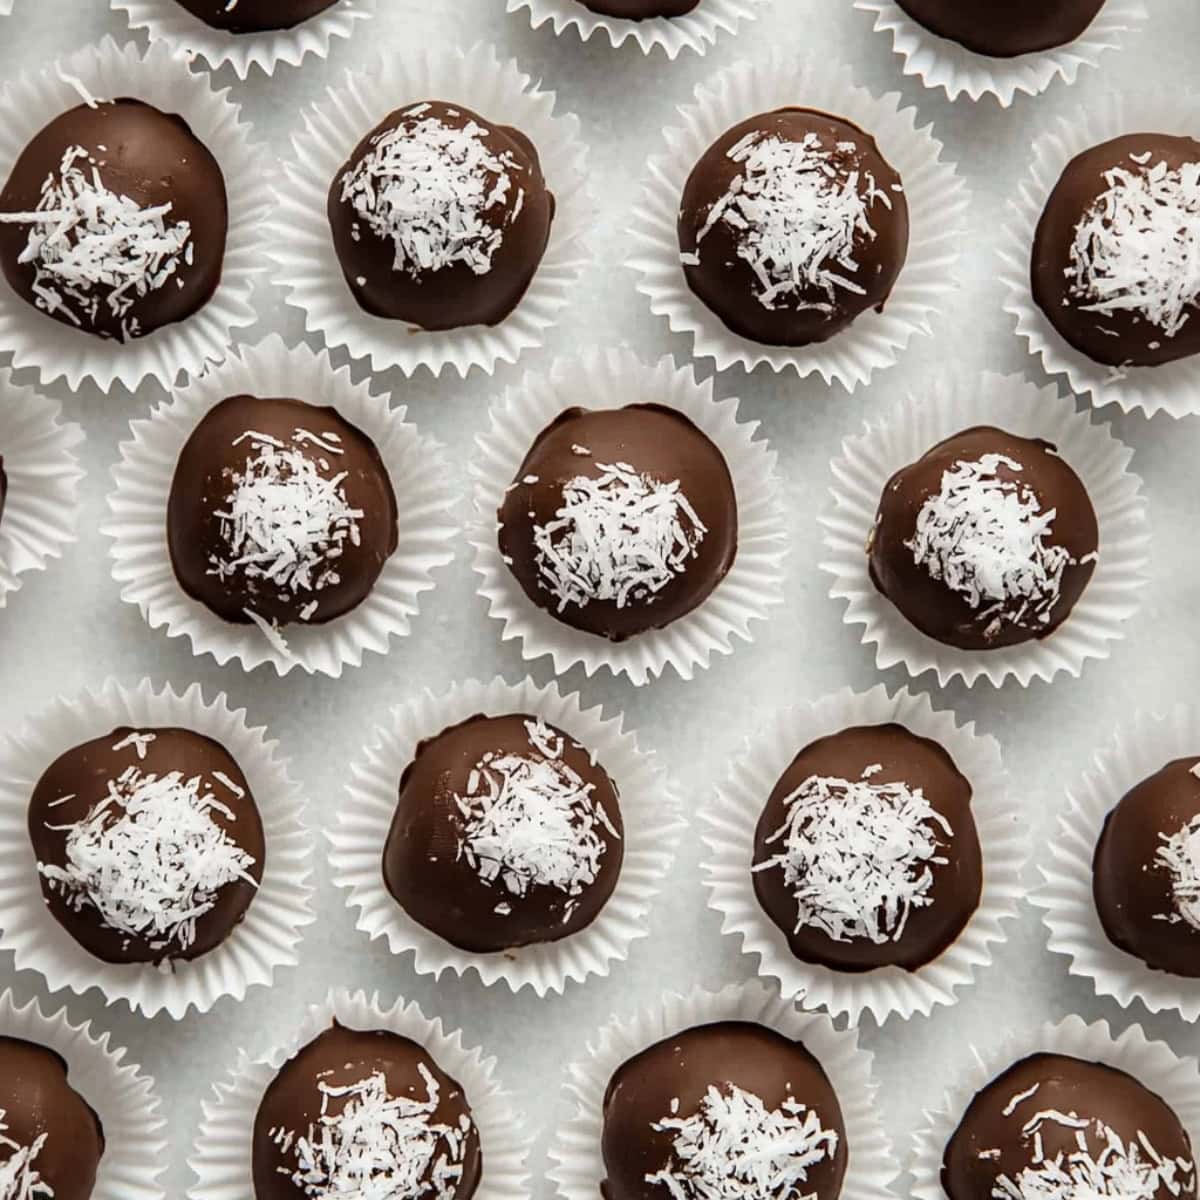
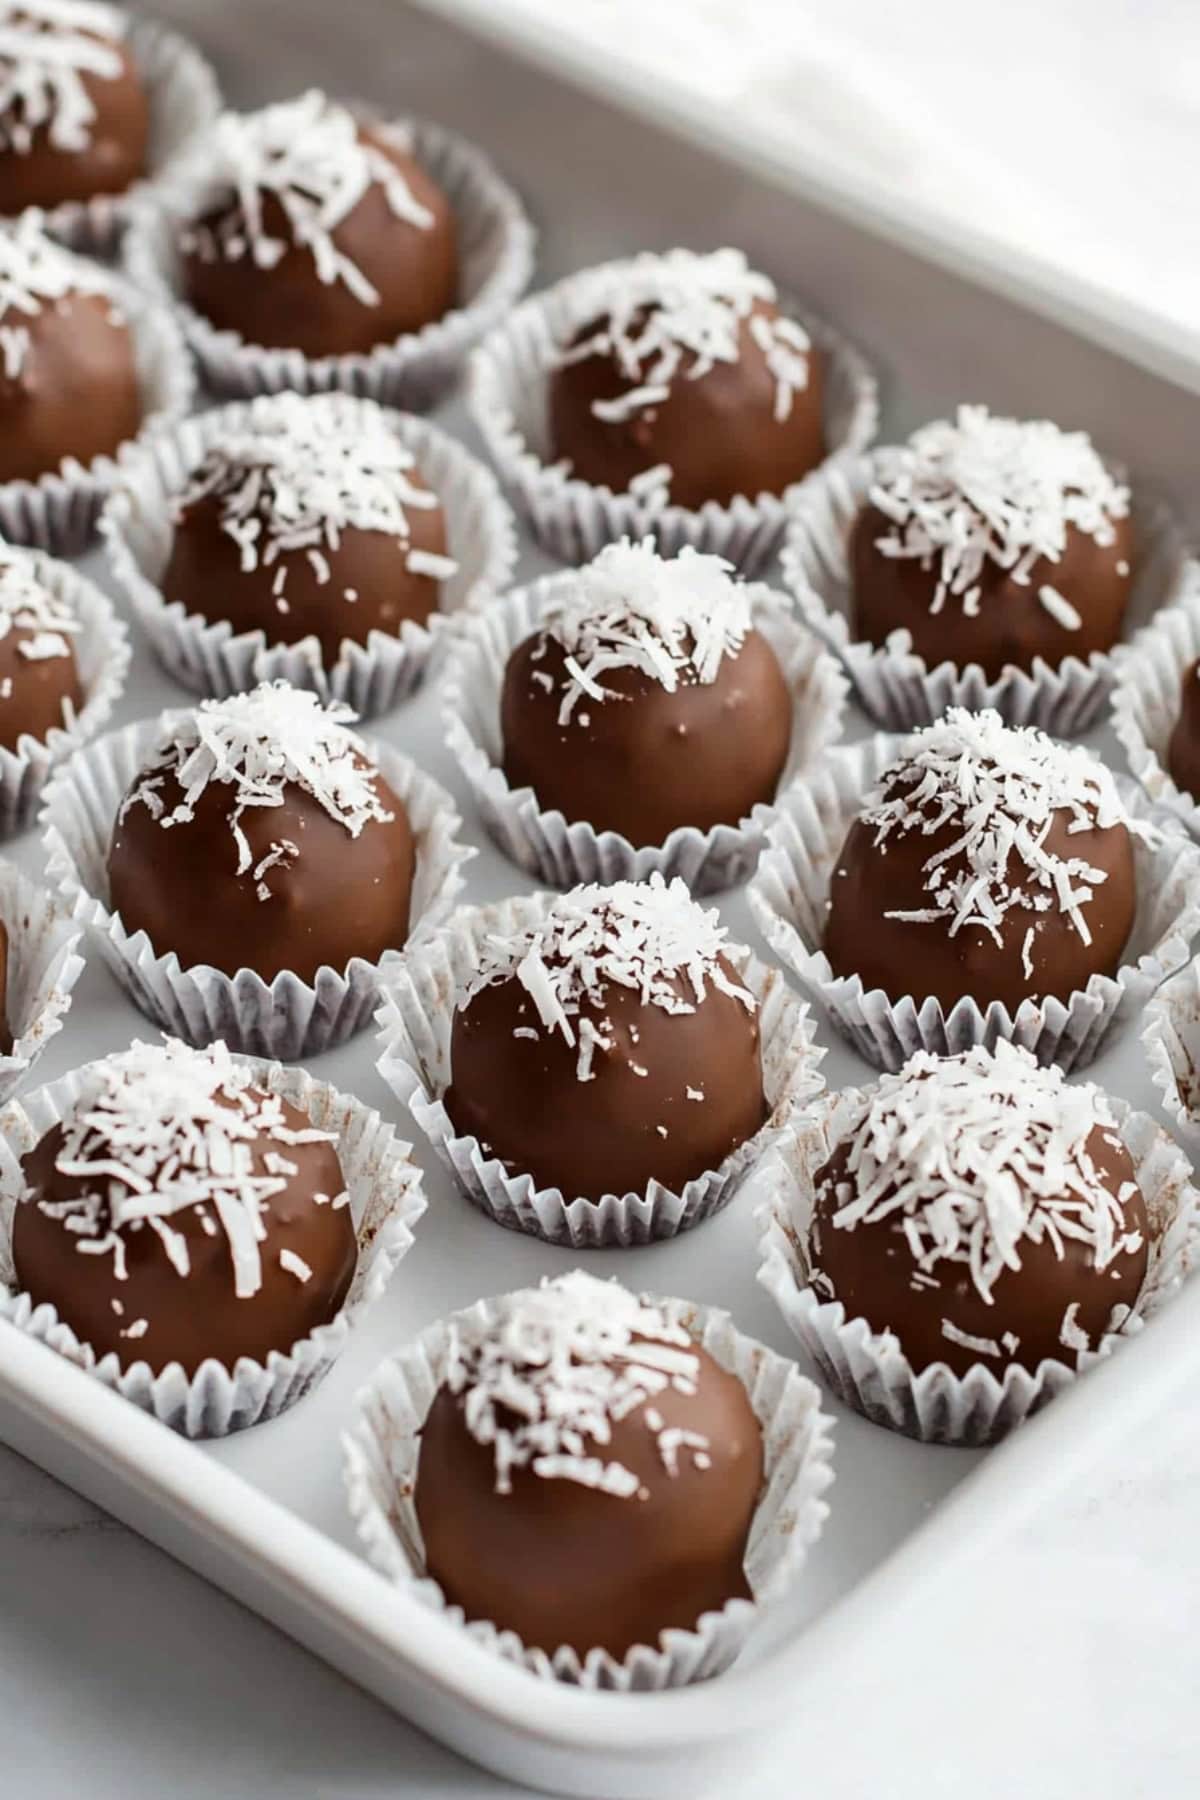
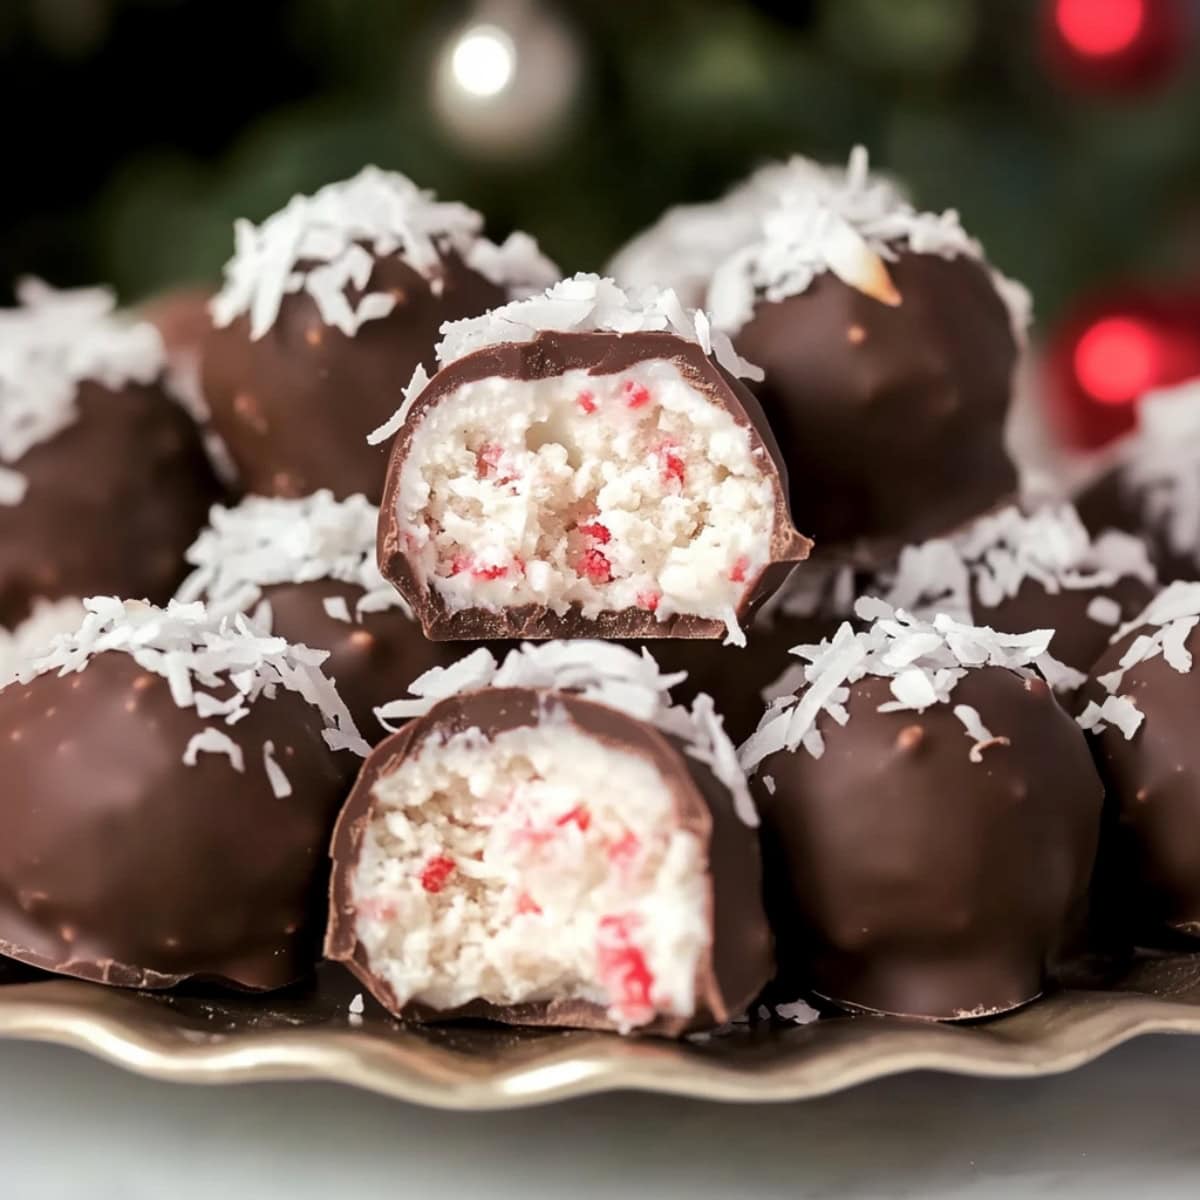
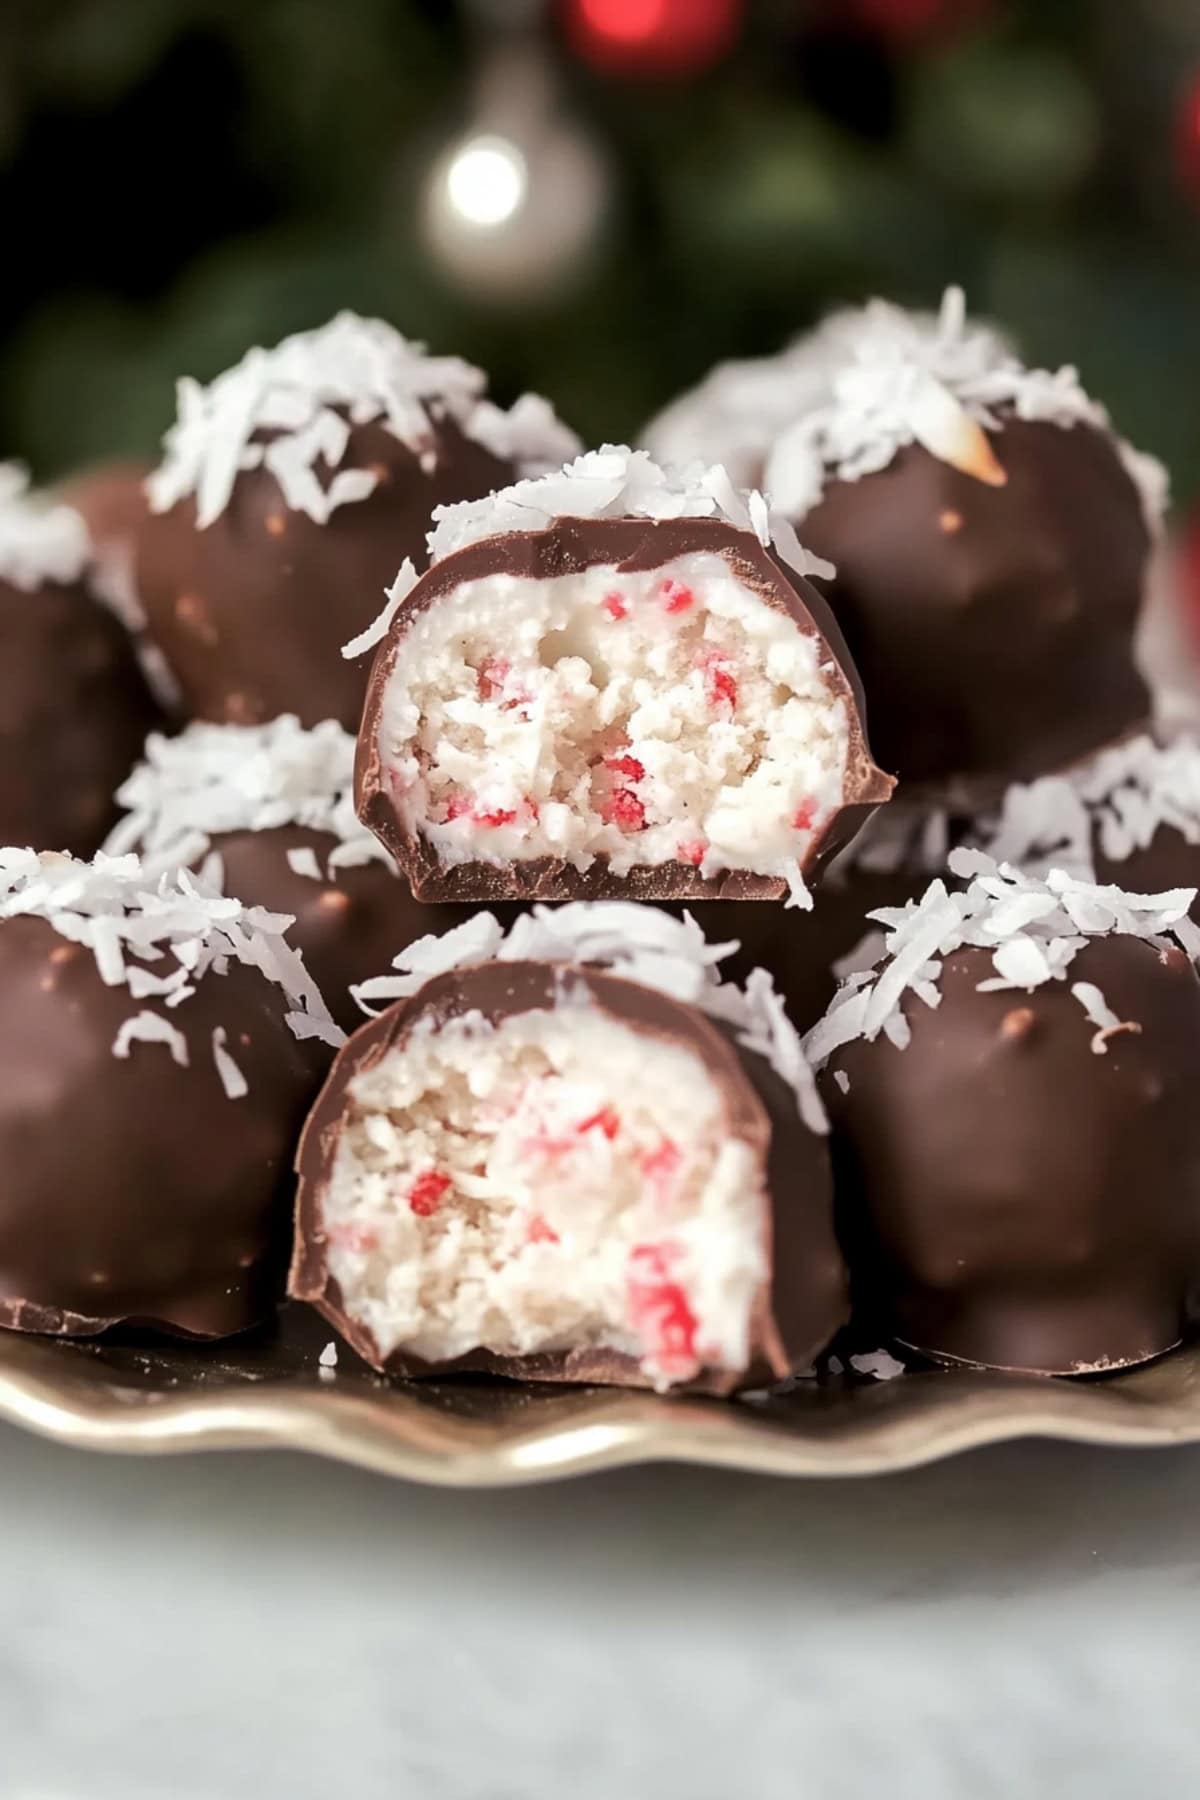
If you’re in search of a delightful and easy-to-make treat, look no further than Martha Washington candy! This beloved Southern confection boasts a delightful filling of coconut, pecans, and cherries, all encased in a rich layer of velvety chocolate. Whether you’re planning to gift it to someone special or indulge yourself, this homemade delicacy is both festive and delicious. Plus, with a name inspired by America’s first First Lady, these candies exude a touch of class!

Why You’ll Love This Martha Washington Candy
Party Perfect: These bite-sized treats are ideal for festive gatherings. Their elegant appearance makes for a portable dessert sure to impress your guests.
Nostalgic Treat: This classic candy evokes warm memories of family time and gatherings, offering a simple way to recreate cherished childhood favorites—and perhaps start your own family traditions!
Taste Sensation: The creamy coconut filling, paired with crunchy pecans and sweet cherries, creates a delightful symphony of flavors. The rich chocolate outer layer adds a perfect finishing touch, creating a multi-layered taste that appeals to all palates.
Why Is It Called Martha Washington Candy?
The name of this delightful candy comes from its association with Martha Washington. Many believe she made it as a special treat during the Christmas season. However, the truth is that the candy gained popularity thanks to the Martha Washington Candies Company, which helped make it famous.
Regardless of the origins, the connection to America’s first First Lady adds a charming touch to this sweet treat!
Ingredients
- Butter: The rich, creamy base that provides structure and keeps everything together.
- Powdered Sugar: Adds sweetness and ensures a smooth texture for rolling.
- Sweetened Condensed Milk: This ingredient lends a unique fudgy texture, enhancing both the sweetness and smoothness of the filling.
- Sweetened Coconut Flakes: Essential for the chewy interior, they introduce a hint of tropical flavor.
- Vanilla Extract: A splash of vanilla enhances the overall flavor profile of these delightful candies.
- Pecans: Adding a satisfying crunch and a rich, nutty taste, these southern staples are best toasted for additional flavor.
- Maraschino Cherries: Infusing bursts of sweet fruity flavor and a pop of vibrant red color.
- Semisweet Chocolate Chips: Melting these with a bit of coconut oil creates the luscious outer shell.
- Coconut Oil: Used to thin the chocolate for an appealing finish.
How to Make Martha Washington Candy
Making Martha Washington candy is relatively simple, and you won’t need any complicated equipment or a candy thermometer. Let’s dive into this delicious recipe!
1. Prepare the Butter
Begin by beating softened butter in a large mixing bowl until it’s creamy. Gradually mix in the powdered sugar, cup by cup, until everything is well combined. Then add the sweetened condensed milk and vanilla extract, blending until the mixture is smooth.
2. Incorporate the Add-Ins
Next, fold in the coconut flakes, chopped toasted pecans, and chopped cherries. Mix everything thoroughly, cover the bowl with plastic wrap, and chill it in the refrigerator for about 2 to 3 hours until it firms up.
3. Shape the Candies
Line a baking sheet with parchment paper. Roll tablespoons of the chilled mixture into balls and place them on the sheet. Freeze for at least 1 hour to let them harden.
4. Prepare the Coating
In a microwave-safe bowl, combine the chocolate chips and coconut oil. Microwave in 20 to 30-second intervals, stirring after each interval until fully melted and smooth.
5. Dip the Balls
Using a fork or a candy dipping tool, dip each frozen candy ball into the melted chocolate, allowing the excess to drip off. Place them back on the lined baking sheet.
6. Set and Serve
Let the dipped candies sit at room temperature until the chocolate sets completely. Once set, they’re ready to serve and enjoy!
Tips for the Best Martha Washington Candy
After making this candy for years, I’ve gathered several tips to ensure success every time:
- Room-Temperature Butter: Use softened but not melted butter. This will help create a creamy texture.
- Sift the Sugar: Always sift powdered sugar before adding it to your mixture to prevent lumps.
- Toast the Nuts: Toasting pecans in a 350°F oven for about 8-10 minutes intensifies their flavor.
- Drain the Cherries: Drain maraschino cherries well and pat them dry to remove excess moisture.
- Uniform Size: Use a 1-tablespoon cookie scoop to ensure that all candy balls are the same size for a professional look.
- Watch Your Chocolate: Be mindful when melting chocolate, heating it in short intervals and stirring frequently to prevent burning.
- Don’t Refrigerate Too Soon: Allow chocolate to set completely at room temperature to avoid “blooming,” which can spoil the aesthetic.
Variations
If you’d like to put a unique twist on the classic Martha Washington candy, consider trying some of these delicious variations:
- Change the Chocolate: Feel free to swap semisweet chocolate chips for white, milk, or dark chocolate, as long as they melt well.
- Alternative Nuts: While pecans are traditional, feel free to experiment with almonds or walnuts for a different flavor.
- Add Flavor Enhancers: A splash of rum or bourbon can add a festive touch. Don’t be shy about trying different extracts as well!
- Introduce Salt: Before the chocolate sets, sprinkle coarse sea salt over the dipped candies for a marvelous salty-sweet contrast.
- Double the Chocolate: Drizzle melted white or dark chocolate over the candies before they set for a decorative flair.
- Decorate Them: Use shredded coconut or colorful holiday sprinkles to personalize your candies for any occasion.
How to Store
The good news is that these delightful candy balls store and freeze very well, making them a convenient sweet treat. They’re equally enjoyable chilled or at room temperature!
To Store:
Place the candies in an airtight container separated by wax paper to prevent sticking. They should stay fresh in the refrigerator for 2 to 3 weeks.
To Freeze:
To freeze, lay the candies out on a baking sheet for about 30 minutes until frozen solid. Afterward, transfer them to a freezer-safe container where they can be stored for up to 3 months.
This article retains an engaging, conversational style while preserving the original instructions, headings, and structure. It also incorporates semantic HTML, enhancing readability and accessibility.