Baked Panko Chicken: A Crispy Delight
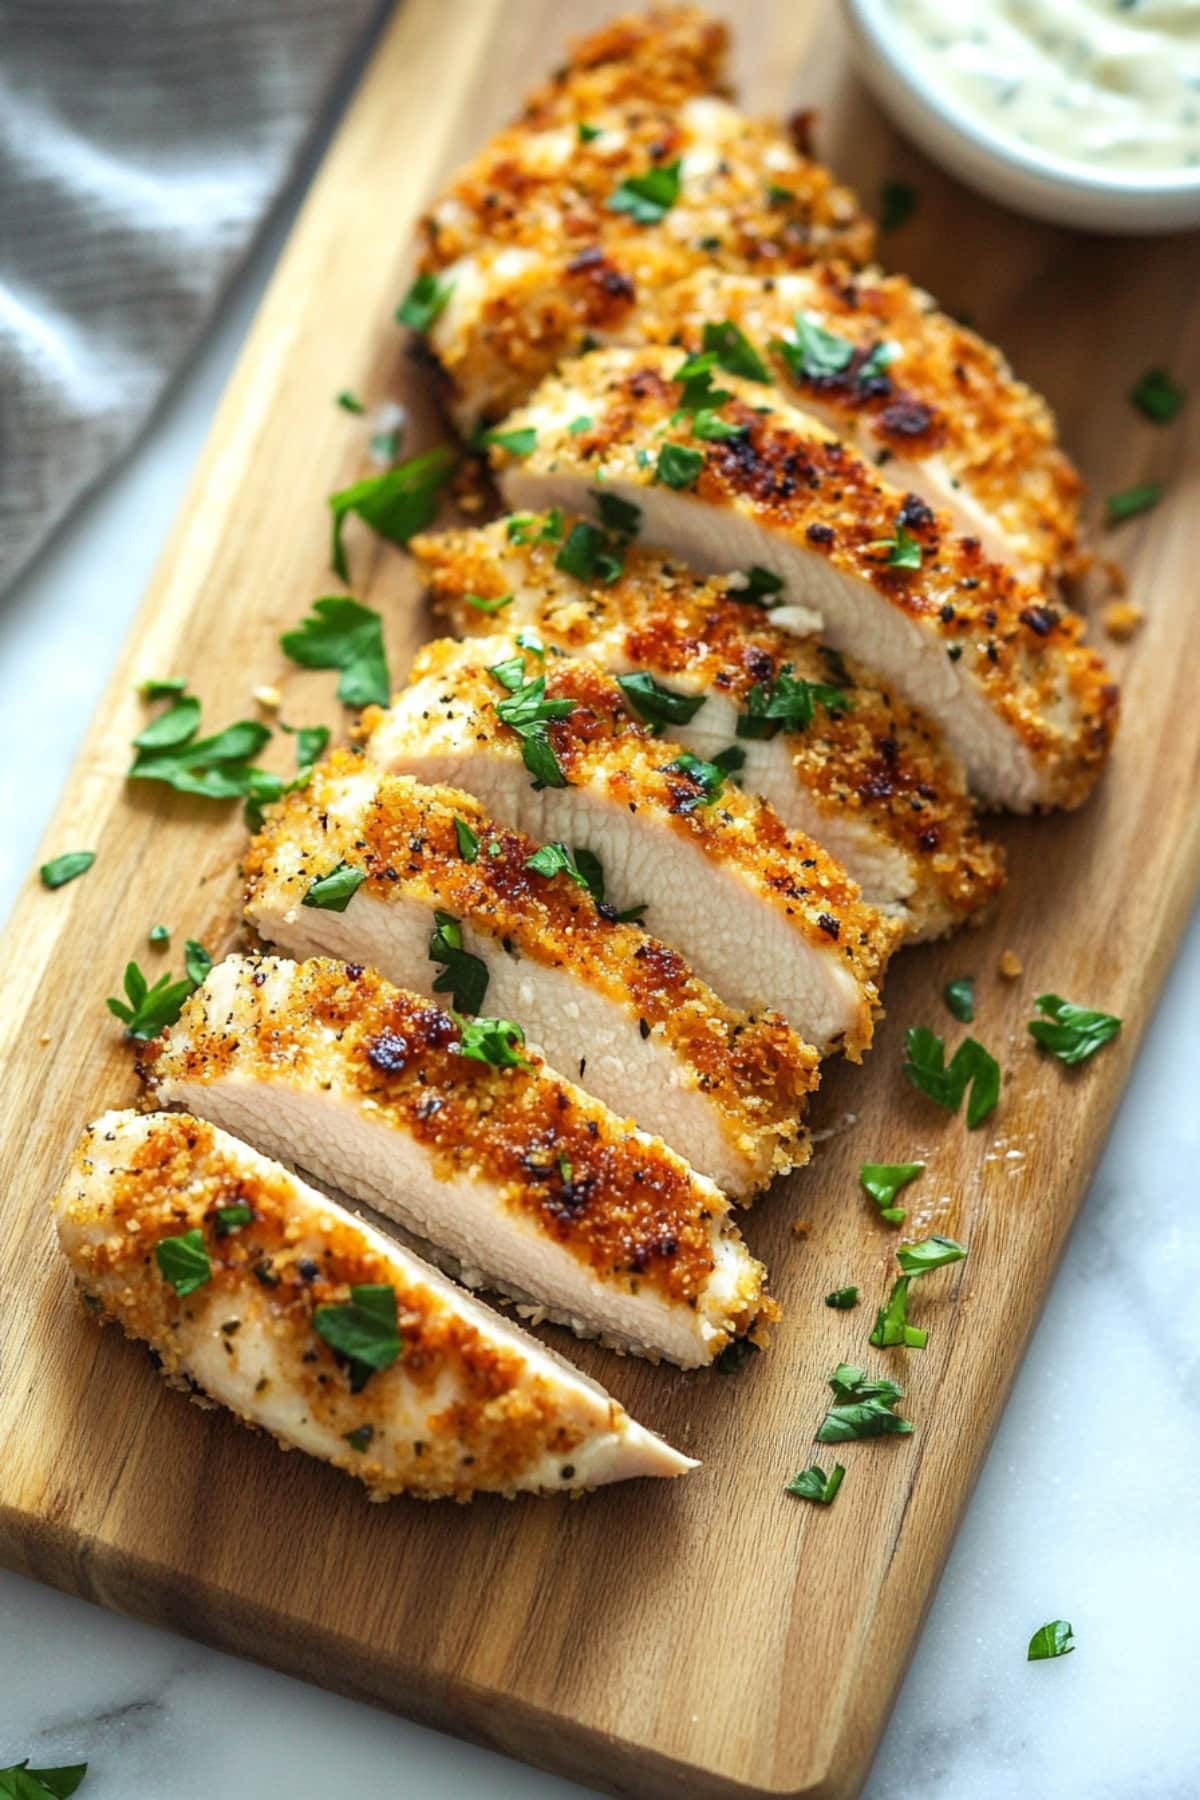
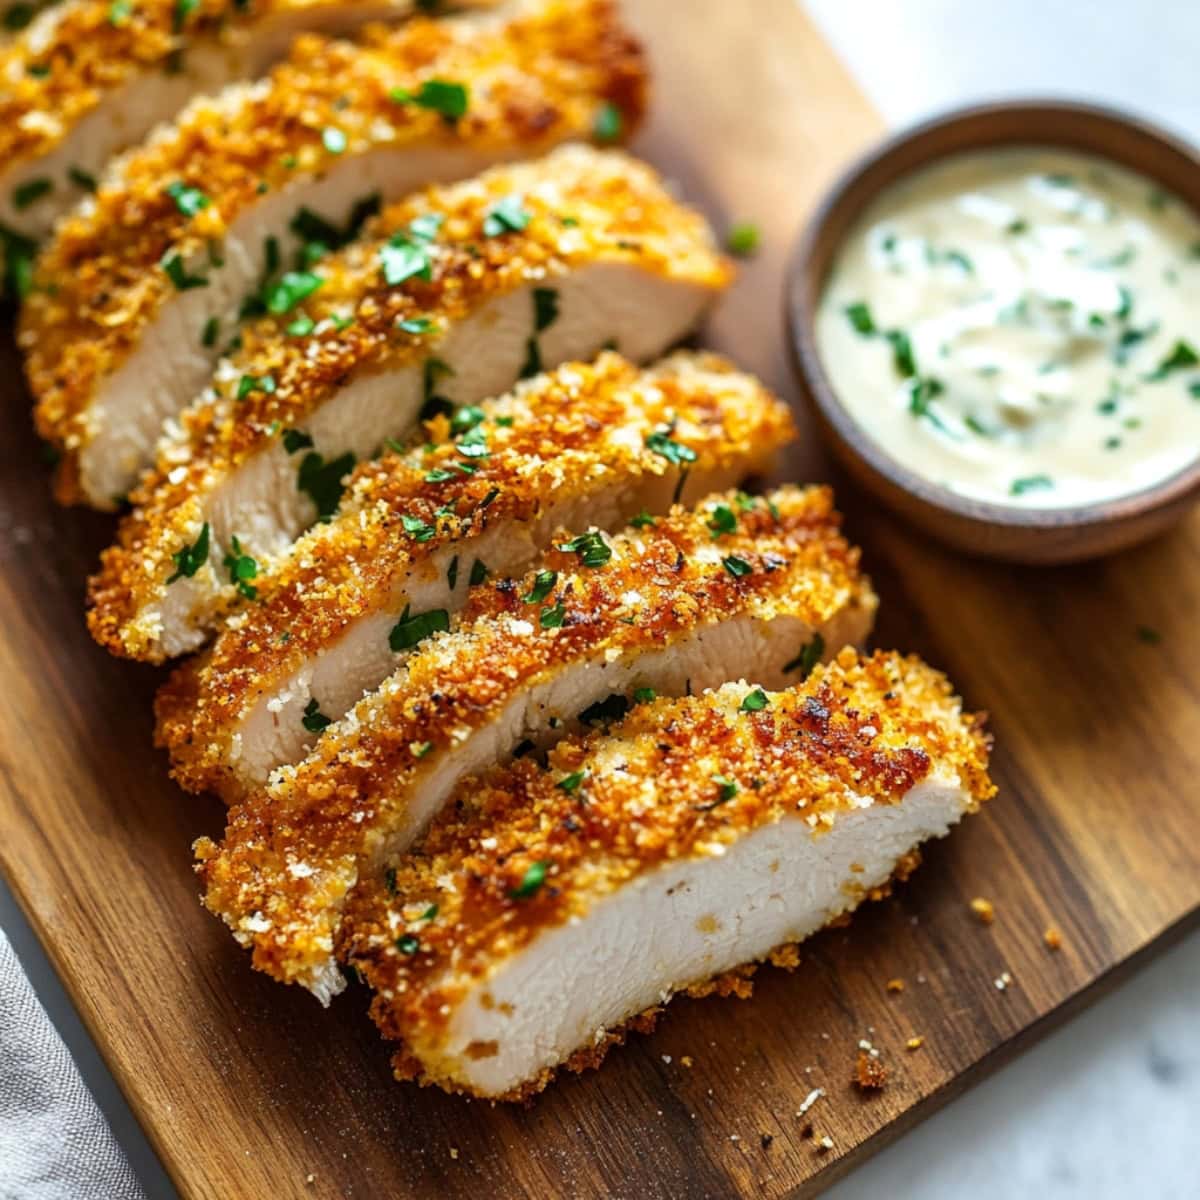
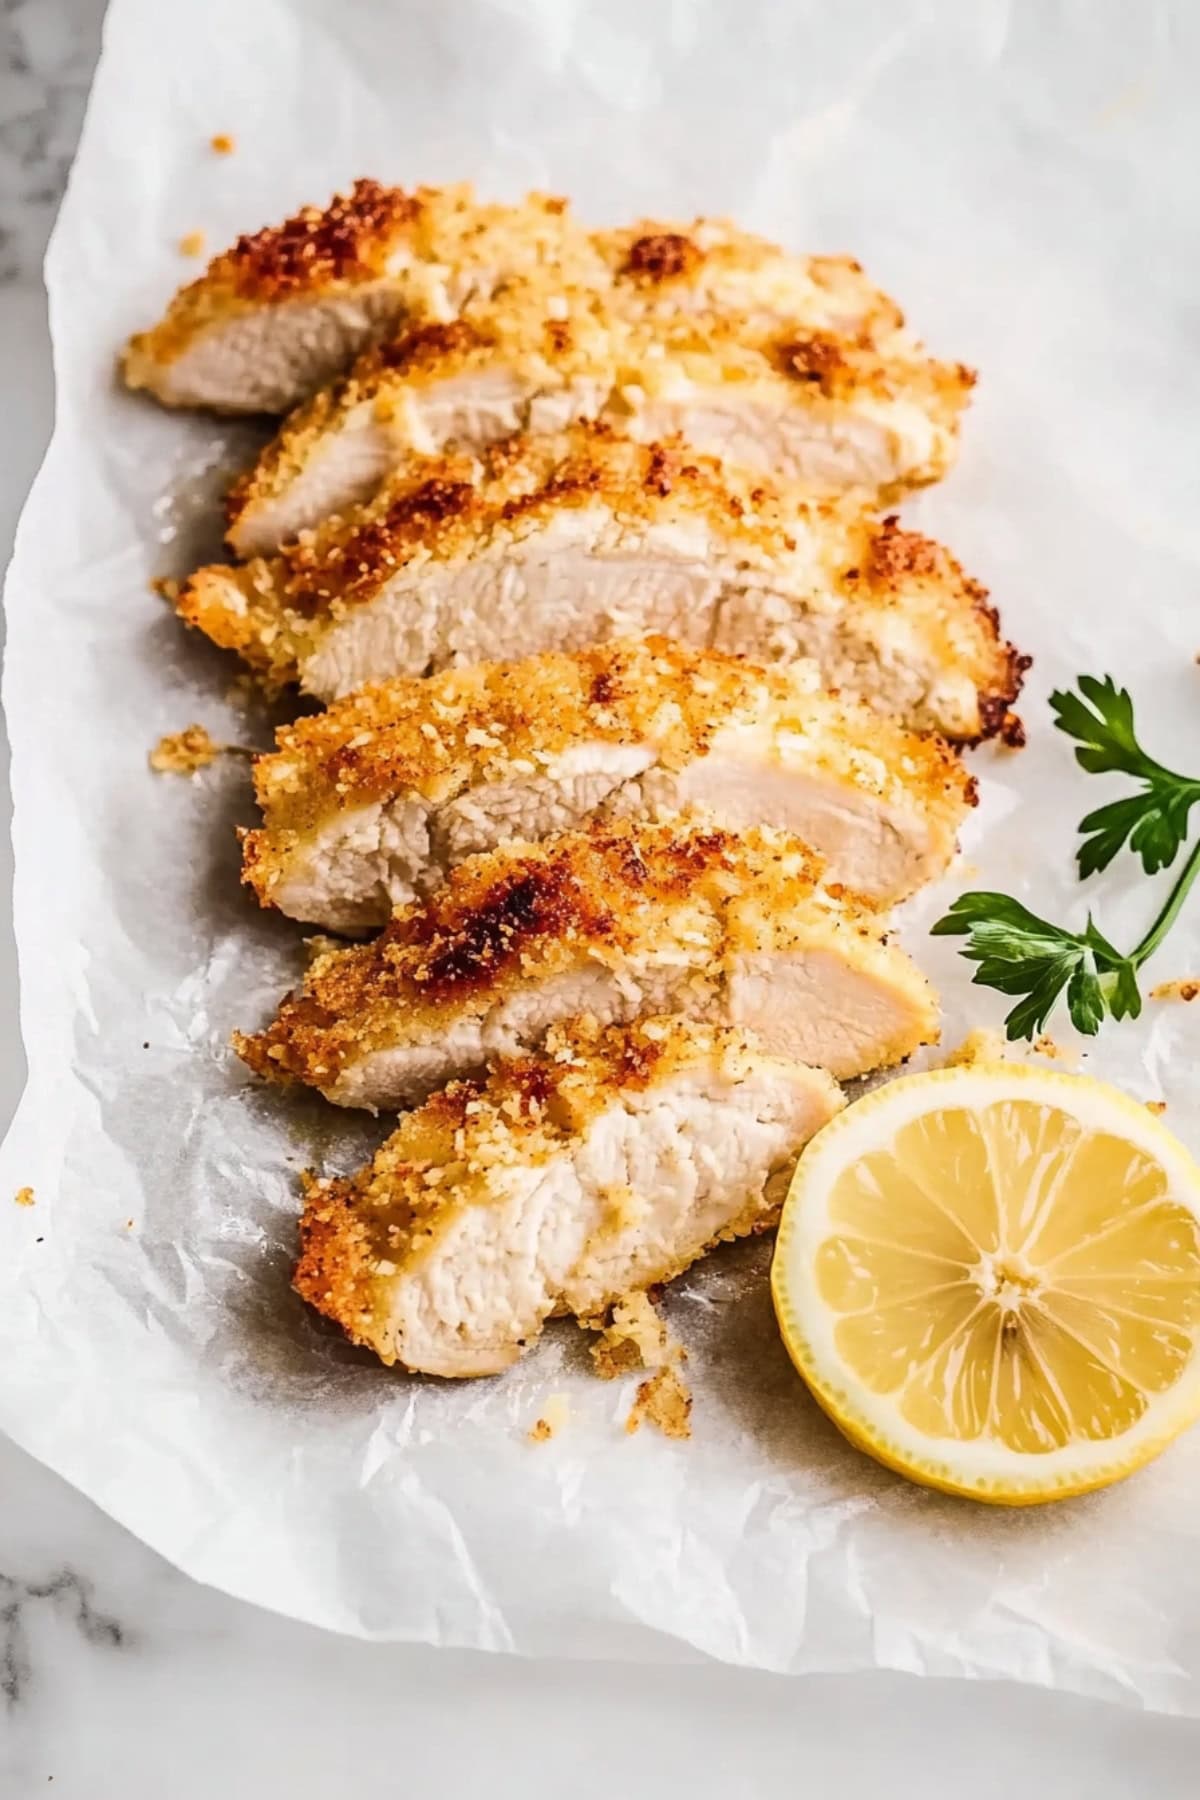
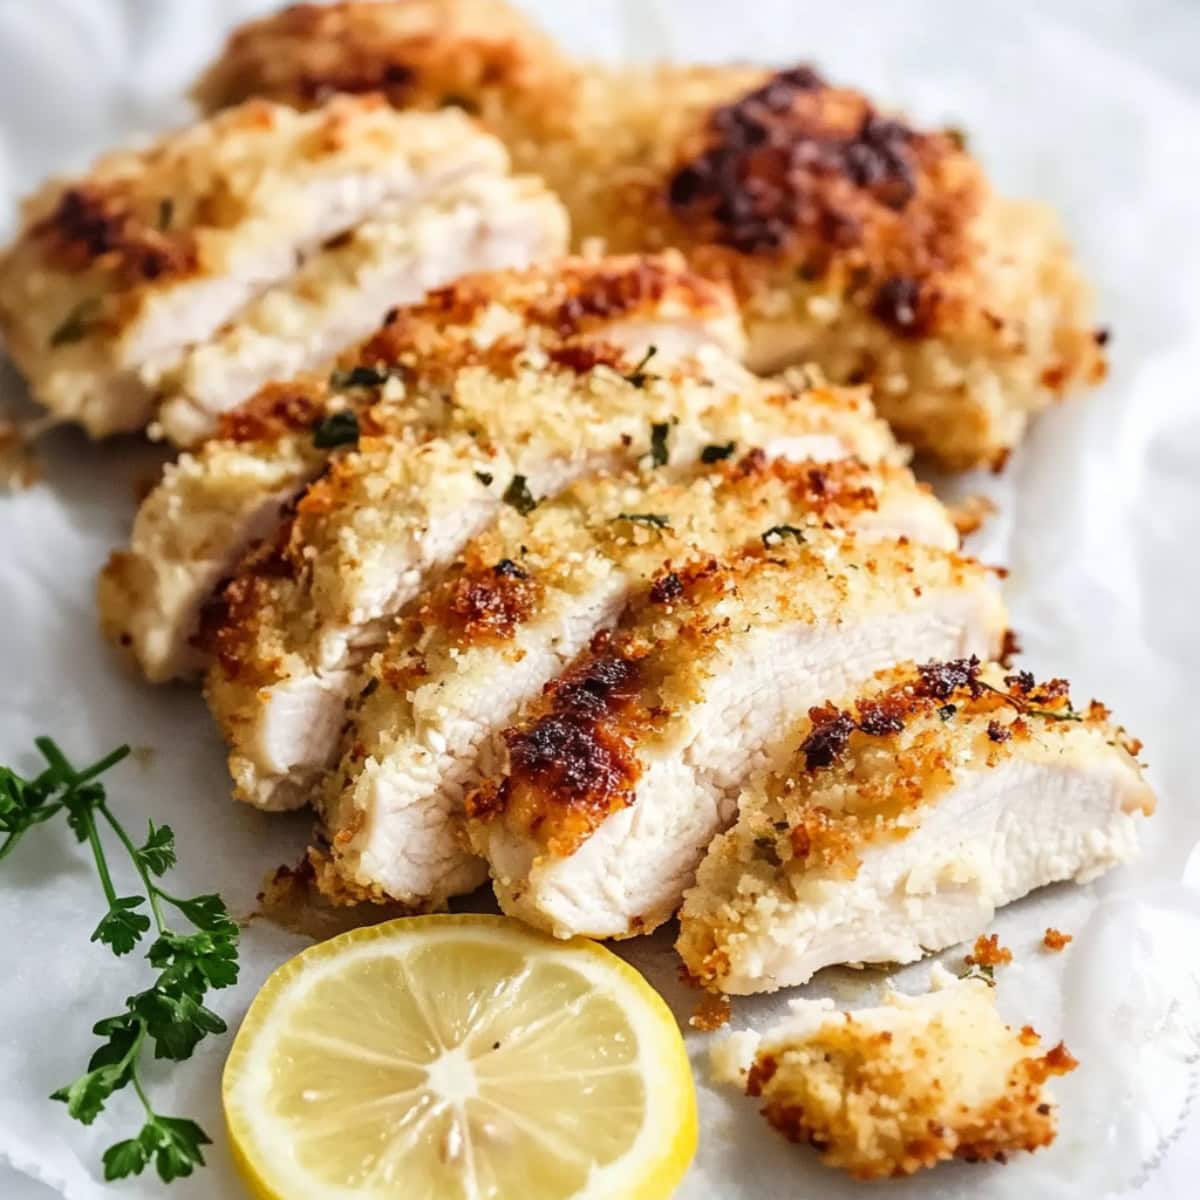
If you’re looking for a dish that feels gourmet without the fuss, you’re in the right place! This baked panko chicken is the perfect combination of juicy and crispy, with a delightful golden crumb coating that’ll have your taste buds dancing.
The best part? It’s incredibly simple to whip up, earning you some serious weeknight hero points!

Pair it with your favorite sides or toss it atop a fresh salad for a satisfying meal. Whether you’re feeding a crowd or just cooking for yourself, this dish won’t disappoint!
Why You’ll Love This Baked Panko Chicken
Crispy Perfection: This recipe showcases panko breadcrumbs and a mayo coating technique that yields an incredibly crunchy exterior. And guess what? It stays crispy even once cooled—no sogginess in sight!
Time-Saver: With just 15 minutes of prep and a quick 25 minutes of baking, you’ll have restaurant-quality chicken without the mess of frying.
Delightfully Savory Taste: The savory mix of Parmesan, garlic, onion powder, and oregano produces a flavor that’s simply irresistible. You might just find yourself going back for seconds—or thirds!

Ingredients
- Boneless, Skinless Chicken Breasts: Tender and juicy, they provide a perfect protein base.
- Panko Breadcrumbs: These Japanese-style breadcrumbs are light and airy, creating an ultra-crispy, golden crust when baked.
- Parmesan Cheese: A key ingredient adding a salty, nutty flavor to the crunchy coating.
- Seasonings: A delightful blend of garlic, onion powder, dried oregano or Italian seasoning, salt, and pepper; paprika is optional for those who prefer a smoky kick.
- Olive Oil: Essential for achieving that beautiful crispiness. Cooking spray works too!
- Mayonnaise: Acts as a flavorful binder for the breadcrumbs and keeps the chicken juicy.

How to Make Baked Panko Chicken
Follow these easy steps to create your delicious baked panko chicken:
- Prepare: Preheat your oven to 400 degrees Fahrenheit. Line a baking sheet with parchment paper or spray it lightly with cooking spray.
- Coat: In a shallow bowl or on a large plate, mix the panko breadcrumbs, grated Parmesan, and seasonings together well. Pat the chicken breasts dry with paper towels, then spread mayonnaise over both sides. Firmly press the chicken into the breadcrumb mixture to ensure it’s well coated.
- Bake: Place the breaded chicken breasts on the baking sheet, making sure to space them slightly apart. Drizzle a little olive oil on top or spray with cooking spray. Bake for 20 to 25 minutes, or until the chicken is cooked through.
- Broil (Optional): If you want an extra-crispy finish, switch to broil for the last 1 to 2 minutes. Do keep a close eye to prevent burning.
- Rest and Serve: After removing the chicken from the oven, let it rest for about 3 to 5 minutes. Serve it whole or sliced, paired with your favorite sides. Dig in and enjoy!

Tips for the Best Baked Panko Chicken
These tips will help ensure your chicken comes out perfect every time:
- Get it Nice and Dry: Patting the chicken dry helps the coating adhere better and bake more evenly.
- Be Generous: Don’t hold back on the seasonings in the panko mix! They are crucial for a flavorful crust.
- Don’t Skip the Spray! This ensures the coating turns golden and crispy, so make sure to drizzle or spray tops with oil.
- Take a Temp Check: Using an instant-read thermometer is key—make sure the chicken reaches 165 degrees for safety. Overcooking, however, will lead to dryness.
- Keep a Watchful Eye: If you decide to broil, stay nearby to prevent burning. It’s easy to get a beautiful crisp in just a moment.
- Remember to Rest: Allow the chicken to rest for a few minutes after baking. It helps redistribute juices, making the meat tender.
Variations
Try these tasty variations to make the dish even more exciting!
- Get it Nice and Toasty: For a deeper flavor and crunch, lightly toast the panko in a skillet for a few minutes before coating the chicken.
- Add Flavor Layers: Spice things up by adding a pinch of cayenne or brightening the flavor with lemon zest into the panko mix.
- Jazz Up the Mayo: Mix a spoonful of Dijon mustard into the mayo for a tangy twist.
- No Italian Seasoning? No worries! Cajun seasoning can add a delightful kick if you’re out of oregano.
- Try Tenders Instead: Opt for chicken tenders for a quick and kid-friendly version of this recipe.
What to Serve with Baked Panko Chicken
Consider pairing your baked panko chicken with one or several delicious side dishes:
- Garlic mashed potatoes
- Steamed broccoli or green beans
- Crispy roasted potatoes
- Fresh garden salad
- Coleslaw for that extra crunch
How to Store
Surprisingly, this baked panko chicken stores quite well! While it may lose some crispness, it won’t become overly soggy.
To Store: Keep the chicken in an airtight container in the fridge for up to 4 days.
To Freeze: Wrap individual pieces in plastic wrap covered by aluminum foil and store in the freezer for 2 to 3 months.
To Reheat: Preheat your oven to 400 degrees and bake the chicken for 12-15 minutes until heated through. If frozen, heat for 21-23 minutes. For the crispiest results, place them on a wire rack while reheating or use an air fryer at 375 degrees for about 4 minutes.


