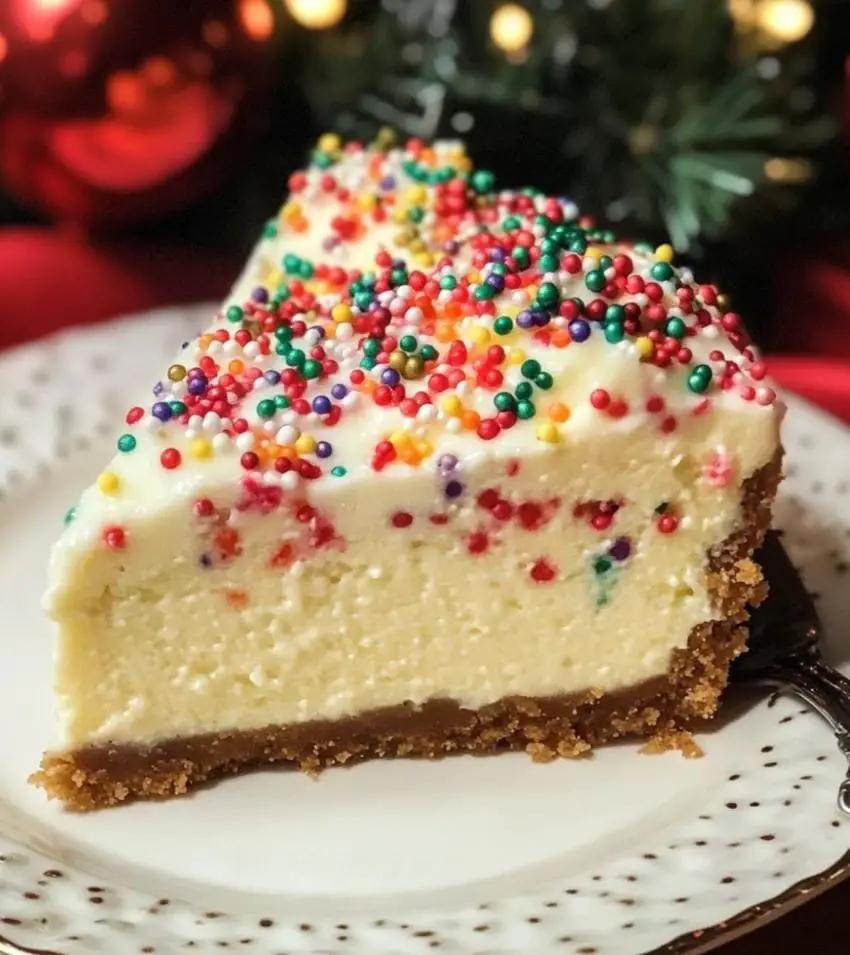
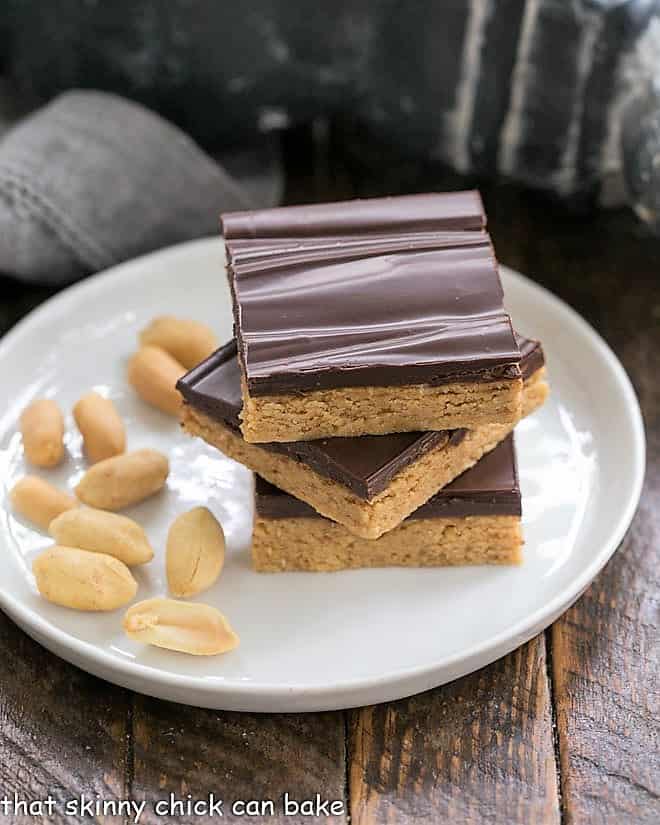
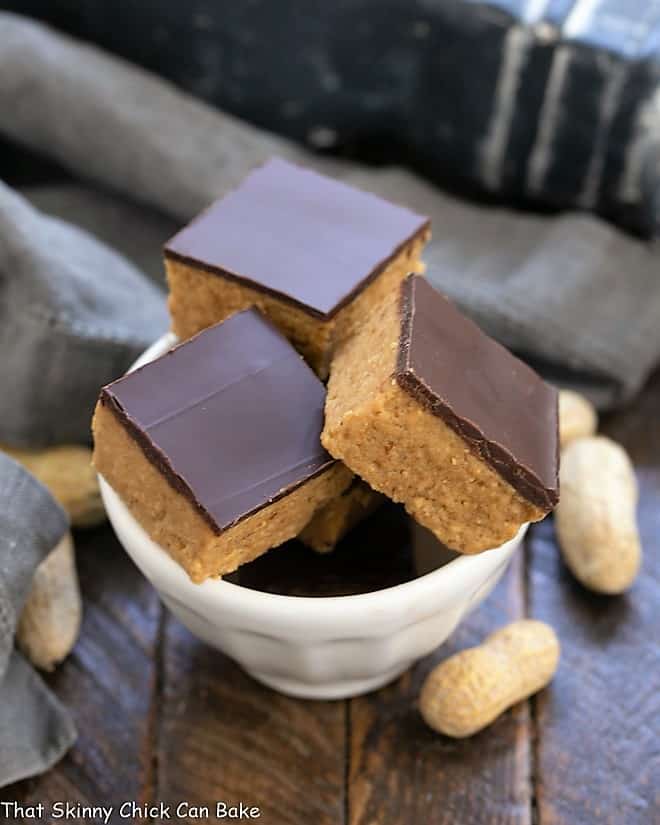
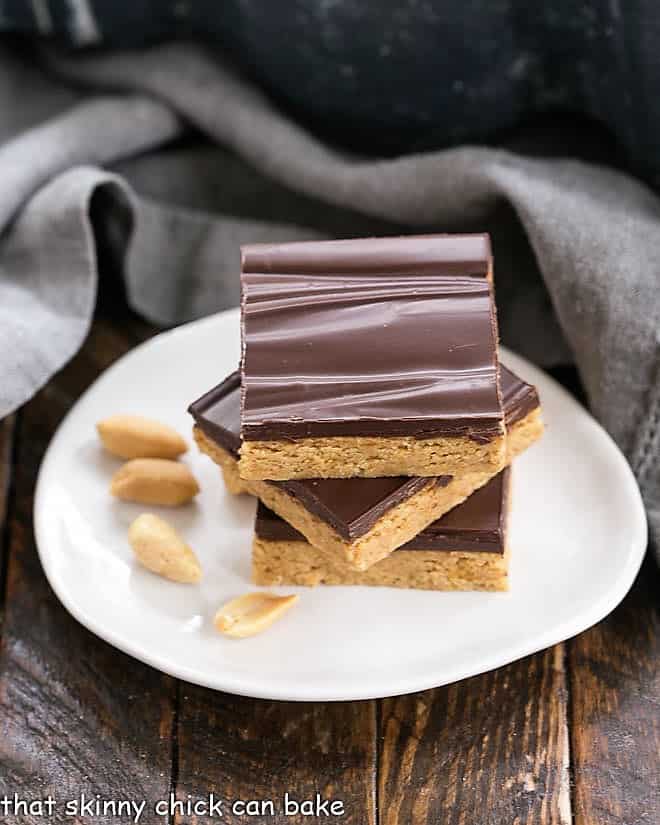
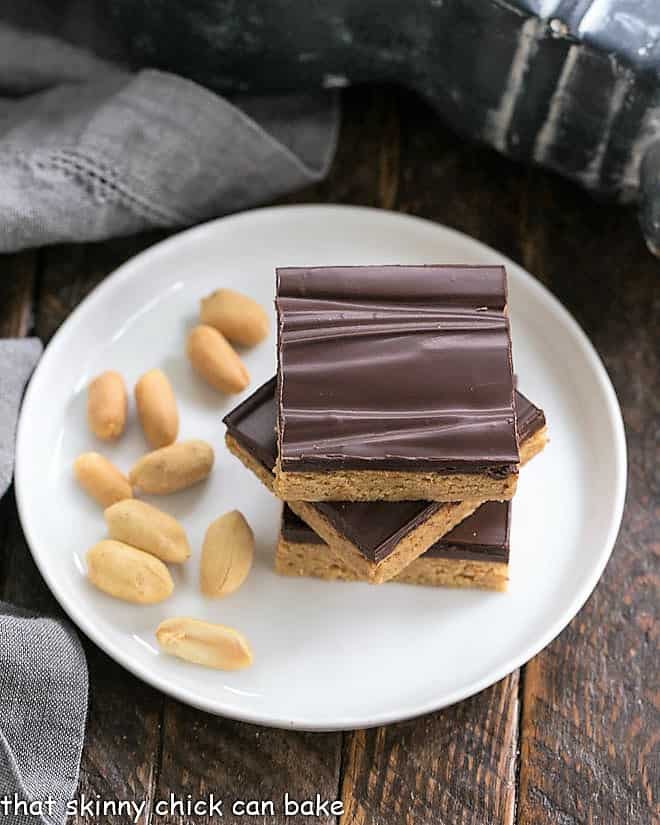
Homemade Reese’s Bars: The Ultimate No-Bake Treat
If you have a soft spot for Reese’s Peanut Butter Cups, get ready to be won over by these Homemade Reese’s Bars! This delightful no-bake recipe is simple to whip up and perfect for those warm days when turning on the oven is the last thing on your mind. Whether it’s a sweet craving or just for a special treat, these bars are guaranteed to satisfy, and dare we say, they might even outshine your beloved Chocolate Peanut Butter Cups!
For all the peanut butter cup aficionados out there, these No-Bake Peanut Butter Bars are calling your name. With just a handful of ingredients at your disposal, you’ll find it hard to resist diving right in — and trust us, you may not want to share!
Why You Must Make These Bars
- If you adore peanut butter cups, these bars are about to become your new favorite snack!
- This recipe is no-bake, making it a breeze to prepare.
- Worried about indulging too much? Good news: these bars freeze beautifully! They’re delicious straight out of the freezer, but keeping them out of sight might help with portion control!
Can you resist the tempting combination of chocolate and peanut butter? As someone who can relate, I know just how hard it is to say no. Every holiday season, peanut butter cups are a must-have in my children’s stockings and Easter baskets (yes, I still indulge my grown children!). And while I might not be the biggest fan of peanut butter sandwiches, the same cannot be said for peanut butter desserts, especially when they’re as easy as this delightful No-Bake Dessert.
My friend Danielle is in the same boat; she’s just as crazy about peanut butter treats, which is why I couldn’t resist trying her Chocolate Topped Peanut Butter Bars. They were a total hit! If you’re in the mood for an extra layer of peanut butter goodness, check out my Better Than Reese’s Bars recipe, which is simply a double-layer version of this treat. You might find it hard to choose just one recipe!
How to Make Homemade Reese’s Bars
Recently, I took these mouthwatering chocolate peanut butter bars to two separate events, and I’m not surprised that they were gone before anything else! It seems that Reese’s fans have an unquenchable appetite for this rich, chocolaty, and peanut buttery delight. And the best part? They are incredibly easy to make without any baking involved.
- Start by mixing melted butter, graham cracker crumbs, powdered sugar, and peanut butter in a bowl. Once it’s well-combined, press the mixture into a greased or lined 8×8-inch pan and pop it into the refrigerator.
- Now, for the topping: melt chocolate chips and a drizzle of oil together in the microwave until silky smooth. Simply spread this luscious chocolate over the peanut butter layer.
- PRO-Tip: For clean cuts, use a hot dry knife to slice through the bars. The heat will help the knife glide smoothly through the chocolate topping. For more slicing tips, check out guides on cutting bars perfectly.
Recipe Tips for Perfect Homemade Reese’s Bars
- Opt for smooth peanut butter to ensure easy slicing; chunky peanut butter can make it difficult to cut through the bars.
- Choose either semisweet or milk chocolate for the topping. Milk chocolate will provide that classic Reese’s taste, while semisweet offers a lovely contrast to the sweet peanut butter layer.
- An offset spatula will help perfectly spread the chocolate layer on top of your bars.
- The addition of oil to the chocolate might sound odd, but trust me, it gives your topping a beautiful glossy finish and slightly makes the chocolate more pliable.
- If the chocolate layer becomes challenging to slice through, allow the bars to sit at room temperature before cutting. The hot knife technique will work wonders here!
- Don’t worry if your peanut butter layer crumbles; as long as they taste delicious—perfectly imperfect is still amazing!
- PRO-Tip: Hold your knife over the flame of a gas burner to warm it up, ensuring smooth cuts. Just be careful to avoid burns!
- If you prefer, you can run the knife under hot water and dry it first before slicing.
- PRO-Tip: These bars freeze like a charm! Just layer them with wax or parchment paper in an airtight container for future snacking.
- These treats keep in the freezer for 3+ months and can last in the fridge for 3-4 days, although I’m sure they will remain tasty for a week.
Frequently Asked Questions
When Did the Chocolate Peanut Butter Combination Become Popular?
The delightful mix of chocolate and peanut butter owes its popularity to Harry Reese, a dairy farmer who worked for Milton Hershey back in the 1920s. In 1928, Reese first crafted the idea of combining peanut butter with chocolate in cup form. His creations took off after Hershey acquired Reese’s company in 1963, cementing the flavor combination’s place in snack history.
Why Do Chocolate and Peanut Butter Go Well Together?
This dynamic duo shares a natural affinity, meaning their individual flavors complement one another beautifully when combined, much like classic pairings such as peanut butter and jelly or wine and cheese.
Can I Use Different Types of Chocolate?
Absolutely! While semisweet chocolate pairs wonderfully, you can use milk chocolate if you desire a sweeter flavor, akin to a classic Reese’s. Dark chocolate can also be an exciting alternative for those who prefer its richer taste.
How Should I Store Leftover Bars?
For optimal freshness, keep your bars in an airtight container in the fridge. They can stay good for up to 4 days. Alternatively, for extended storage, freeze them layered with parchment paper, and they’ll remain delicious for 3 months or more.
Can I Change the Size of the Recipe?
Yes, you can definitely adjust the recipe! If you’re looking to make a larger batch, simply double the ingredients and use a bigger pan, ideally around 9×13 inches. You might need to adjust the chilling time slightly!
This revised version maintains a warm, engaging tone throughout while offering structured content that keeps readers informed and interested, following HTML semantic standards. Enjoy making these delicious bars!