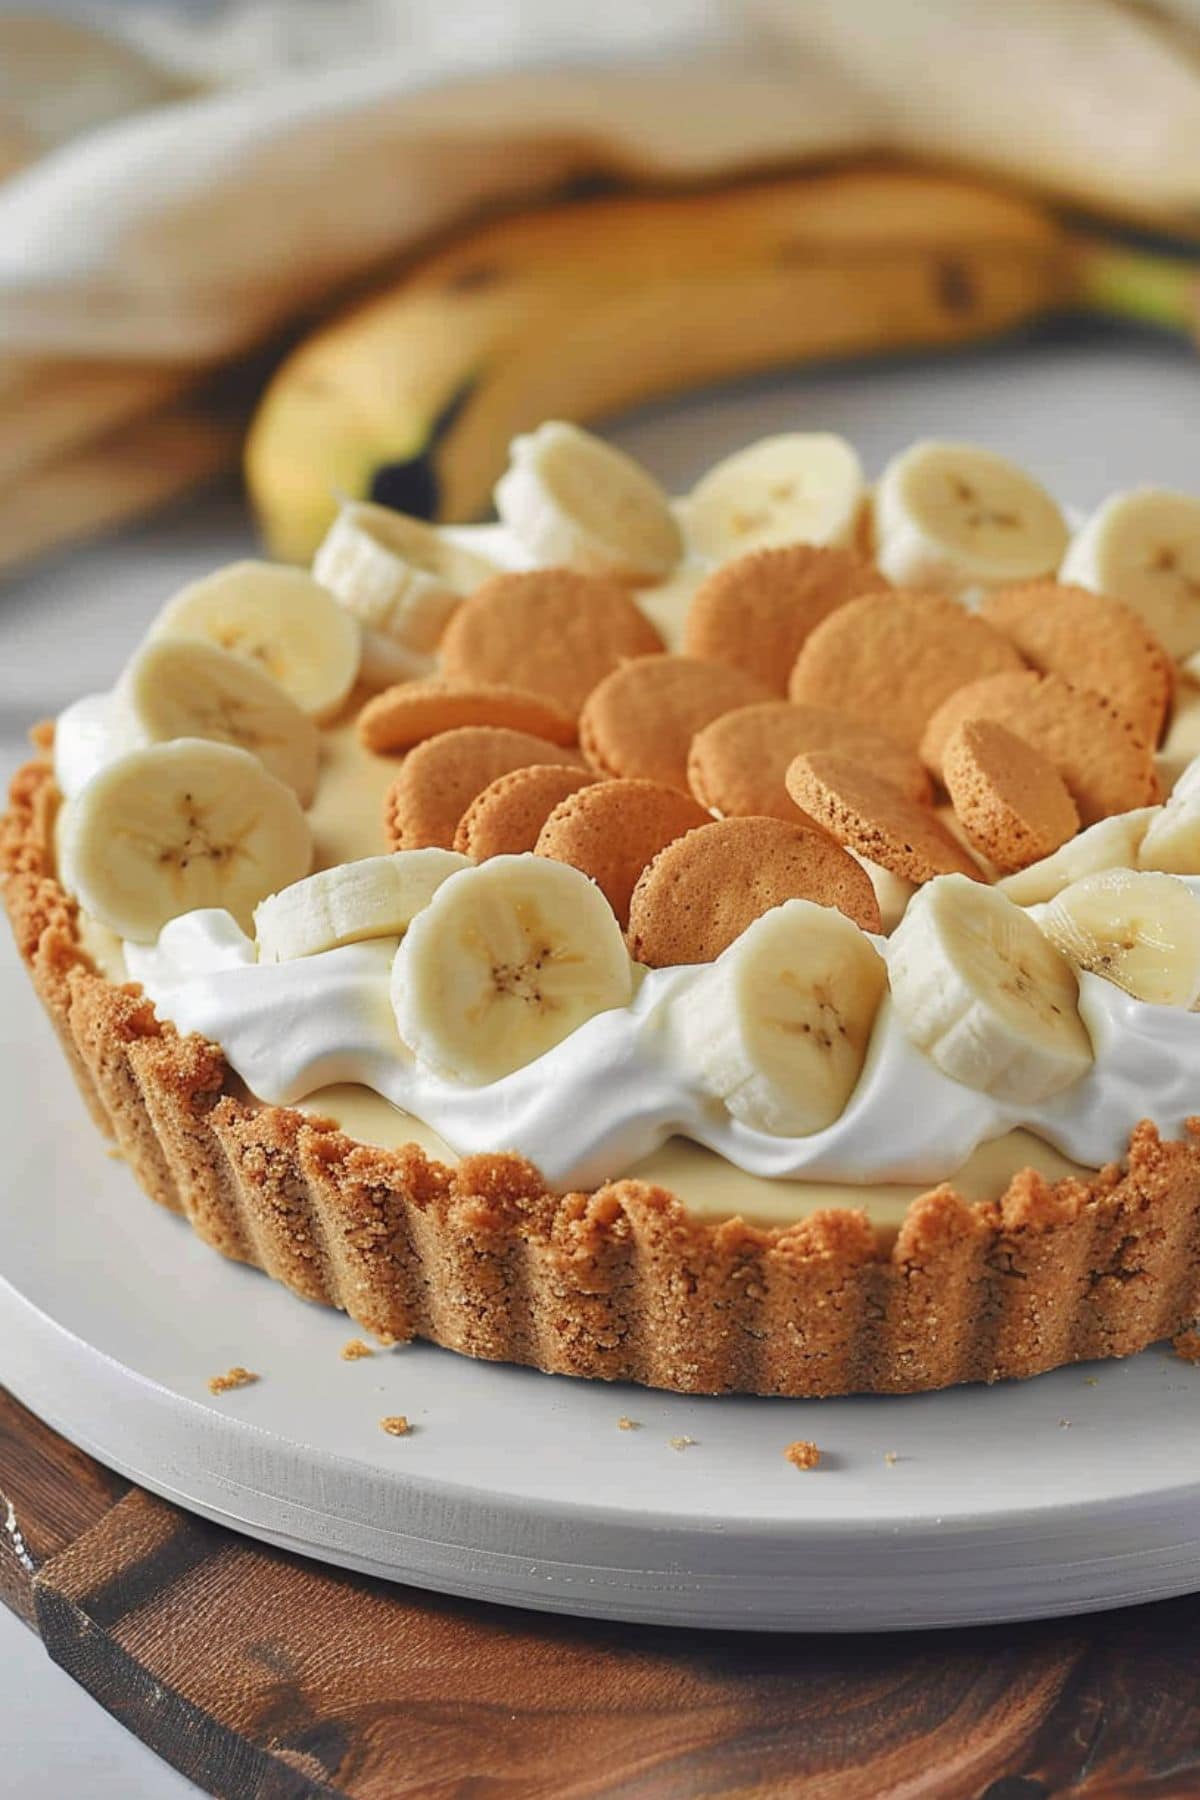
Irresistible No-Bake Banana Pudding Pie
This banana pudding pie is an easy, no-bake dessert that everyone will love!
With its buttery graham cracker crust and the delightful mix of pudding, bananas, and Nilla wafers, this treat is simply impossible to resist. Honestly, I devoured almost half of it myself before realizing I needed to whip up another one for the photoshoot! Such are the sacrifices for the sake of good food. This pie is perfect for parties, picnics, or just a sweet treat at home!
Why You’ll Love This Banana Pudding Pie
Nostalgic Delight: Banana pudding is a classic Southern dessert. Each bite of this pie is sure to take you back to grandma’s kitchen.
Versatile Variations: You can keep it simple, or get creative! Add peanut butter, chocolate, caramel, or even fun mix-ins like chopped nuts or coconut to take it to the next level.
Make-Ahead Marvel: You can prepare this dessert up to two days in advance, making it a convenient choice for any gathering or occasion. Just ensure that the fruit is thoroughly covered to maintain freshness!
Ingredients
- Ripe Bananas: Choose firm yet sweet bananas that are yellow with some brown spots.
- Nilla Wafers: The classic vanilla cookies that are essential for this pie.
- Graham Cracker Crust: A store-bought crust will save you time, but feel free to make your own for that homemade touch.
- Whole Milk: Cold whole milk creates a rich, creamy pudding.
- Instant Pudding: Vanilla or banana pudding works wonderfully here, especially if it’s good enough for Magnolia Bakery!
- Heavy Whipping Cream: Essential for lightening up the filling and creating a delightful topping.
- Powdered Sugar: It sweetens and stabilizes your whipped cream topping.
How to Make Banana Pudding Pie
Thanks to the convenient pie crust and boxed pudding, this banana pudding pie is super easy to prepare. Here’s a quick overview of the steps:
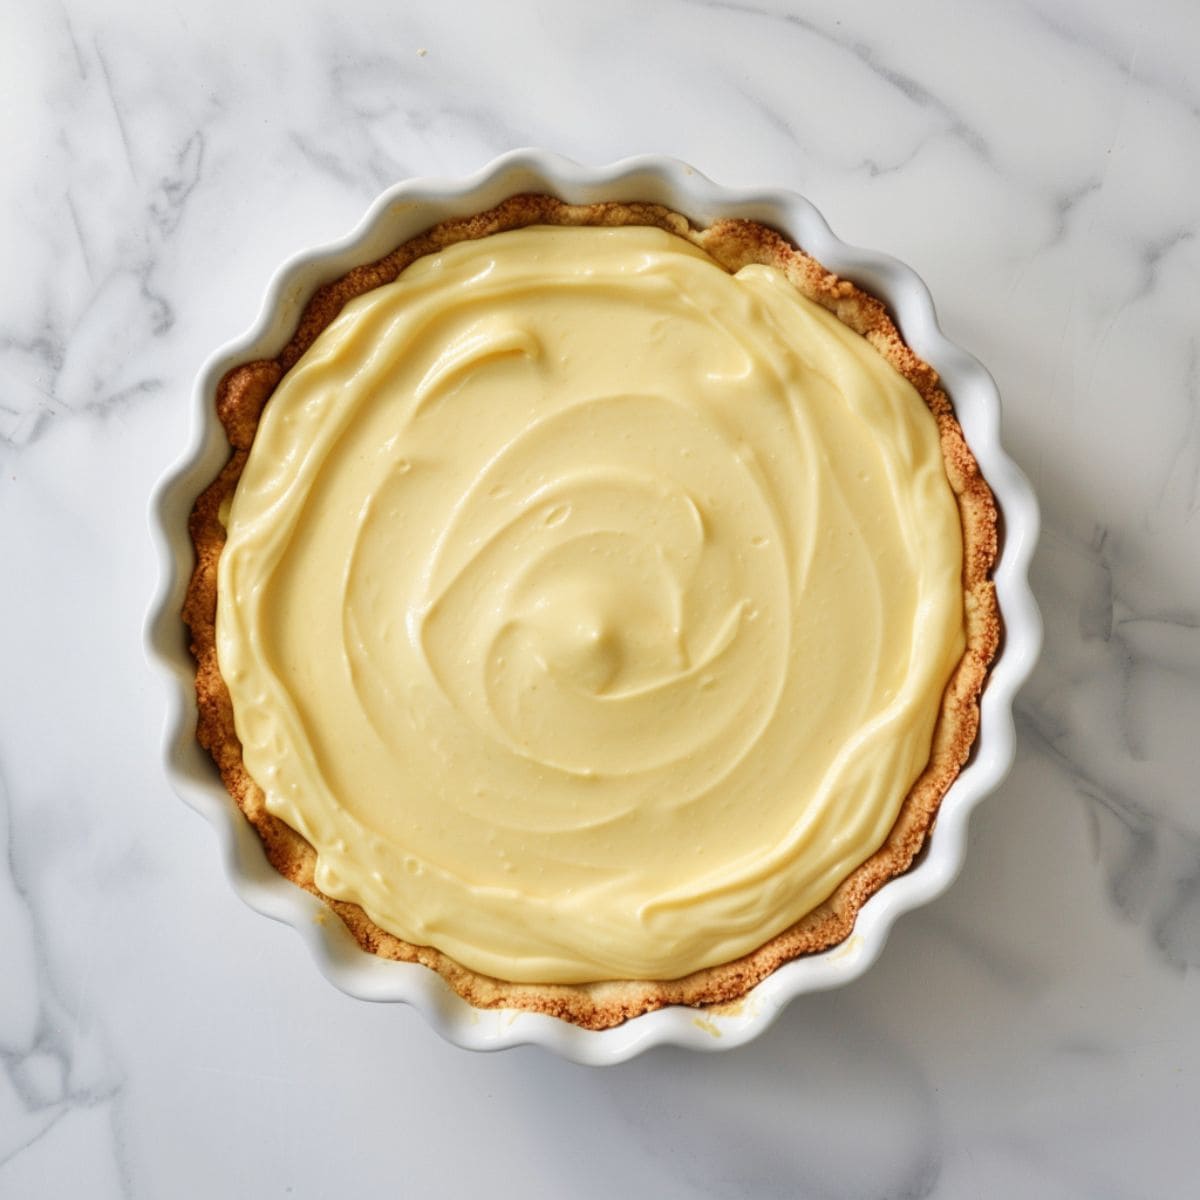
- Beat: Combine the pudding mixes with the cold milk until thick, then set aside.
- Whisk: In a separate bowl, whip the cream and powdered sugar until light and fluffy.
- Mix: Gently fold the whipped cream into the pudding mixture; be careful not to deflate it.
- Slice: Cut the bananas and brush them with lemon juice to prevent them from browning.
- Layer: In the graham cracker crust, alternate layers of banana slices, pudding, and Nilla wafers.
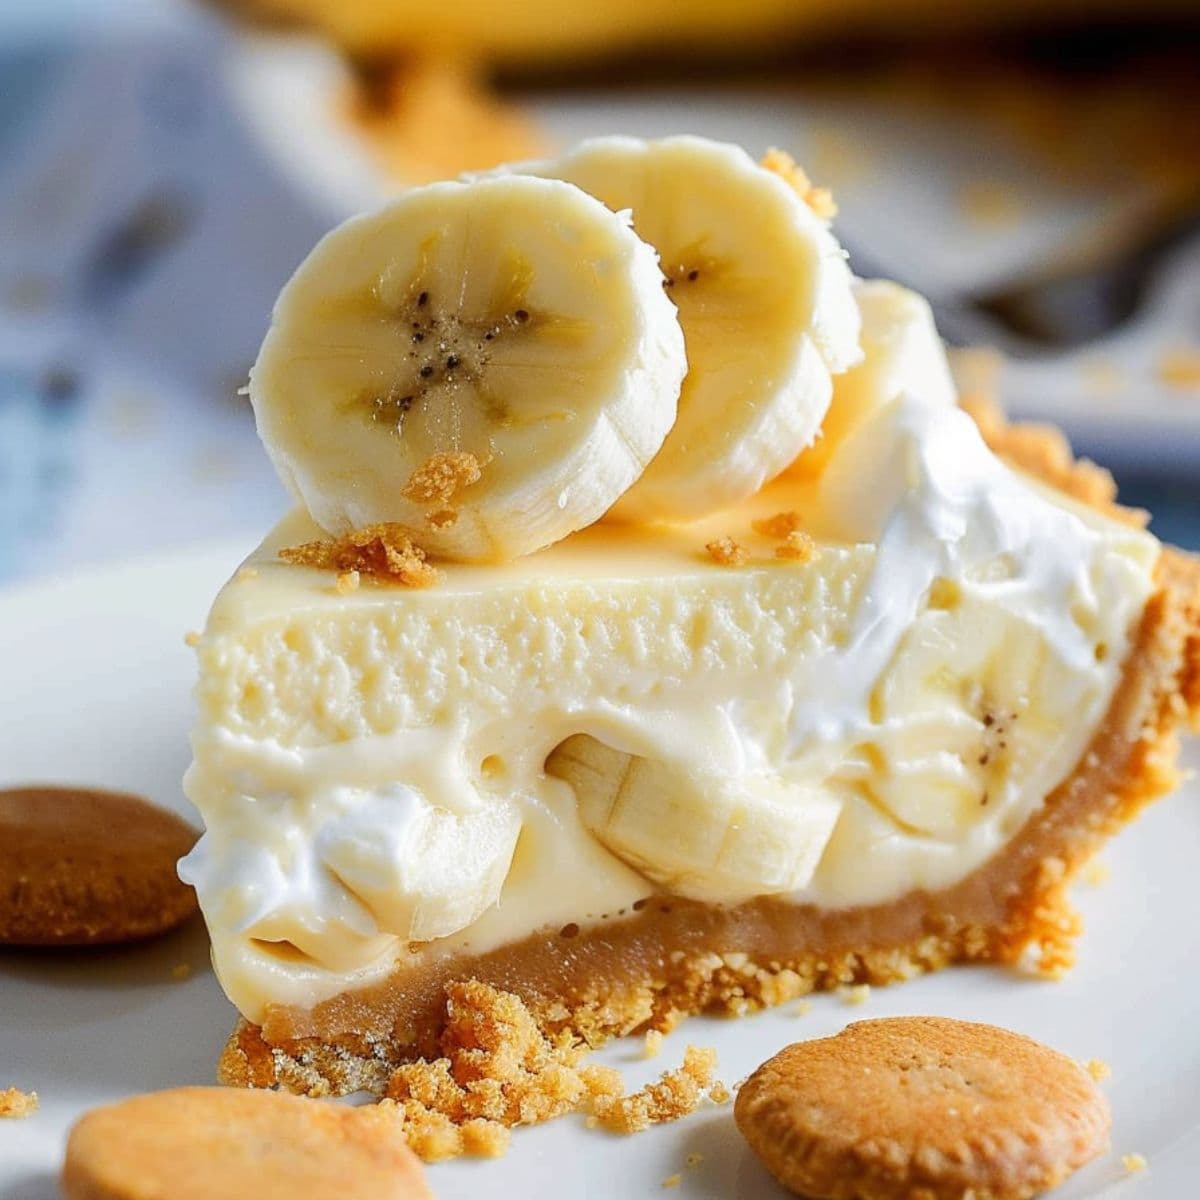
- Chill: Allow the pie to chill in the refrigerator until the filling sets.
- Serve: Enjoy with extra whipped cream, Nilla wafers, and fresh banana slices on top.
Tips for the Best Banana Pudding Pie
This recipe has been passed down in my family, so here are some invaluable tips:
- Change Up the Crust: For extra flavor, crush 45 Nilla wafers and mix them with ¼ cup melted butter, then press this mixture into a pie dish and bake for 10 minutes at 350°F.
- Pick Your Favorite Pudding: Vanilla is classic, but feel free to use cheesecake, banana, or even butterscotch for a unique twist!
- Cool Whip Swap: If you’d prefer, you can use an 8-ounce tub of Cool Whip instead of the whipped cream.
- Layer Strategically: Start with bananas, cover them entirely with pudding, add more bananas and cookies, then finish with another layer of pudding to keep the cookies from drying out.
- Freshen It Up: Top with freshly sliced bananas at serving time to prevent browning. Add in chopped nuts, crushed or whole Nilla wafers, or a drizzle of chocolate or caramel sauce for an extra touch.
- Try Tasty Variations: Experiment with alternative crusts like Oreo, or add a layer of dulce de leche, chocolate ganache, or whipped coconut cream for a tropical flair.
How to Store
To keep your leftover banana pudding pie fresh and flavorful, proper storage is crucial. You don’t want it absorbing any unwanted odors from the fridge, nor do you want the bananas to brown.
To Store: Cover tightly with plastic wrap or transfer to an airtight container. It can stay in the fridge for up to three days.
To Freeze: Wrap with plastic wrap and foil, storing in the freezer for up to two months. Thaw it overnight in the fridge before serving.
Note: If you plan to make it more than a day in advance, wait to add the whipped cream garnish until just before serving to maintain the creaminess!