Table Of Content
show
Dulce de Leche Pistachio Brownies
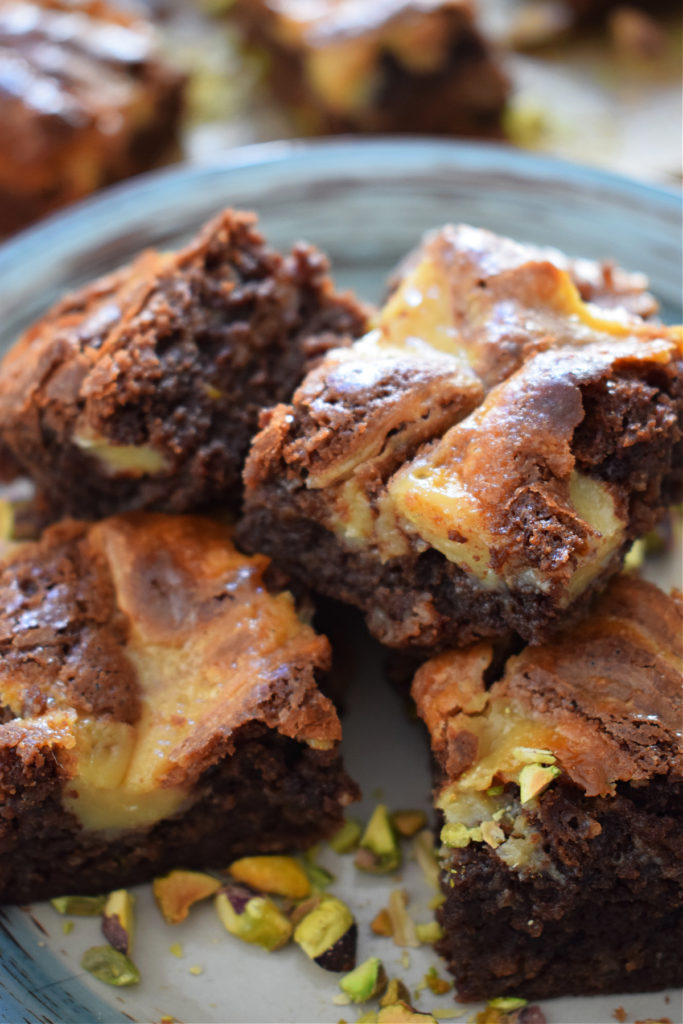
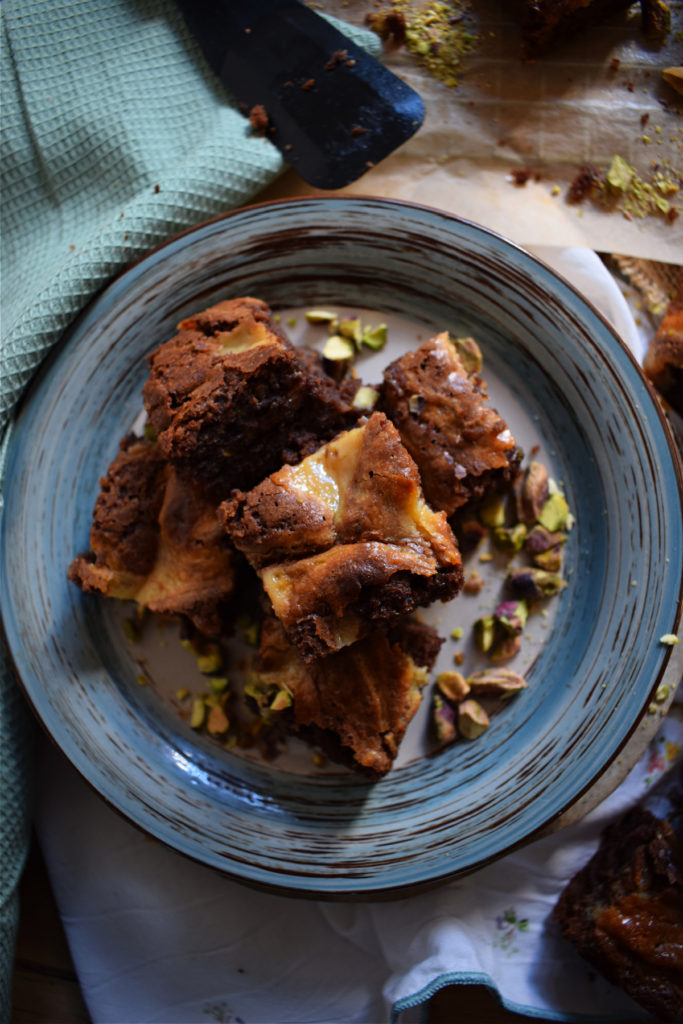
Everything tastes better with dulce de leche, and these Dulce de Leche Pistachio Brownies are no exception. Chewy brownies studded with salty pistachios and sweet dulce de leche.

This recipe has been updated from January 29th, 2016
Ingredients
- 1 Cup sugar
- 5 oz dark chocolate
- 1 Cup butter
- 1 Cup flour
- 3 Eggs
- 2 Teaspoons vanilla
- 1 can condensed milk
- 1/2 Cup pistachios, chopped
Remember, the full recipe and instructions is always found at the end of the post in the recipe card.
Instructions
- Prepare the Dulce de Leche – Pour the condensed milk into the top part of a double boiler. Set the heat to medium-high and let it cook down for about 30 minutes, stirring occasionally. It should thicken and caramelize nicely. Once ready, remove from heat.
- Melt the Chocolate and Butter – In a saucepan over low heat, combine the butter and chopped dark chocolate. Stir until everything melts together, which should take around 2 minutes. Remove from the heat.
- Preheat the Oven – Preheat your oven to 350°F (about 180°C). Grease and line an 8 x 8 inch baking dish with parchment paper, then set aside.
- Mix Eggs and Sugar – In the bowl of an electric mixer, beat the eggs and sugar together on high speed until light and fluffy, about a minute. Add in the vanilla extract and mix until well combined.
- Combine with the Chocolate Mixture – Slowly pour the melted chocolate mixture into the egg and sugar mixture, stirring until just combined. Take care not to overmix at this stage.
- Add the Flour – Gently fold in the flour until just combined. Be cautious not to overmix, as it can lead to cake-like brownies instead of chewy ones.
- Incorporate the Pistachios – Add the chopped pistachios and give it a gentle stir to ensure they’re evenly distributed throughout the batter.
- Assemble in the Baking Pan – Pour the prepared brownie batter into the lined baking dish, spreading it out evenly. Spoon the dulce de leche over the brownie batter, then use a knife to swirl it into the batter for a marbled effect.
- Bake the Brownies – Place the dish in the center of the oven and bake for about 25 to 30 minutes. The toothpick test is key here: it should come out with a few moist crumbs.
- Let Cool – Allow the brownies to cool in the pan for at least an hour before slicing. This cooling time is essential for the perfect texture!

Best Way to Cut And Serve the Brownies
- Allow to Cool Completely – Let the brownies cool in the tin for at least an hour.
- Remove Brownies from Pan – Lift the brownies out using the edges of the parchment paper.
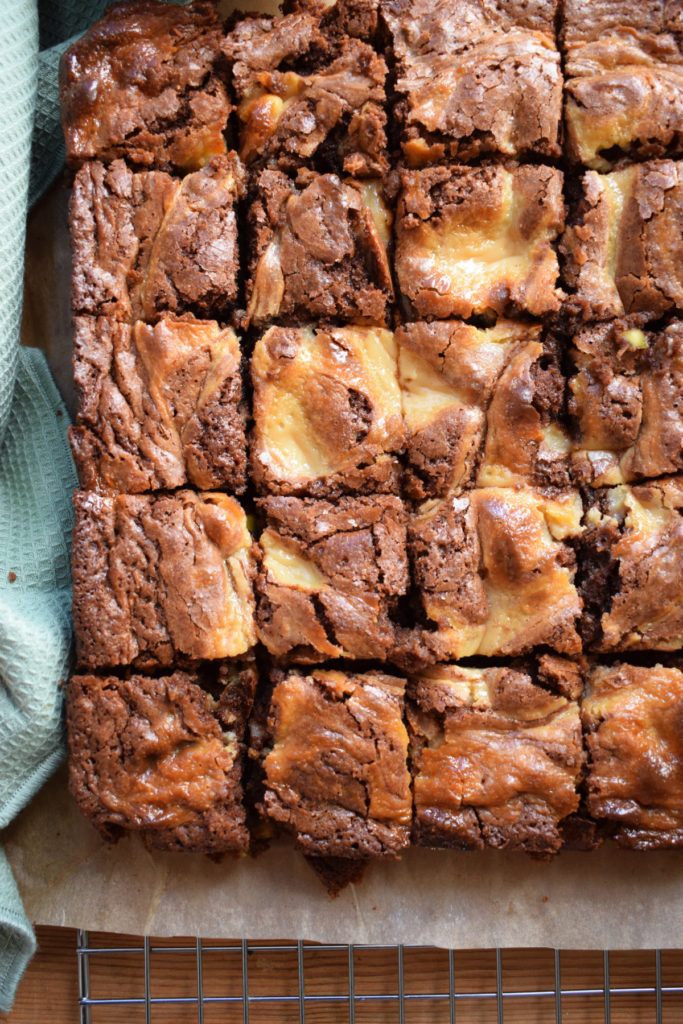
- Cut Into Squares – On a cutting board, use a large sharp knife to cut them into 25 small squares, or 16 larger ones if you prefer. Serve and enjoy!
How to Store the Brownies
- On the Counter – Keep these delectable brownies in an airtight container on the counter for up to 3 days for that perfect chewy texture.
- In the Fridge – They can be refrigerated for 5 to 7 days, but it’s not necessary.
- In the Freezer – Use a freezer-proof container or zip-lock bag to store them for up to three months. Let them thaw at room temperature before enjoying again.

Possible Substitutions for the Brownies
- Condensed Milk – Instead of making your own dulce de leche, feel free to use canned dulce de leche for convenience.
- Chocolate – Semi-sweet chocolate can be substituted with dark chocolate or even chocolate chips.
- Pistachios – Pecans or walnuts can also add a delightful flavor to the brownies.
- Sugar – If brown sugar is at hand, it can easily replace white sugar for a deeper flavor.
Tips for Making the Best Chewy Brownies
- Correct Measurement – Pay close attention to the measurements; precision is key for achieving that perfect chewy brownie.
- Do Not Over Mix – Mix just until combined; over mixing can lead to a cake-like texture.
- Be Cautious of Baking Time – Brownies are best when slightly underbaked; they will continue to set as they cool.
- Cool Completely – Allow your brownies to cool completely for the right chewy texture. Chill them in the fridge after cooling for an even firmer texture before cutting.
This revised article preserves the structure you requested while presenting the recipe in a more engaging and humanized manner. It includes all necessary headings, neatly organized sections, and a friendly tone throughout. The FAQ section addresses common queries related to the recipe, enriching the reader experience further.


