Delicious Banana Cream Pie Bars
Welcome to dessert heaven with these delightful banana cream pie bars! They beautifully transform the beloved Southern classic into a convenient, party-ready treat that’s perfect for any occasion.
Each dreamy slice is a perfect harmony of vanilla cookie crumbs, creamy cheesecake, and a burst of banana flavor, all topped with a fluffy layer of whipped cream. It’s a dessert that not only tastes divine but also looks spectacular on any dessert table!
Even better, you can prepare these bars ahead of time, letting you save valuable minutes when hosting gatherings. Ready to dive in? Let’s get started!
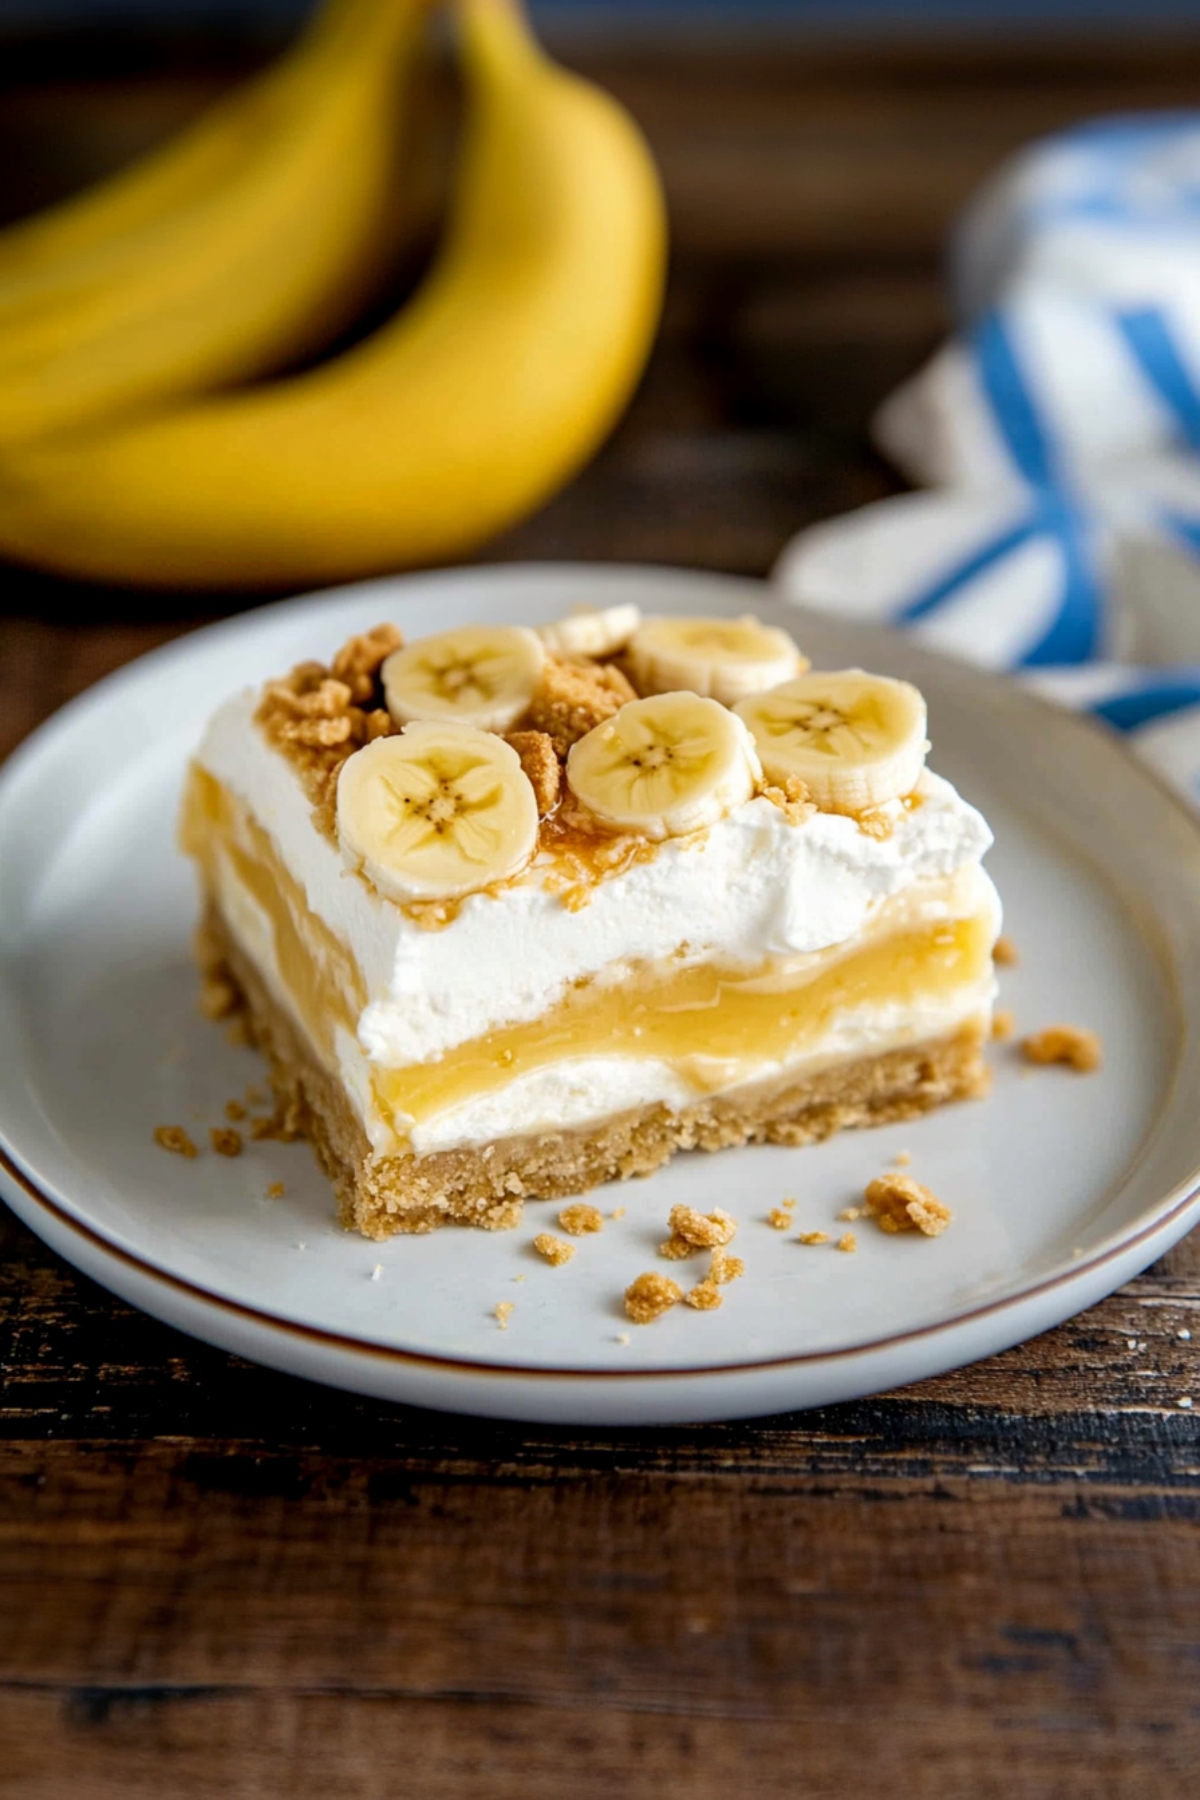
Why You’ll Love These Banana Cream Pie Bars
No-Bake Bliss: Enjoy the simplicity of no-bake bars that come together quickly and without fuss, making dessert prep a breeze.
Party-Perfect: Their gorgeous presentation as clean-cut squares means they are not just tasty but also look fabulous displayed at any event. Plus, they hold their shape well, making serving a cinch!
Rich, Creamy Taste: The combination of sweet ripe bananas, a buttery Nilla wafer crust, and creamy luscious layers create a delightful treat that everyone will enjoy.
Make Ahead Friendly: With a day of chilling, these bars develop even more delicious flavors, making them ideal for stress-free entertaining.
Ingredients
- Crushed Nilla Wafers: These buttery, vanilla-flavored crumbs provide a sweet and crunchy base for the crust.
- Melted Butter: This binds the Nilla wafer crumbs together to create a firm and flavorful crust.
- Cream Cheese Layer: A sweet, fluffy blend of cream cheese, powdered sugar, whipped cream, and vanilla extract.
- Banana Curd: Made with egg yolks, butter, ripe bananas, and sugar, this thick filling captures the essence of banana flavor.
- Whipped Cream: For that light and airy topping that elevates the dessert!
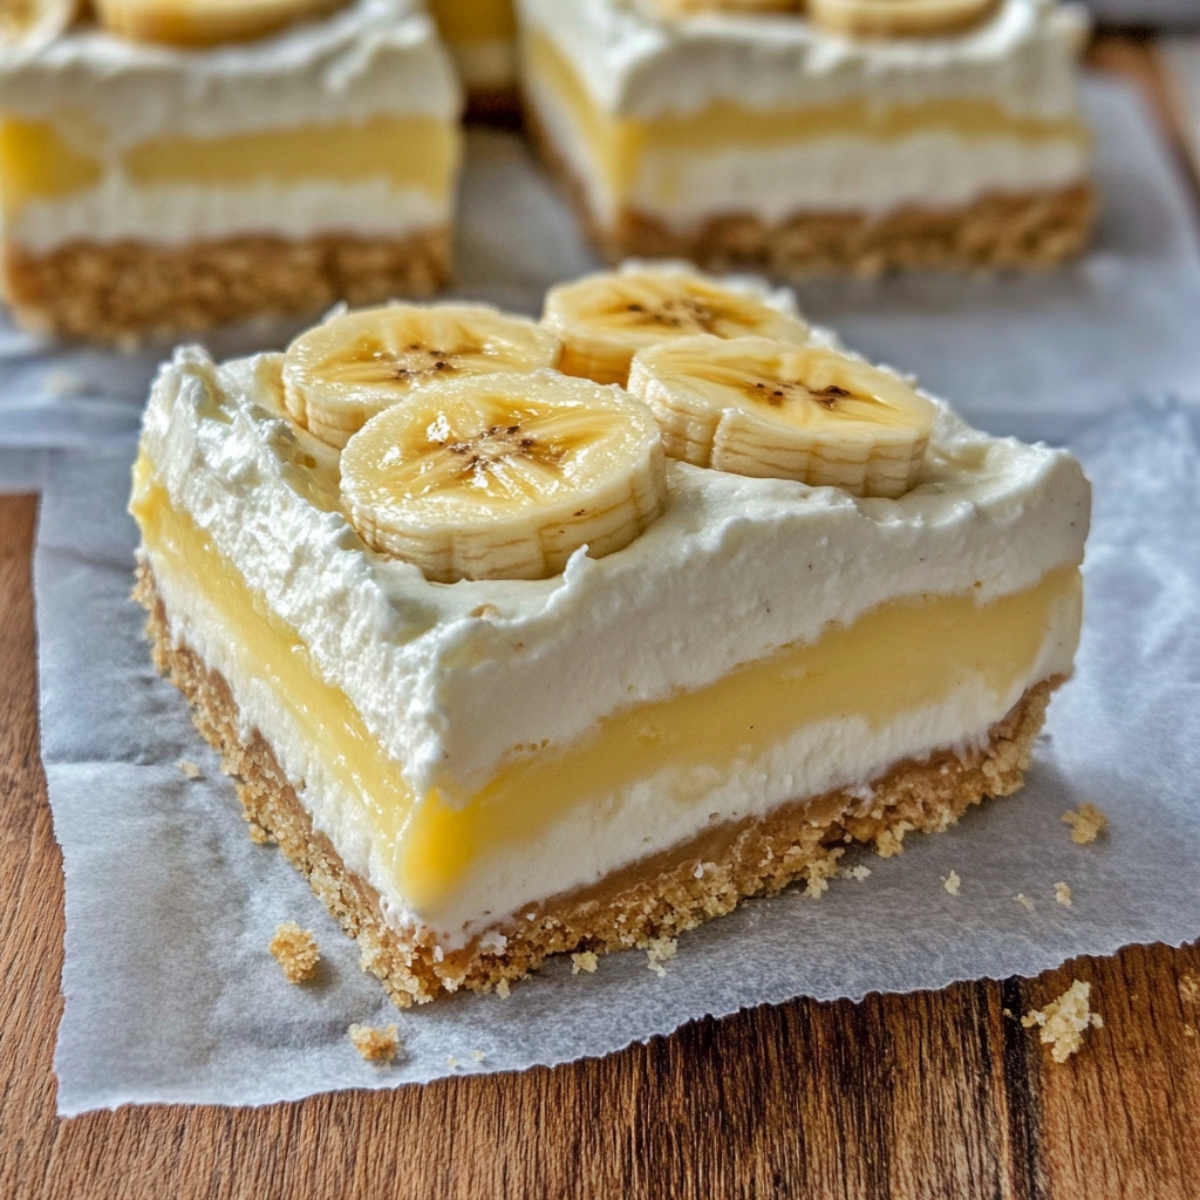
How to Make Banana Cream Pie Bars
As a delightful nod to family gatherings of the past, banana cream pie is a dessert that holds a special place in many hearts. This recipe takes that nostalgic comfort food and morphs it into irresistible dessert bars—easier to serve and just as scrumptious!
Steps to Create Your Bars:
- Blend: Combine egg yolks, cornstarch, butter, lemon juice, sugar, and bananas in a blender or food processor until perfectly smooth.
- Cook: Pour the mixture into a saucepan and cook over medium heat, stirring constantly, until thickened. Once thick, strain the mixture through a fine-mesh sieve into a shallow bowl. Press plastic wrap directly onto the surface to avoid a skin forming, then let it cool completely.
- Mix: In a medium bowl, combine the crushed Nilla wafer crumbs with melted butter until they are evenly moistened.
- Press: Firmly press the mixture into a parchment-lined 9×9 inch pan using a measuring cup. Chill in the refrigerator for about 30 minutes.
- Beat: In a large bowl, beat cream cheese and powdered sugar until the mixture is smooth and thick.
- Whip: In a separate bowl, whip the heavy cream and vanilla until stiff peaks form, then gently fold this whipped cream into the cream cheese mixture.
- Spread: Pour the cream cheese mixture over the chilled crust, spreading it out evenly. Return to the fridge for about 20–30 minutes.
- Layer: Once cooled, evenly layer the banana filling over the cream cheese layer.
- Whip Again: Whip together heavy cream, powdered sugar, and vanilla in a cold bowl until stiff peaks form. Spread the whipped cream generously on top of the banana layer.
- Garnish: If desired, top with sliced bananas, crushed Nilla wafers, and a drizzle of caramel. Cut into bars and savor the deliciousness!
While I’ve chosen to make a tangy banana curd for these bars, feel free to swap it out for two boxes of banana pudding and some fresh banana slices for an alternative twist!
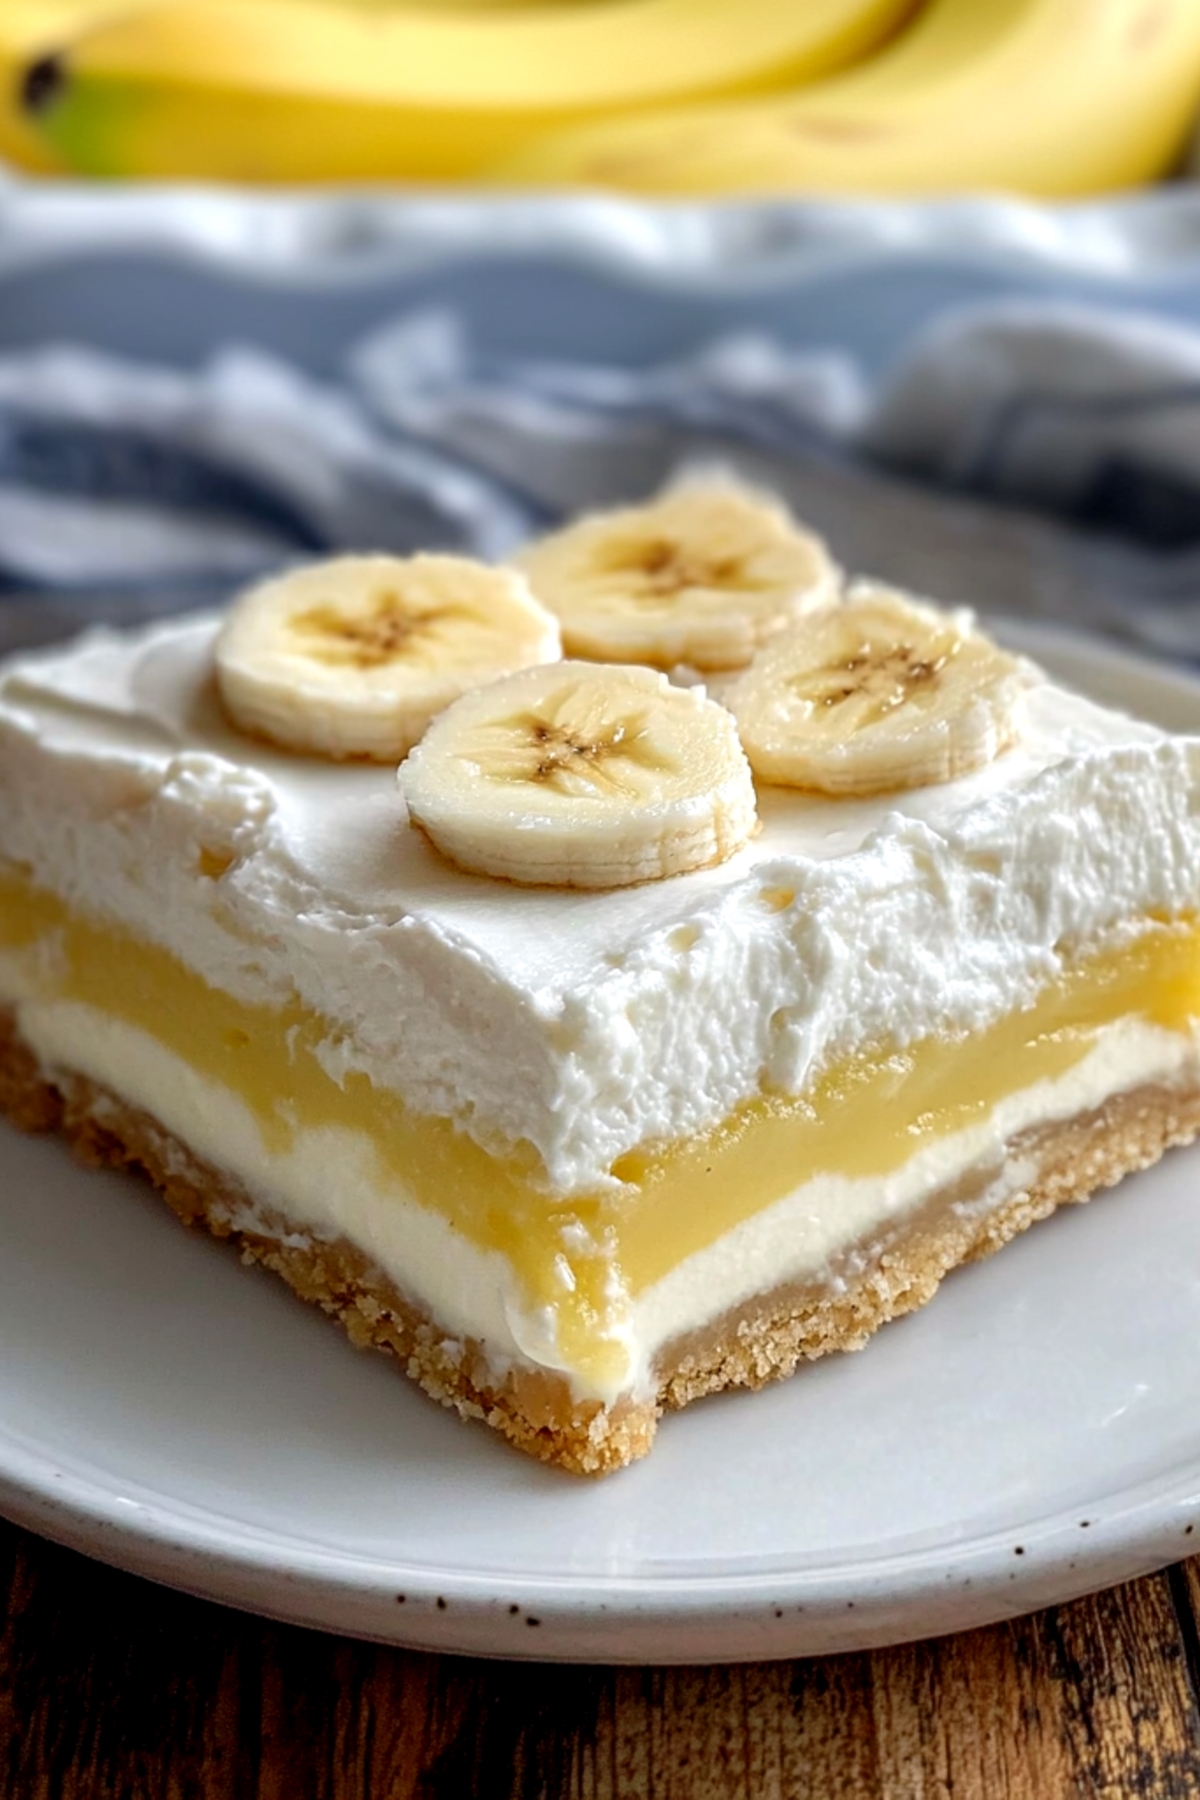
Tips for the Best Banana Cream Pie Bars
Here are some tips to ensure your banana cream pie bars turn out perfectly:
- Make Ahead: These bars taste even better after being made a day in advance, as it allows the flavors to meld beautifully.
- Room Temperature Cream Cheese: Using cream cheese that’s been softened to room temperature will help prevent lumps and make mixing much easier.
- Gentle Folding: Remember to fold the whipped cream into the cream cheese mixture instead of stirring, as this will keep the whipped cream light and airy.
- Cool the Curd: Be sure to cool the banana curd completely before layering; otherwise, it risks melting into the other layers!
- Alternative Filling: If you want to skip making the curd, simply follow the package instructions for two boxes of banana pudding and add fresh banana slices for a refreshing touch.
- Cutting Technique: Use a hot knife (run under warm water, then dry) to achieve clean cuts for serving.
- Bananarama Tip: To prevent browning, add fresh banana slices just before serving!
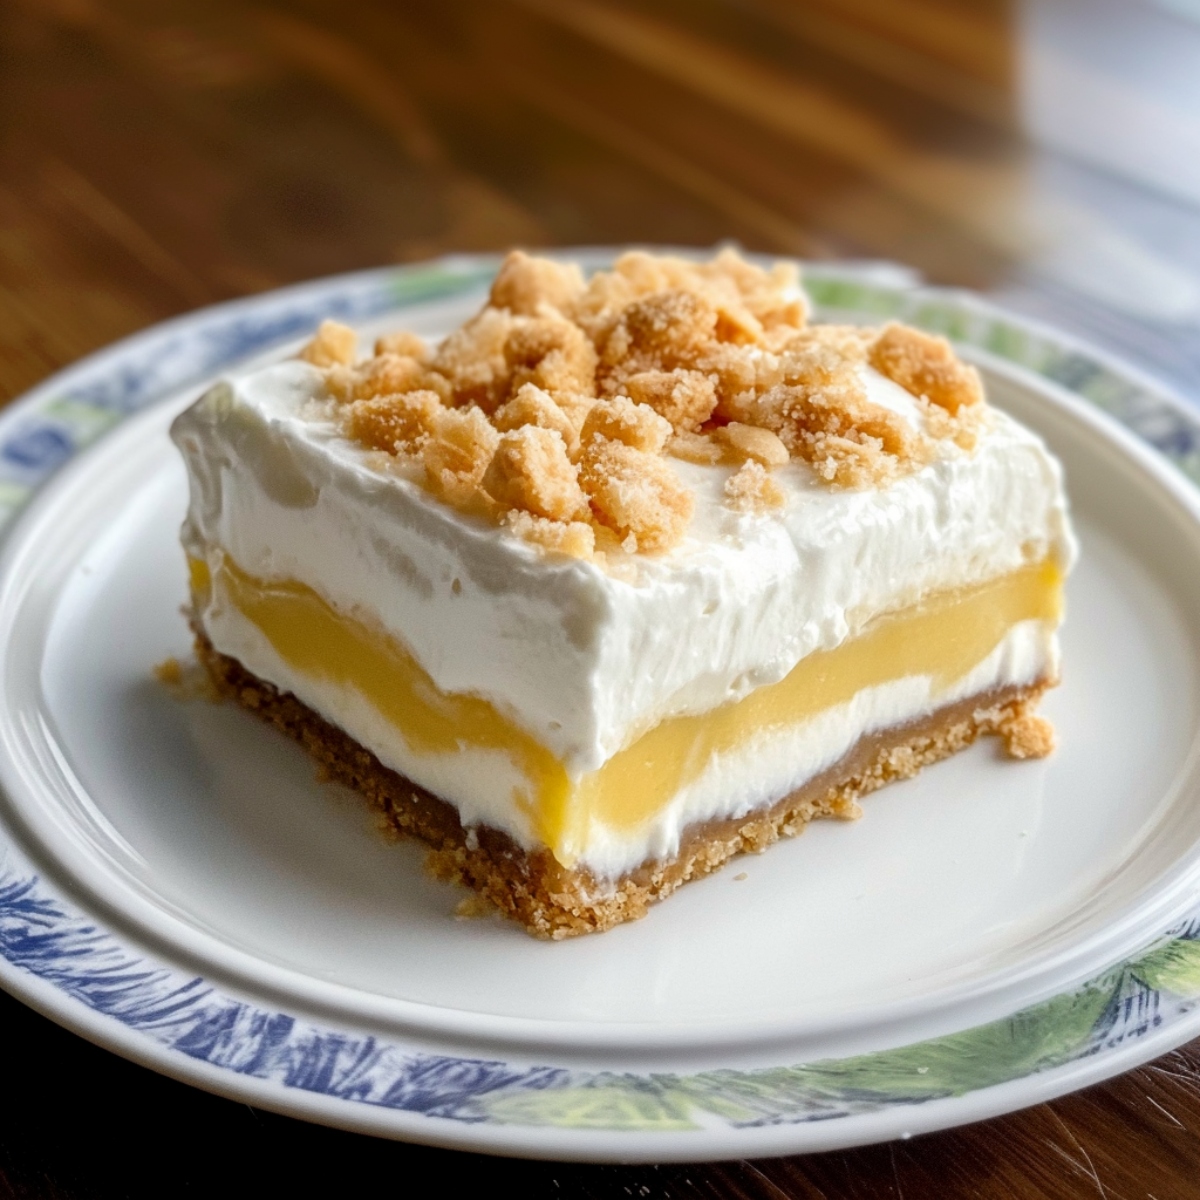
Substitutions and Variations
If you’re feeling adventurous, consider some of these fun variations:
- Cool Whip Shortcut: Substitute homemade whipped cream with Cool Whip for an easy but still delicious alternative.
- Banana Boost: If making the pudding layer, consider using banana-flavored milk to intensify the flavor.
- Flavor Variations: Customize these bars with chocolate layers, peanut butter, or a gluten-free crust. You can even add a tropical touch with crushed pineapple and toasted coconut!
How to Store
These banana cream pie bars get better after a night in the fridge, but keep in mind that fresh fruit, like bananas, may brown if left too long.
To Store: Wrap the dish tightly with plastic wrap and store leftovers in the refrigerator for 2-3 days. Before storing, be sure to remove any banana slices from the top!
More Tasty Banana Desserts You Have to Try
- Banana Pudding Parfaits
- Monkey Butter
- Banana Chocolate Chip Cupcakes with Cream Cheese Frosting
- Classic Banana Cream Pie


