
Decadent Copycat Chili’s Molten Lava Cake
Indulging in a rich, gooey dessert doesn’t have to mean dining out! With this delightful copycat recipe for Chili’s molten lava cake, you’ll feel like a master chef right in your own kitchen. Each sumptuous cake hides a warm, luscious molten center, perfect for quenching your dessert cravings.
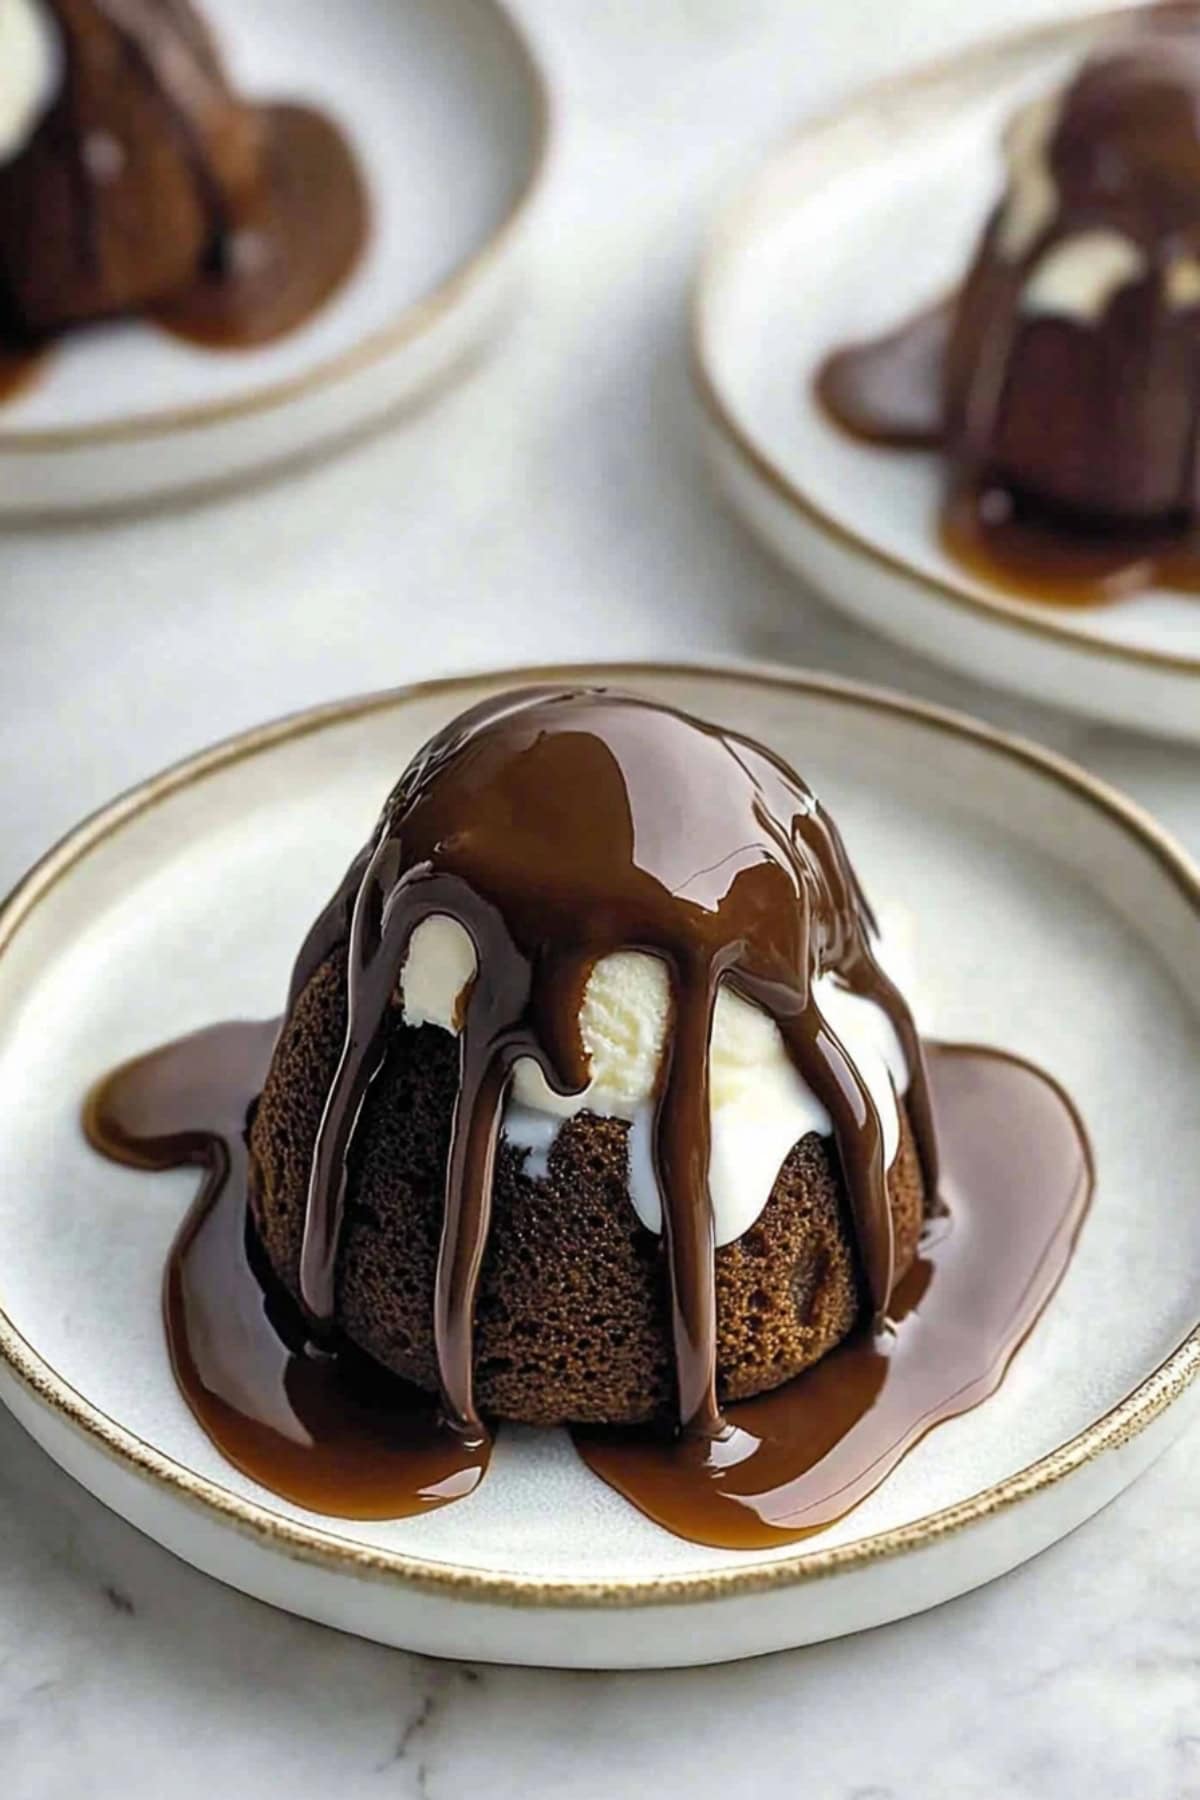
Top it off with creamy vanilla ice cream and a drizzle of caramel, and you have a dessert that is absolutely irresistible!
Don’t worry if you think making these cakes is complicated! They’re incredibly easy to whip up and can be in the oven in under 30 minutes. Whether it’s for a dinner party or a cozy date night, serve them warm for the ultimate Chili’s experience!
Why You’ll Love This Copycat Chili’s Molten Lava Cake
- Perfect for Special Occasions: Each individual-sized cake adds a touch of magic to any event, whether it’s a romantic dinner, a birthday celebration, or simply a treat for yourself.
- Customizable Decadence: Feel free to get creative with toppings! Swap the caramel drizzle for a luscious raspberry sauce or try out different ice cream flavors.
- Quick and Easy Prep: This dessert comes together in a flash. You can have it prepared in less than 30 minutes, making it a great option for spontaneous gatherings or cozy weeknight treats.
- Perfectly Portioned Treats: Baking in individual ramekins not only looks elegant but ensures everyone gets their fair share of deliciousness without the fuss of slicing a large cake.
Ingredients
- Milk Chocolate Chips: These create a smooth and rich chocolate base, essential for that indulgent flavor.
- Unsalted Butter: Provides necessary fat, ensuring the cake is moist and tender.
- Powdered Sugar: Adds sweetness and a lightness to the cake batter, contributing to a fluffy texture.
- Salt: Enhances the rich chocolate flavor and balances sweetness.
- Eggs: Essential for binding the ingredients and giving the cake rise; the yolks add richness while the whites contribute structure.
- Vanilla Extract: Adds a lovely, aromatic flavor that complements the chocolate.
- All-Purpose Flour: Provides the structure to the cake.
- Caramel Sauce: A delightful drizzle for added sweetness and gooeyness.
- Vanilla Ice Cream: The perfect cool counterpart to the warm cake.
- Chocolate Magic Shell Topping: Offers a satisfying crunch that melts into the cake’s warmth.
How to Make Copycat Chili’s Molten Lava Cake
Making these magnificent cakes is simpler than you might think! Just follow these straightforward steps:
- Preheat: Preheat your oven to 400°F (200°C). Meanwhile, prepare the ramekins by spraying them with cooking spray.
- Melt: Place the chocolate chips in a microwave-safe bowl. Microwave in short intervals, stirring frequently until smooth.
- Mix: In the melted chocolate mixture, whisk in powdered sugar, salt, whole eggs, egg yolk, and vanilla extract until you achieve a creamy consistency.
- Fold: Gently fold in the flour until no dry streaks remain. Be careful not to overmix. Divide the batter evenly among the prepared ramekins.
- Bake: Bake in the preheated oven for 13-15 minutes, or until the edges are set and the center remains soft. After baking, let them cool for a few minutes.
- Prep the Plates: Drizzle a little caramel sauce onto your serving plates to add flair.
- Release: Carefully loosen the edges of each cake with a knife. Invert the ramekins onto the plates gently, tapping to help them release.
- Serve: Top each cake with a scoop of vanilla ice cream and drizzle with magic shell. Serve immediately and enjoy the wow factor!
Tips for the Best Molten Lava Cake
For cakes that will leave everyone clamoring for the recipe, keep these tips in mind:
- Choose Quality Chocolate: Use high-quality milk chocolate chips for a rich and creamy molten center. Brands like Ghirardelli or Guittard are great options.
- Room Temperature Ingredients: Make sure your eggs are at room temperature before mixing them in. They’ll blend into the warm chocolate mixture better.
- Spray Generously: Coat the ramekins thoroughly with cooking spray to prevent sticking. Consider dusting them with cocoa powder for added flavor and assurance.
- Serve Immediately: These cakes are best enjoyed right after inverting while they are still warm and oozing with chocolate goodness.
- Prep Ahead: You can make the batter in advance and keep it in the fridge. Allow the ramekins to come to room temperature before baking for an easier entertaining experience.
- Get Creative: Don’t hesitate to experiment with different types of chocolate and toppings. Consider pairing the cake with unique ice cream flavors or drizzling different sauces for a personal touch.
How to Store
If you find yourself with leftover cakes, here’s how to store them for later enjoyment:
- To Store: Remove any toppings like ice cream or chocolate shell. Store the cooled cakes in an airtight container in the refrigerator for up to 3 days.
- To Freeze: Wrap cooled individual cakes tightly in plastic wrap followed by foil. You can freeze for up to 3 months. For best results, bake the cakes 1-2 minutes less than usual if you plan to reheat them.
- To Reheat: Place the cake in a preheated oven at 350°F (175°C) for about 6-8 minutes or microwave with a damp paper towel for 20-30 seconds until warm. Add fresh toppings after reheating for great taste and presentation.


