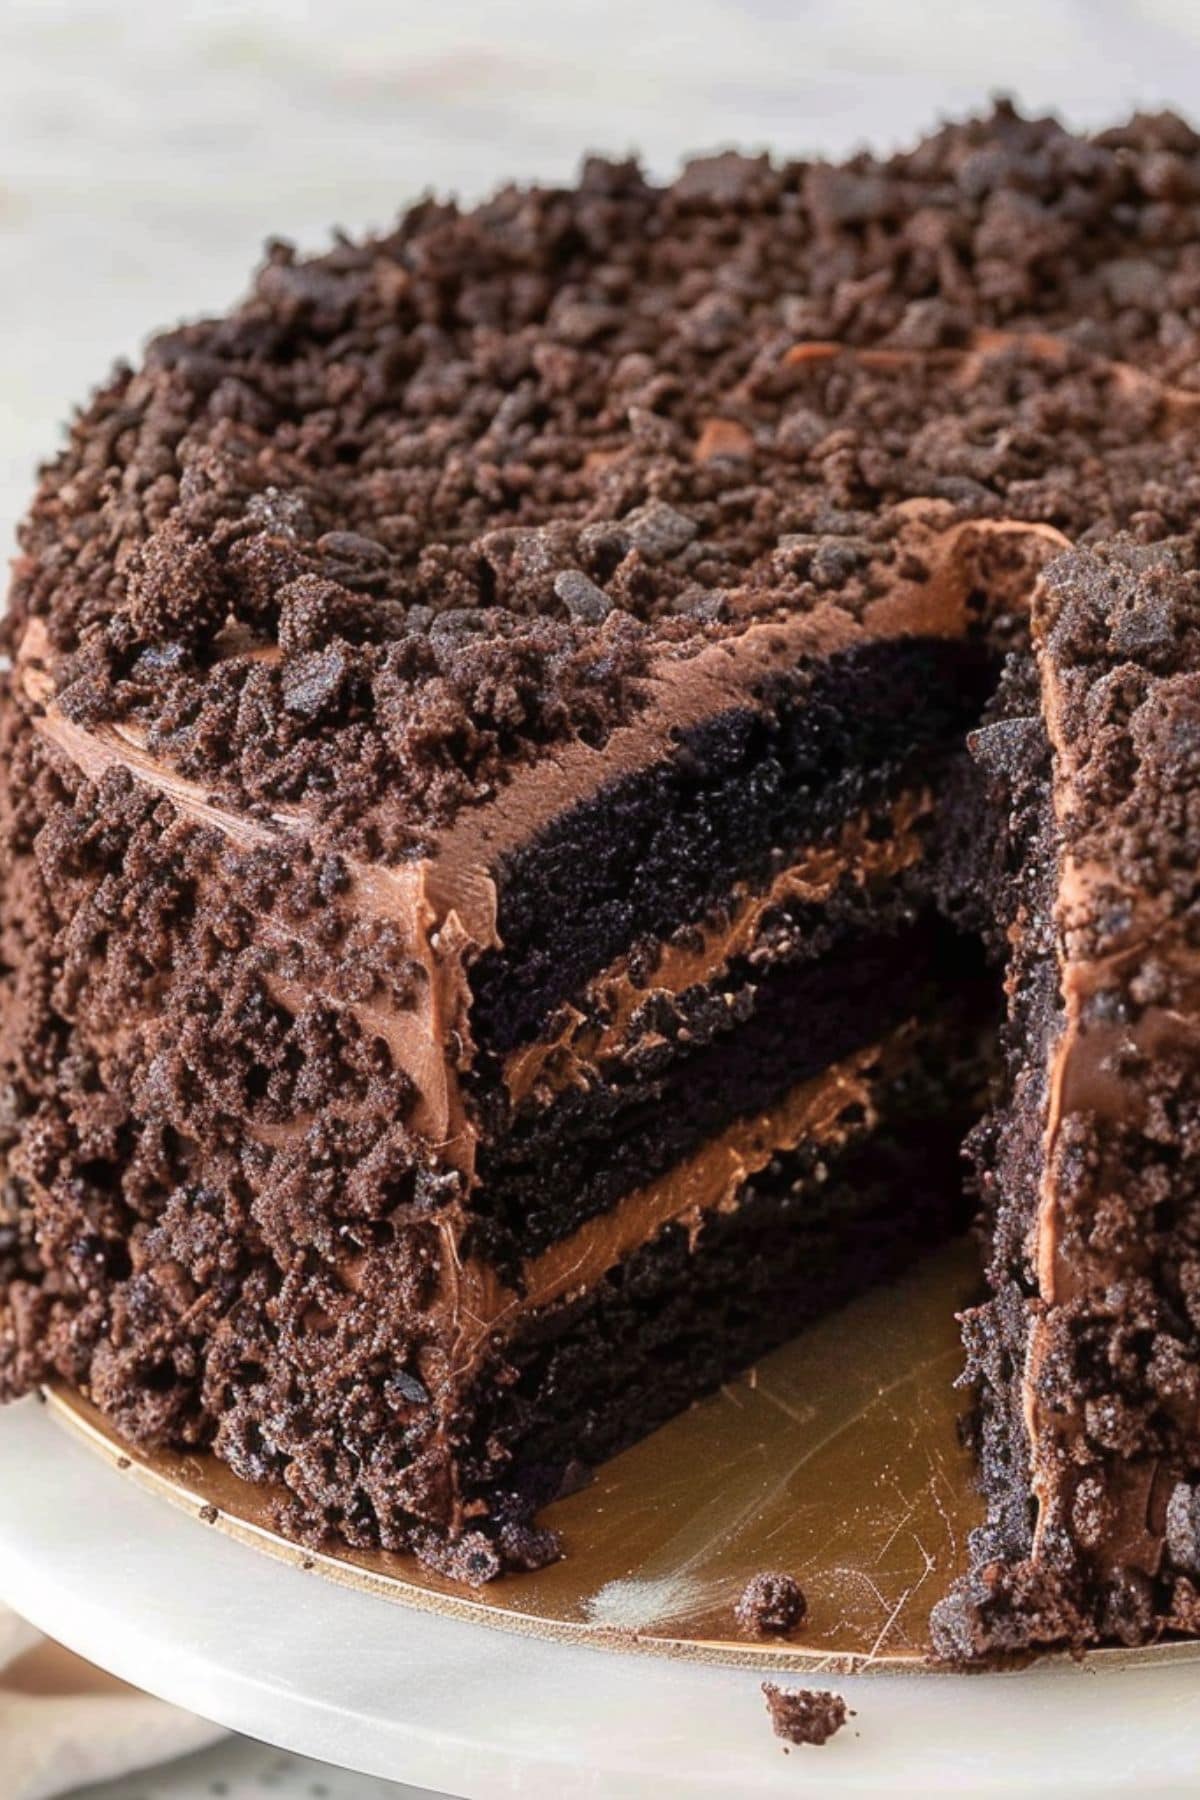
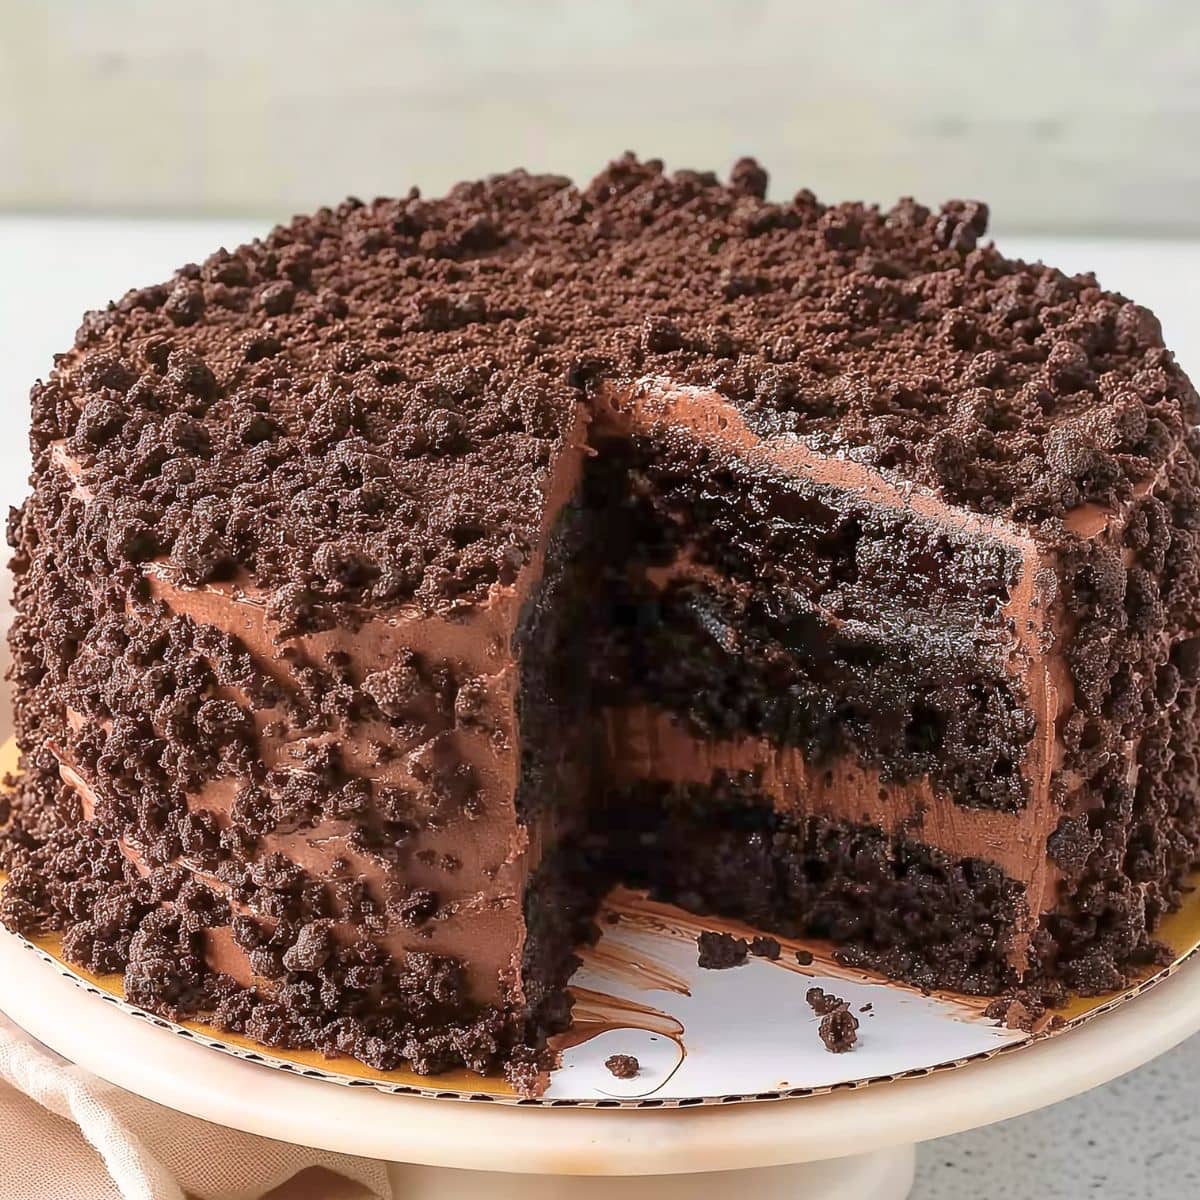
Brooklyn Blackout Cake: A Chocolate Lover’s Delight
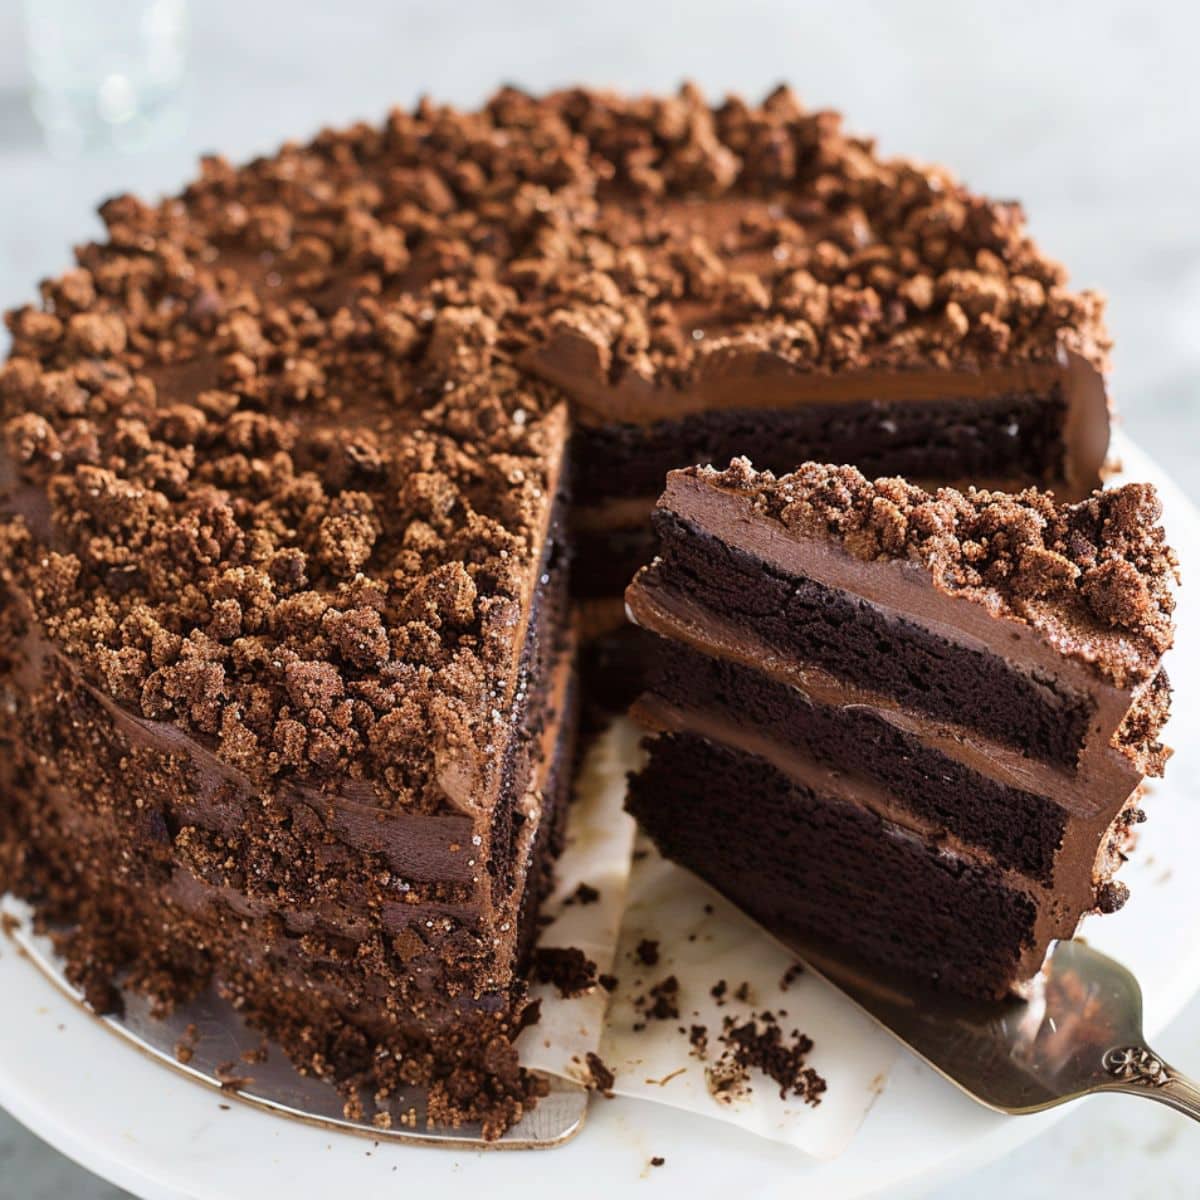
If you’re in the mood for a nostalgic treat, look no further than Brooklyn Blackout Cake! This lovely dessert made its debut during World War II at Ebinger’s Bakery in Brooklyn, created to honor the blackout drills that were a regular part of city life back then. What makes this cake truly special is its layers of tender chocolate cake, creamy pudding filling, and silky chocolate frosting. To top it all off, a sprinkling of crumbled cake crumbs gives it an irresistible finish!
This isn’t just any dessert; it’s a chocoholic’s dream! Once you dig in, you’ll find it hard to stop at just one slice. Let’s dive into why you’ll love making this cake at home!
Why You’ll Love This Brooklyn Blackout Cake
- Rich Nostalgia Factor: This cake is a tribute to a cherished aspect of NYC’s culinary history and brings a touch of retro charm to your kitchen.
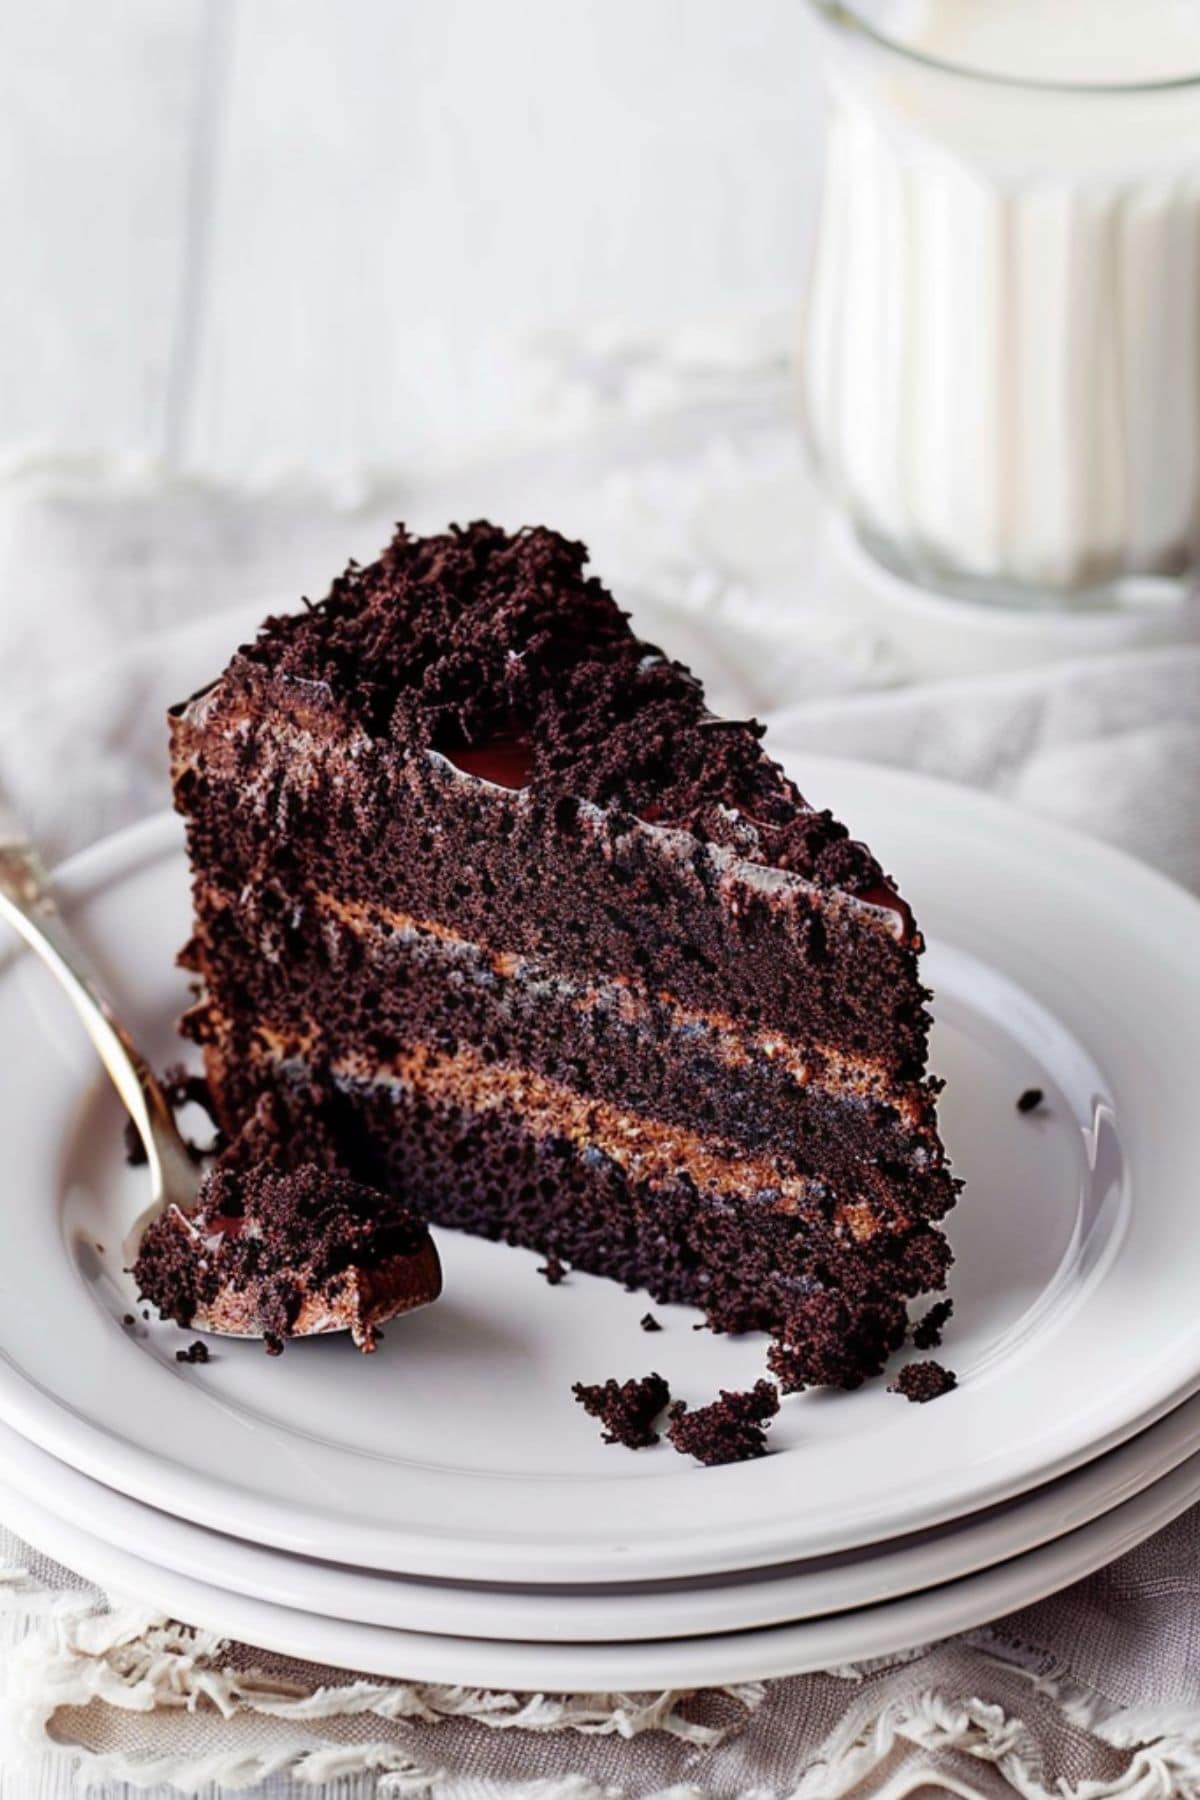
- Decadent Layers of Flavor: The combination of moist chocolate cake, rich pudding filling, and luxurious chocolate frosting will have your taste buds dancing.
- Perfect for Special Occasions: Be it a birthday, an anniversary, or just a weekend treat, this cake brings celebration to any event with its spectacular appearance and heavenly flavors.
- Chocolate Lover’s Dream: With every layer being chocolatey—from cake to pudding to frosting—this dessert is pure cocoa bliss.
Ingredients
- All-Purpose Flour: Provides the cake with structure and stability, resulting in a light and tender texture.
- Baking Powder and Baking Soda: These agents help the cake rise, ensuring a soft and fluffy crumb.
- Salt: Enhances the overall flavors and balances the sweetness in the cake.
- Unsalted Butter: Brings richness and moisture to the cake while aiding a smooth consistency in the frosting.
- Dutch-Processed Cocoa: Imparts a deep, rich chocolate flavor and contributes to the cake’s dark color.
- Granulated and Brown Sugar: Offers sweetness and moisture, with brown sugar providing a subtle caramel flavor.
- Buttermilk: Adds tang and tenderness, contributing to a soft and moist cake crumb.
- Strong Brewed Coffee: Elevates the chocolate flavor, adding depth and complexity to the cake.
- Vanilla Extract: Lends a warm, aromatic flavor that complements the chocolate beautifully.
- Eggs: Bind the ingredients together, providing both structure and moisture to the cake.
- Semisweet Chocolate: Used in both the pudding filling and frosting for a rich, smooth chocolate taste.
- Cornstarch: Thickens the pudding filling and gives it a creamy, smooth texture.
- Milk: Creates a creamy consistency for both the pudding and the frosting.
- Light Corn Syrup: Helps achieve a glossy, smooth finish for the frosting while adding sweetness.
How to Make Brooklyn Blackout Cake
Although this cake might look like it came straight from a bakery, it’s simple enough for even beginner bakers to tackle!
- Prep: Preheat your oven to 325°F (165°C). Prepare two 8-inch cake pans by greasing them and lining with parchment paper.
- Whisk: In a small bowl, combine the flour, baking powder, baking soda, and salt with a whisk.
- Melt: In a saucepan, melt the butter, stir in the cocoa powder, then add both sugars, mixing well.
- Add the liquid and eggs: Incorporate the buttermilk, brewed coffee, and vanilla extract. Then whisk in the eggs, one at a time.
- Combine: Gradually mix in the flour mixture, stirring until just combined. Pour the batter evenly into the prepared pans.
- Bake and cool: Place the pans in the oven and bake for 35-40 minutes. Once done, let the cakes cool in the pans for 10 minutes before transferring them to wire racks.
- Make the pudding: In a saucepan, combine sugar, cornstarch, salt, and milk. Cook while stirring until thickened enough to coat the back of a spoon. Stir in chocolate and vanilla, then refrigerate it to chill.
- Make the frosting: Melt the chocolate and butter together using a double boiler. Whisk in hot water, corn syrup, and vanilla extract, then chill until it reaches a spreadable consistency.
- Assemble: Cut the cooled cakes into four layers. Alternate layers of cake and pudding filling, saving one layer for crumbs.
- Frost and decorate: Frost the cake with the chocolate frosting, pressing the reserved crumbs onto the top and sides. Refrigerate before serving.
Tips for the Best Brooklyn Blackout Cake
Here are some handy tips to ensure your cake turns out perfectly every time:
- Quality is key: Make sure to use Dutch-processed cocoa powder for that rich flavor and signature dark color; natural cocoa won’t give you the same results.
- Use room-temperature ingredients: This helps achieve a smoother batter and ensures even baking.
- Don’t skip the sifting: Sifting your dry ingredients will help prevent lumps and ensure a more even mix.
- Chill the cake layers: Refrigerate the layers before assembling to make them easier to handle.
- Crumb coat your cake: Apply a thin layer of frosting as a crumb coat to seal in crumbs before adding the main layer of frosting.
- Garnish creatively: Adding a light dusting of cocoa powder or chocolate shavings on top can elevate the presentation of your cake.
How to Store
Keep your Brooklyn Blackout Cake fresh and delicious by following these storing tips:
To Store: Keep the assembled cake in an airtight container in the refrigerator for up to 7 days. Before serving, let it sit at room temperature for 15-20 minutes.
To Freeze: For long-term storage, wrap the fully assembled cake tightly in plastic wrap followed by aluminum foil. It can be frozen for up to 3 months. When ready to serve, thaw it overnight in the refrigerator.