Delightful Chocolate-Covered Marshmallow Pops
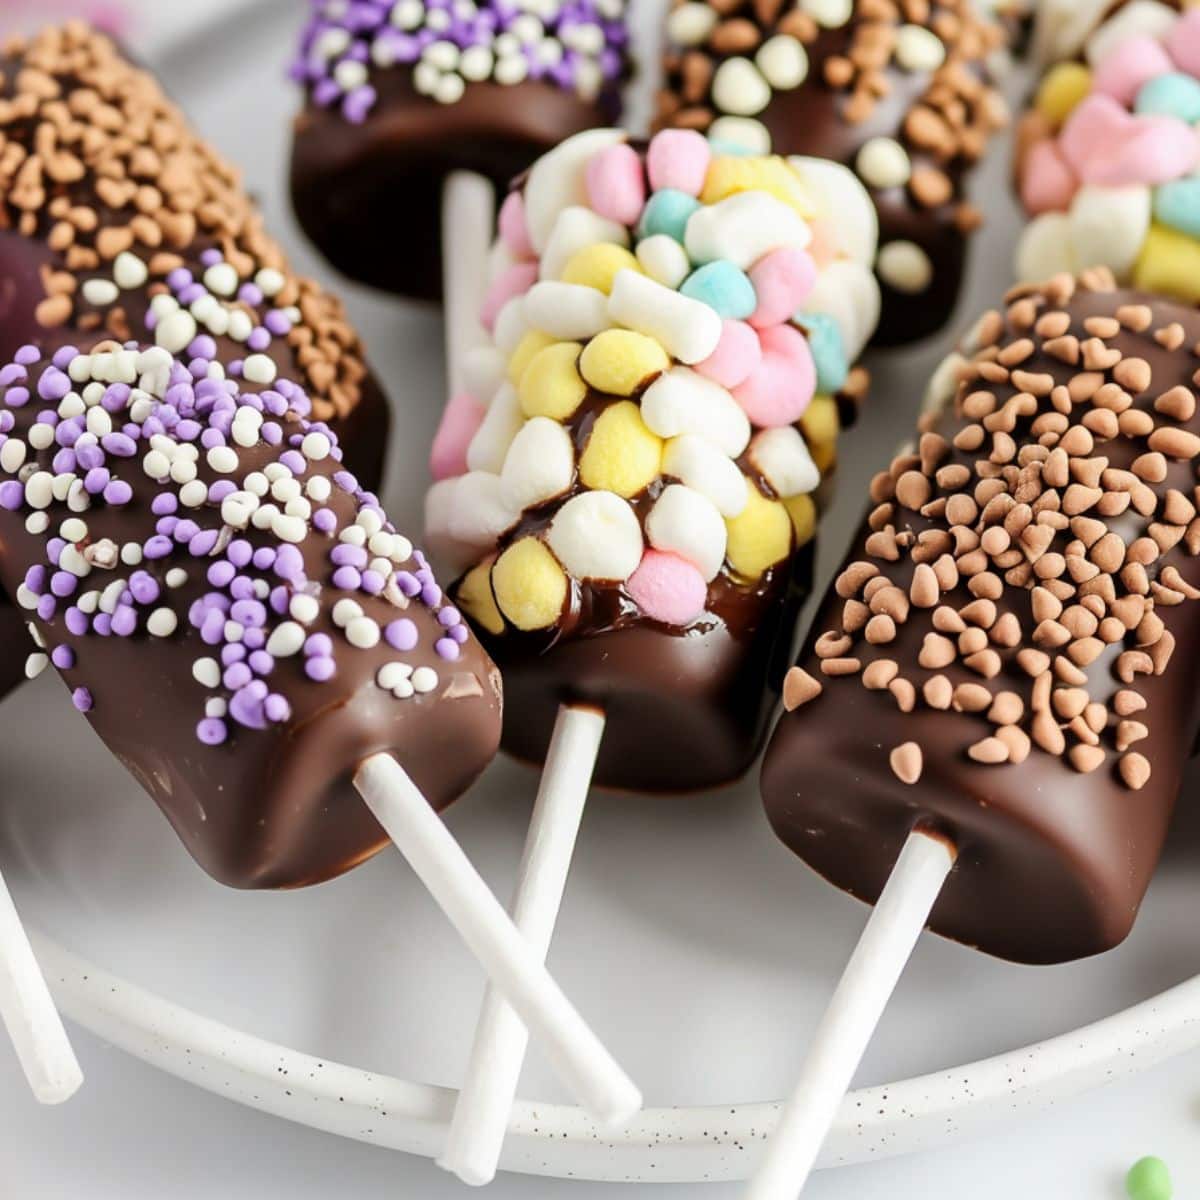
Sometimes, all you need is a little sweetness that’s just as enjoyable to make as it is to eat. That’s where these irresistible chocolate-covered marshmallow pops come in! Combining fluffy marshmallows with rich, smooth chocolate and your favorite toppings makes for a delightful treat.

What I truly love about these pops is their versatility. You can dress them up with sprinkles, crushed cookies, or even a hint of sea salt for that perfect sweet and salty combo. They’re the ultimate no-fuss dessert—it looks fancy, but the effort involved is minimal!
Why You’ll Love These Chocolate-Covered Marshmallow Pops
Taste Sensation: Sweet, soft marshmallows wrapped in rich chocolate create an irresistible blend of textures and flavors.
Party-Perfect Dessert: Their mess-free, stick design makes these pops the perfect, easy-to-eat dessert for any event, whether it’s a birthday party or baby shower.
Kid-Friendly: This recipe is a fantastic opportunity to get kids involved in the kitchen, allowing them to craft their unique creations.
Creative Canvas: The basic recipe is a springboard for endless customization options—experiment with different types of chocolate, toppings, and drizzles!
Ingredients
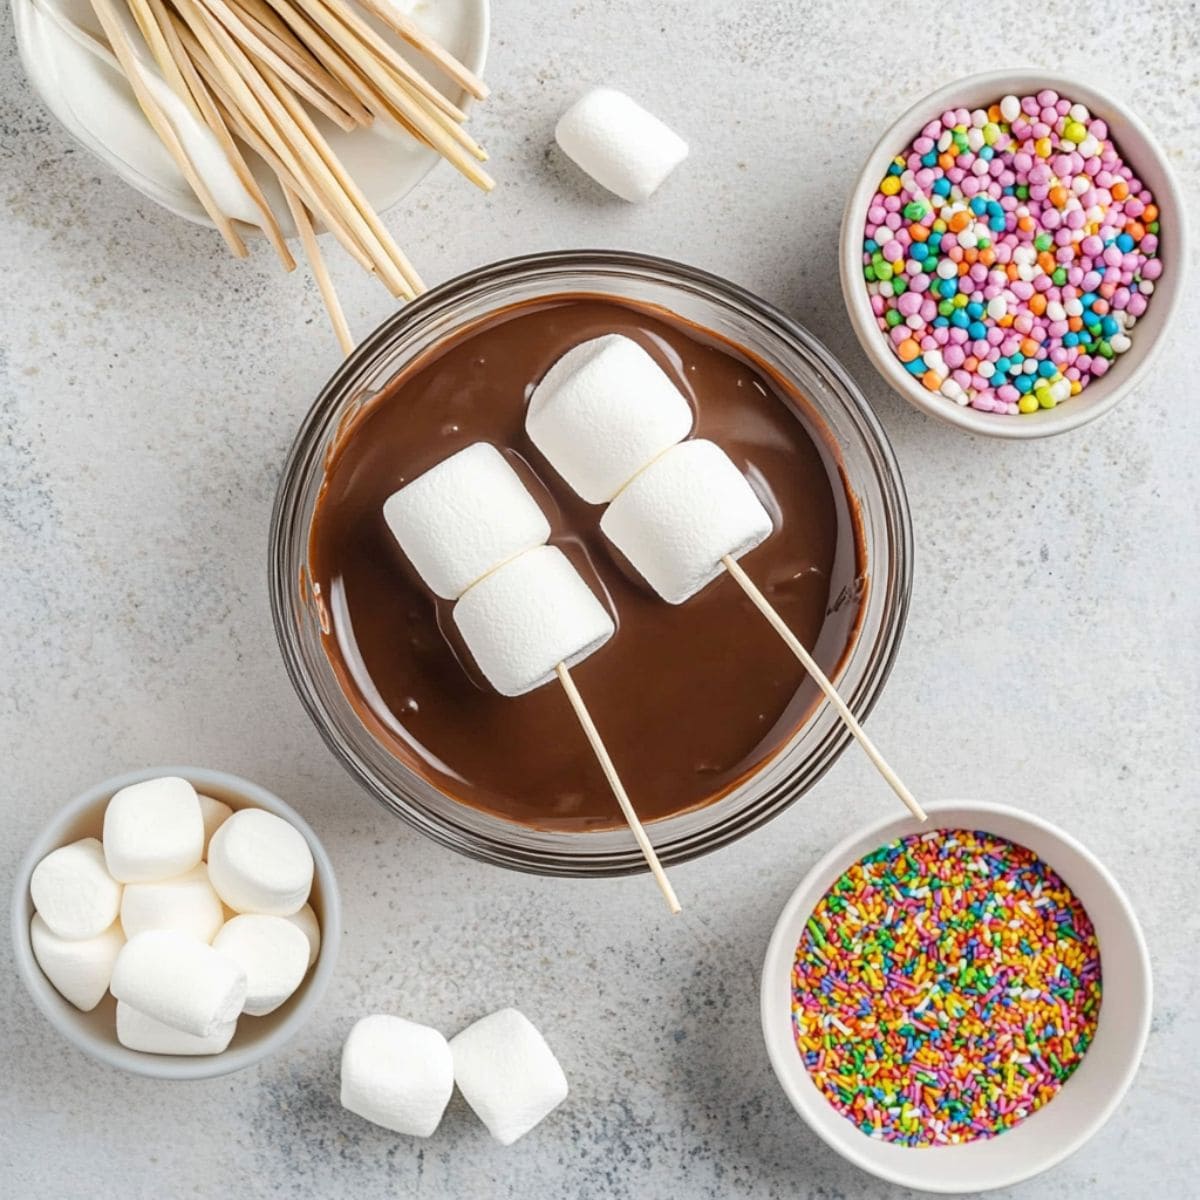
- Large Marshmallows: These fluffy treats serve as the delightful base of your pops.
- Chocolate Melting Wafers: These melt beautifully and set without the need for tempering, making the perfect coating.
- Coconut Oil (Optional): This ingredient helps to thin the melted chocolate for easier dipping, producing a smooth, professional finish.
- Assorted Toppings: Consider colorful sprinkles, crushed nuts, mini chocolate chips, shredded coconut, or crushed cookies for toppings!
How to Make Chocolate-Covered Marshmallow Pops
This recipe is incredibly easy, yet the results will make you feel like a pro chef!
1. Prep
Slide two marshmallows onto each lollipop stick or skewer, leaving a small gap between them to make dipping easier. Set aside the marshmallow pops on a clean surface.
2. Melt the Chocolate
In a microwave-safe bowl, add the chocolate melting wafers. Microwave for 20-30 seconds at a time, stirring after each interval, until the chocolate is completely smooth. If desired, stir in 1 teaspoon of coconut oil for added smoothness.
3. Set Up a Dipping Station
Prepare your toppings by pouring them into shallow bowls or plates for easy access. Line a baking sheet with parchment paper or a silicone baking mat to place the finished pops on.
4. Dip
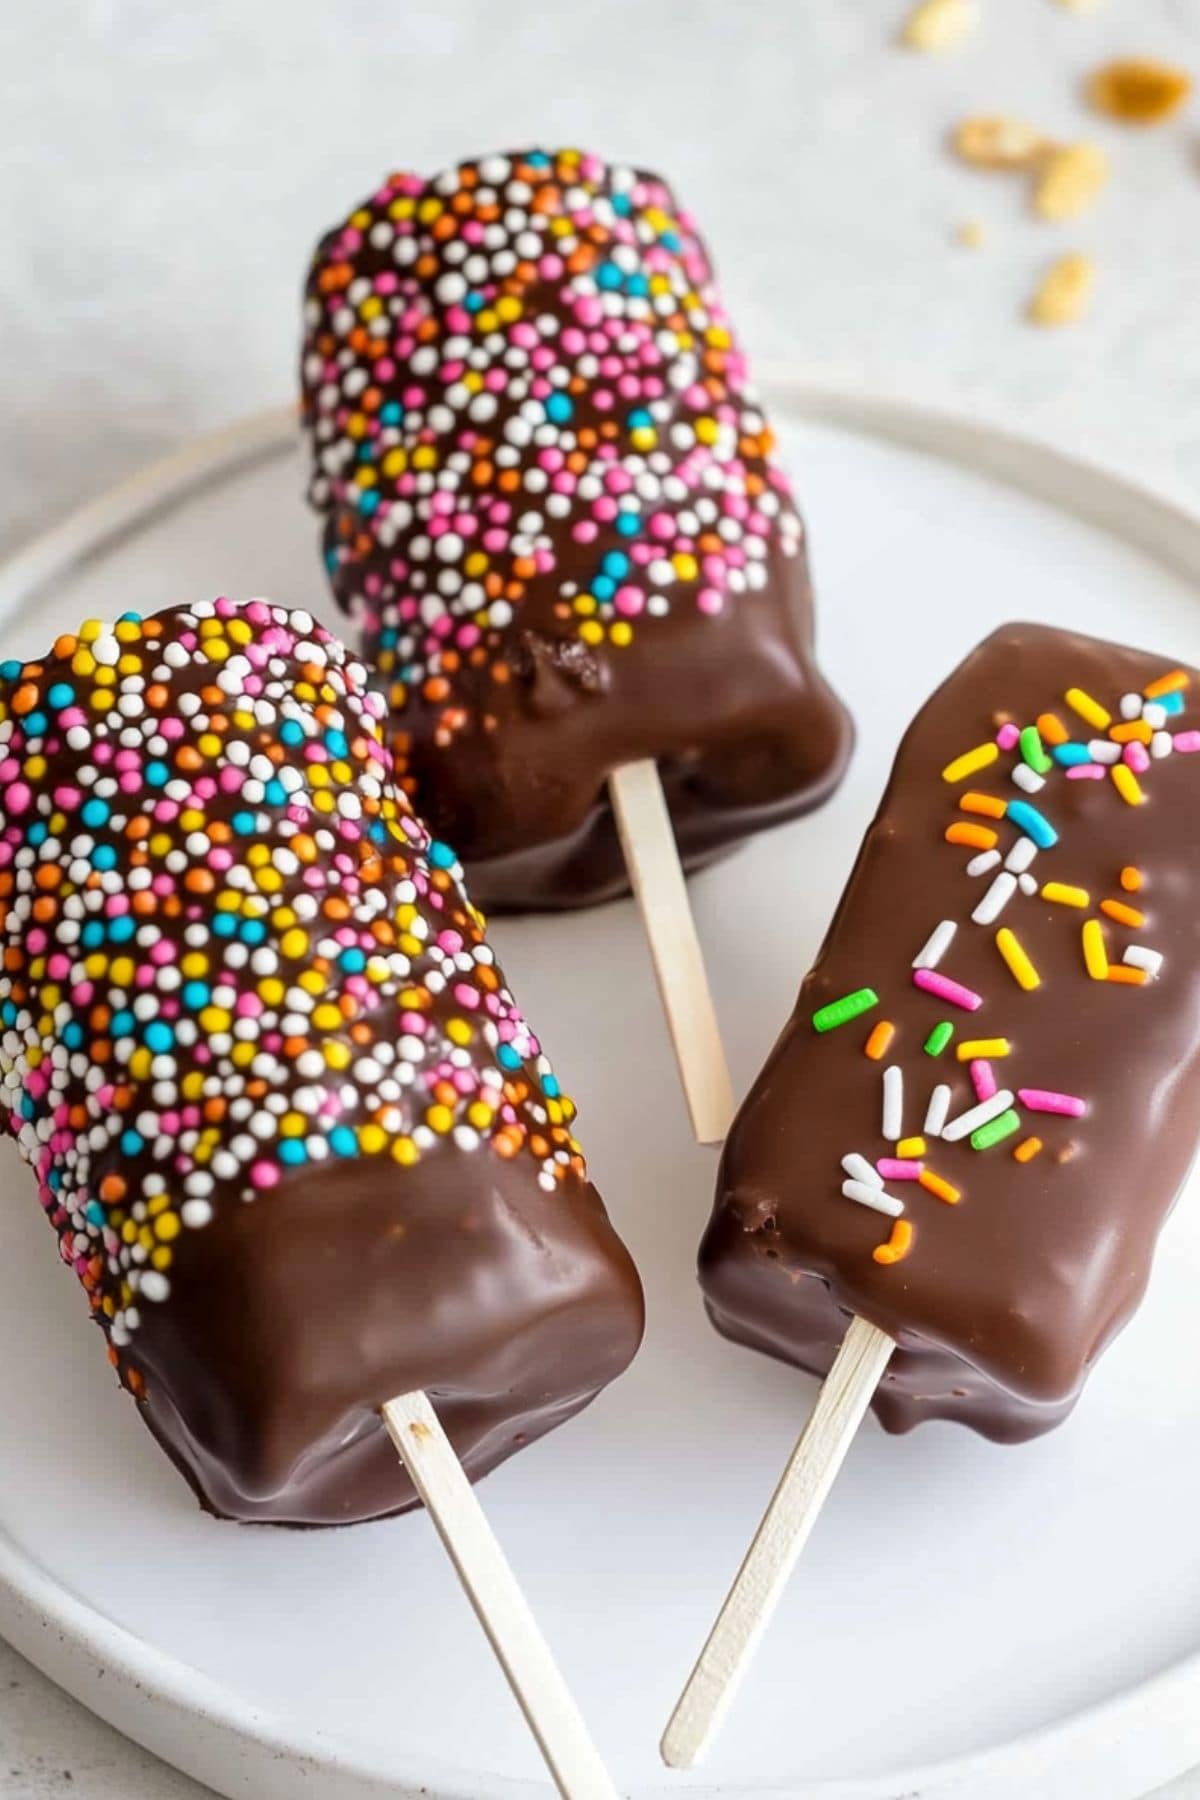
Hold each stick and dip the marshmallow into the melted chocolate, ensuring an even coating. Let any excess chocolate drip off before rolling the marshmallows in your desired toppings.
5. Set
Carefully place the decorated marshmallows on the baking sheet, stick side up. Allow the chocolate to set at room temperature for about 10-15 minutes. Alternatively, you can place the pops in the refrigerator to expedite the hardening process.
6. Serve
Your delightful chocolate-covered marshmallow pops are ready to enjoy once the chocolate has fully hardened!
Tips for the Best Chocolate-Covered Marshmallow Pops
- Aim for stick insertion success: Insert the sticks into marshmallows at room temperature for the best grip. Twist gently as you push to avoid tearing.
- Choose the best chocolate: Brands like Ghirardelli or Wilton Candy Melts are top recommendations for their reliable melting quality and color variety.
- Melt slowly and stir: Always microwave chocolate in 20-30 second intervals, stirring each time to prevent overheating or seizing.
- Smooth it out: Should the chocolate seize up, add 1-2 teaspoons of coconut oil and microwave in 10-second intervals until you regain a smooth consistency.
- Double dip: For a thicker, more professional-looking finish, let the first layer of chocolate set before adding a second coat.
- Watch the temp: Keep the melted chocolate between 88-90°F for optimal dipping consistency; this way, the marshmallows won’t melt.
- Time your topping application: Apply toppings immediately after dipping while the chocolate is still wet for the best results.
How to Store
Keep your marshmallow pops fresh and lovely with these storage tips.
To Store
Place the marshmallow pops in an airtight container, layering them with wax or parchment paper to keep them from sticking together. They’ll stay fresh in the refrigerator for up to one week. Allow them to rest at room temperature for a few moments before serving to avoid overly hard marshmallows.
To Freeze
After the chocolate has set completely, place the pops in a freezer-safe bag or airtight container. For added protection against moisture, double-wrap them. These treats can be frozen for up to two months. Just thaw them at room temperature before indulging.

