The Best Skillet Brownies: Fudgy Perfection in Every Bite!
Indulge in the ultimate chocolate experience with our delicious Skillet Brownies. With rich chocolate fudge flavors enveloped in a slight crunch from the crispy crust, these easy homemade brownies are perfect for satisfying any chocoholic’s cravings.
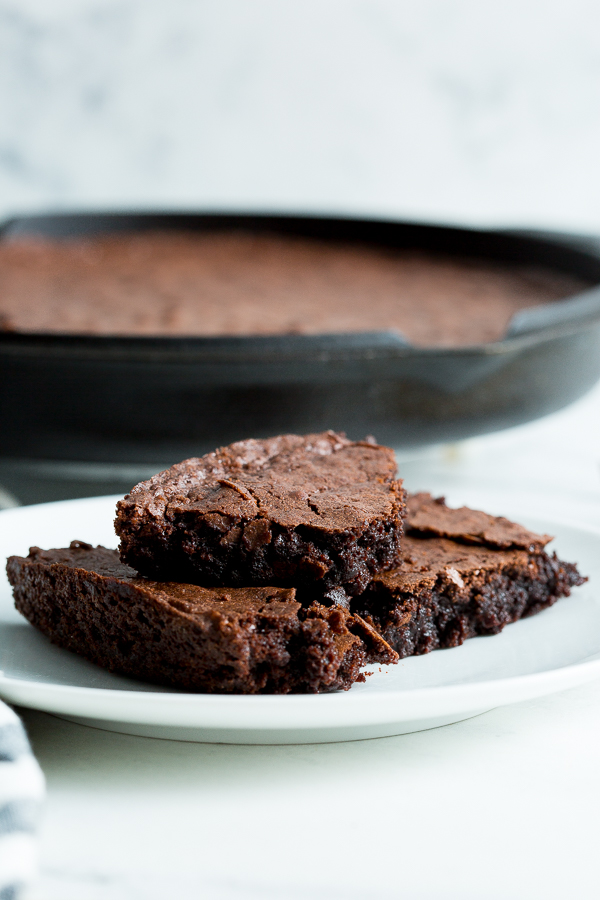
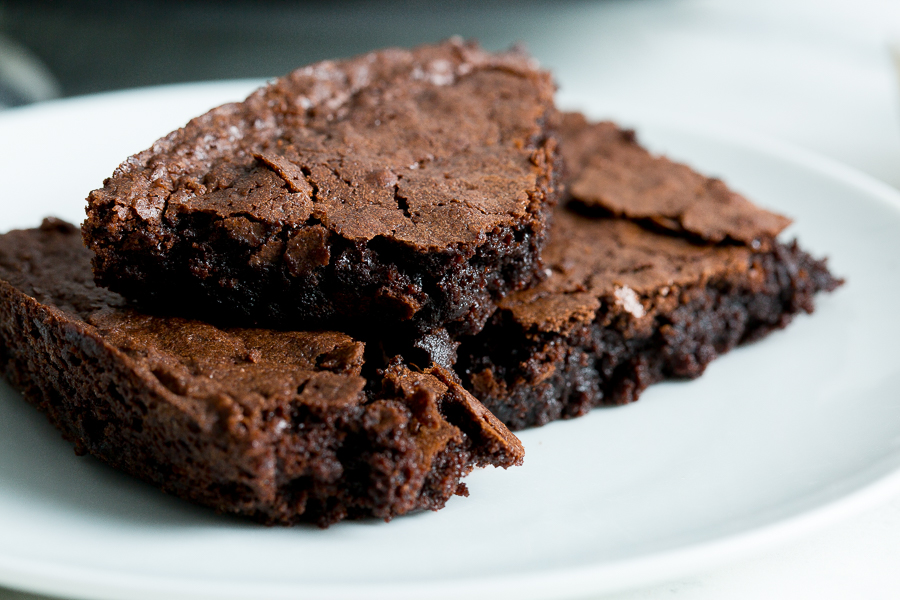
If there are three essentials that elevate life above the ordinary, they’re cheese, chicken, and chocolate. This brownie recipe perfectly encapsulates that chocolate essence. With a delightful balance of a gooey center that isn’t overly indulgent (think chocolate lava cake), yet retains a structure that lifts it above ordinary chocolate cake, this recipe truly represents the perfect chocolate brownie.
What to Know About This Basic Chocolate Fudgy Brownie
Even though this recipe is simple, the flavors are anything but pedestrian. After sifting through numerous old recipes and experimenting with countless variations, we finally landed on this perfect formula. Unlike our Triple Chocolate Chunk Brownies, we utilize semi-sweet chocolate chips melted right into the batter for a flavor that is simply unmatched. This brownie recipe serves as an incredible base for variations, including the Walnut Lover’s Chocolate Brownie, Rocky Road Brownies, and Chocolate Peanut Butter Brownies. We aimed to perfect this original recipe specifically for cast iron users.
Brownies from a Box vs. Brownies from Scratch
Understandably, the thought of making brownies from scratch can be intimidating, especially when you’re used to the familiar taste of box mixes from brands like Betty Crocker. I totally relate, as I grew up loving them too! But the truth is, not all brownies are created equal. Many recipes claim to deliver the best only to fall short, presenting a more cake-like consistency than that coveted fudgy texture. Our goal with this simple brownie recipe was to replicate the ease and perfection of box mixes, ensuring that every batch turns out amazing.
Ingredients for Brownies from Scratch and Why You Need Them
Sure, a box mix might be slightly easier, but the fundamental ingredients for making scrumptious brownies from scratch are often already in your pantry. Most people will only need to stock up on cocoa powder and chocolate chips to get started.
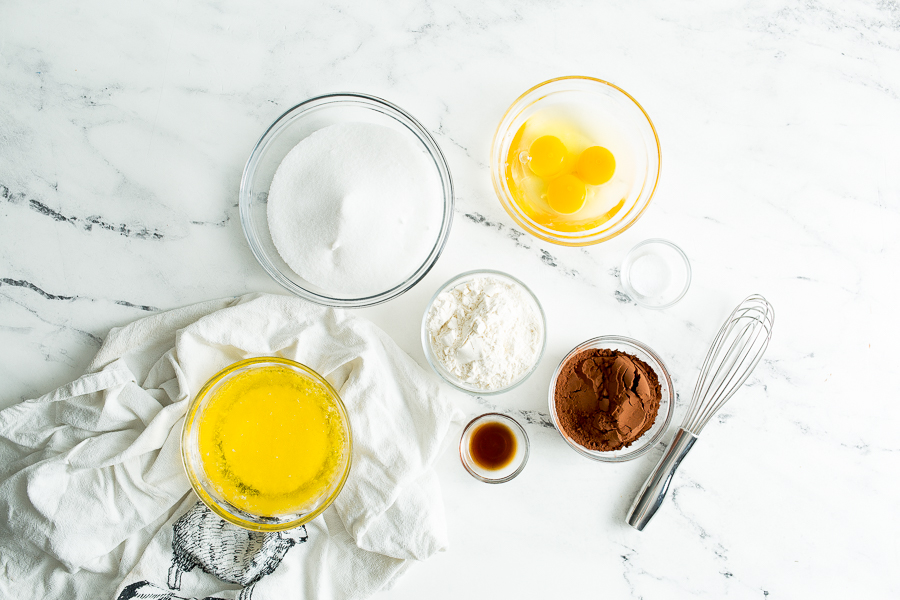
- Cocoa Powder: Opt for either Hershey’s Cocoa Powder or 100% Dutch Cocoa Powder for an extra rich brownie.
- Flour: All-Purpose flour is commonly found in most kitchens and works beautifully for brownies.
- White Cane Sugar: A regular sweetener that elevates your brownies.
- Butter: Adds to the overall richness of flavor.
- Eggs: Three — no more, no less, for the perfect texture.
- Vanilla Extract: A must for adding depth to the flavor profile.
- Salt: Even though these aren’t Salted Caramel Brownies, a pinch of salt is essential for balancing sweetness.
How to Bake a Skillet Brownie
How Long to Cook a Skillet Brownie?
If you find yourself without a skillet, fear not! You can adapt this recipe and bake in a 9×13 rectangular dish for about 30 minutes. A 10.25-inch skillet will require around 35-40 minutes, while personal-sized skillets will take approximately 17-23 minutes. It’s a subtle difference, but one that can impact your result, so stay aware.
How to Make a Skillet Brownie
Start by preheating your oven to 350°F with the 12-inch cast iron skillet placed in the center. Allow the skillet to heat up with the oven. Meanwhile, melt your butter either on the stovetop or in the microwave. Once melted, pour it into a bowl containing sugar, cocoa powder, and salt, and whisk to combine.

Whisk together sugar, cocoa powder, and salt. 
Add the melted butter and stir until combined.
Next, add in your eggs and vanilla extract, and mix until just incorporated. Then gently fold in the flour with a rubber spatula. Be careful to avoid overmixing the batter to keep it nice and dense.

Whisk in the eggs and vanilla extract.
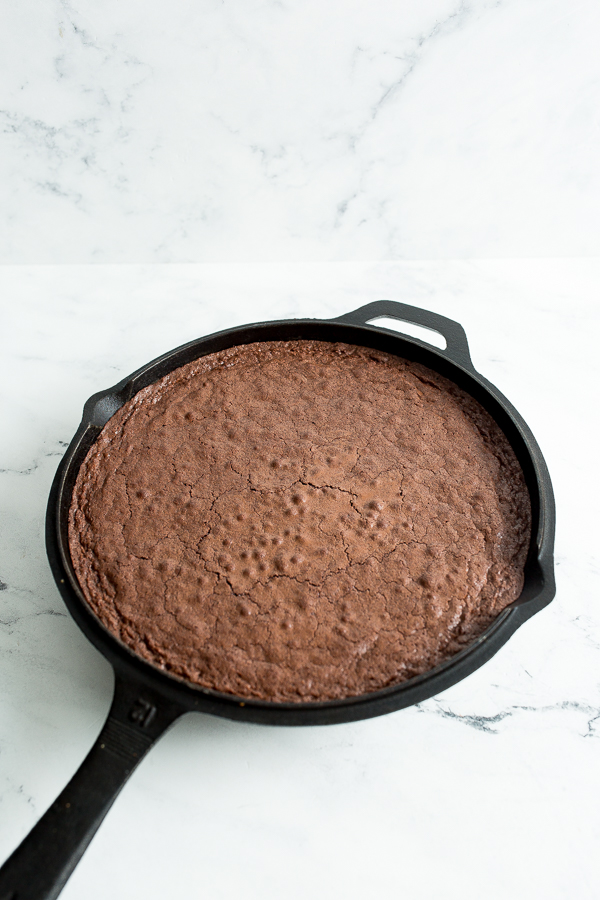
Your brownie batter should have a pudding-like consistency, slightly coarse but thick. Pour the batter into the preheated skillet and pop it into the oven. Bake for 30 minutes, but keep an eye out as the top will form a delightful crust while the center remains soft.

Pour into the preheated pan and bake for 30 minutes.
After 30 minutes, take the skillet out of the oven and let it cool. The top should be set, yet the inside will still look slightly underdone. It’s crucial to let the brownies rest to allow them to continue cooking as they cool.
Tips for Making the BEST Homemade Skillet Brownies
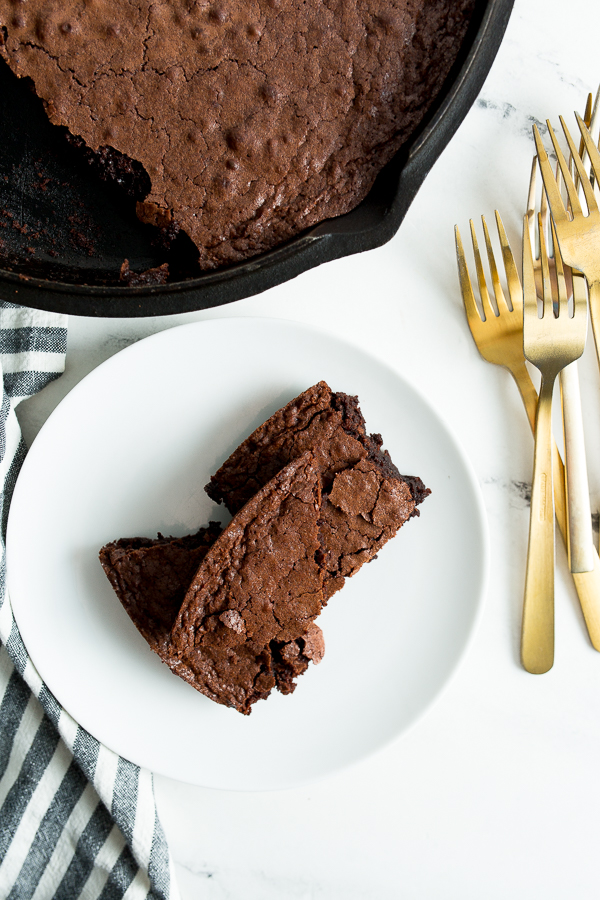
Letting your brownies cool completely is key. While it’s tempting to dive right in when they come out gooey and warm, patience is essential. Removing them too early can lead to a messy brownie cut. When cooled, the chocolate solidifies, giving you that perfect slice.
How to Store, Freeze, Reheat, and Serve Homemade Brownies
How to Store Fresh Homemade Brownies
In those rare moments when you might have leftovers, keep them fresh by storing them in an airtight container at room temperature for up to three days or in the refrigerator for a week. They’ll stay delicious and ready to be enjoyed!
How to Freeze Homemade Brownies
If you’re feeling generous and want to prepare some for later, freeze your brownies after allowing them to cool completely. Cut them into single servings and place them on a parchment-lined cookie sheet in the freezer until hard. Then, transfer them to a freezer-safe bag, where they’ll be good for 2-3 months.
How to Thaw Frozen Brownies
When you’re ready to enjoy those frozen brownies, let them thaw at room temperature or heat them in the microwave at half power in 15-second intervals until they reach your desired temperature.
What to Serve with Brownies
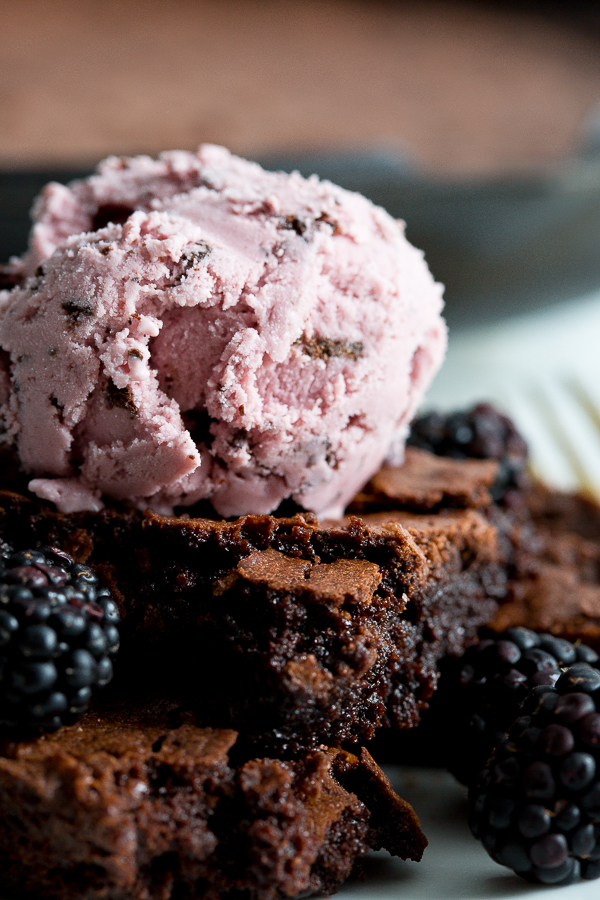
Brownie sundaes are a classic, topped with a scoop of vanilla ice cream (or black raspberry, if you’re feeling adventurous), drizzled with chocolate and piled high with whipped cream. If sundaes aren’t your thing, try these delightful pairings:
- Fresh fruit like raspberries or strawberries
- A sprinkle of sea salt for a touch of balance
- Your favorite coffee or a chocolate milkshake
- Chocolate sauce for drizzling with each slice


