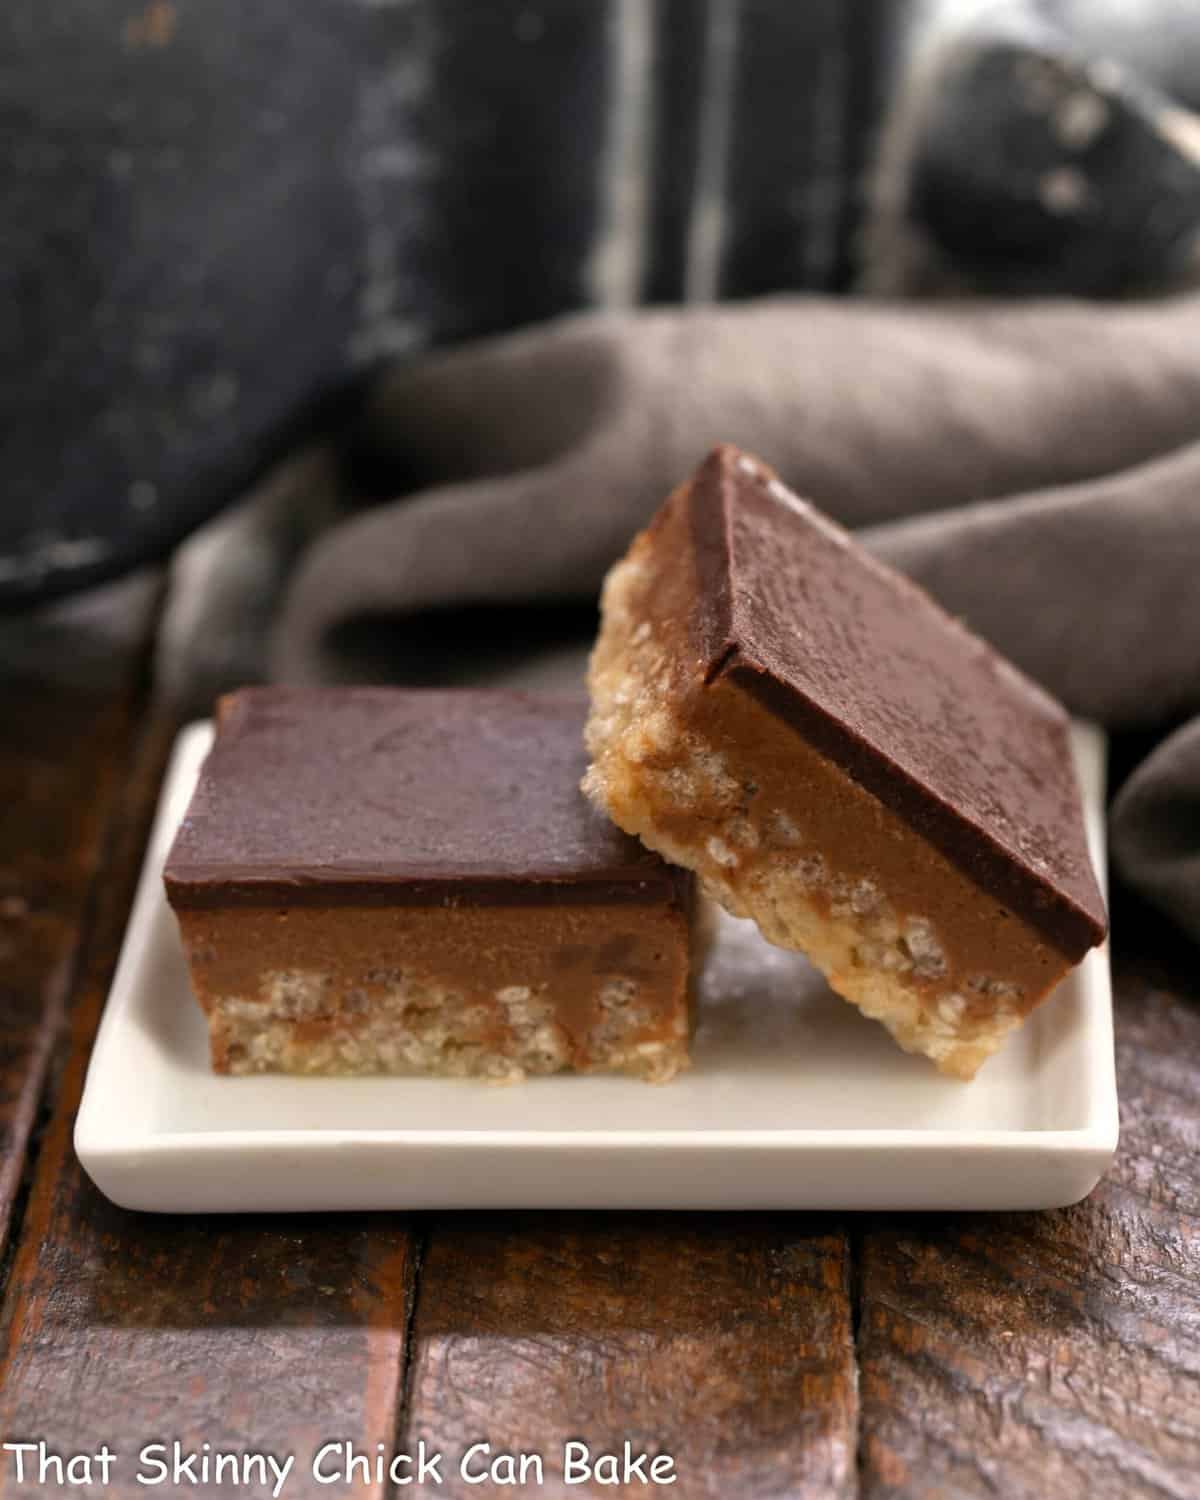
Decadent Chocolate Peanut Butter Krispie Bars
Chocolate lovers, rejoice! These Chocolate Peanut Butter Krispie Bars offer a delightful combination of rich chocolate and creamy peanut butter, layered for maximum indulgence. With three layers of bliss, they promise to be your new favorite treat. This isn’t just your ordinary Scotcheroos recipe; it’s an elevated version that’s bound to impress!
Why You Must Make These Bars
- Three layers of flavor—most traditional peanut butter treats only have two!
- A delightful remix of the beloved Scotcheroos, incorporating corn syrup, Rice Krispies, and a chocolatey topping!
- A fantastic treat for any peanut butter dessert enthusiast!
As someone who grew up loving all things peanut butter and chocolate, I knew I had to make these bars for the peanut butter fanatics at home. It takes me back to my college days, when I’d rush to the kitchen for a taste of my mom’s classic treats the moment I walked through the door. With warm memories and cravings flooding in, I couldn’t wait to make a batch of these scrumptious bars!
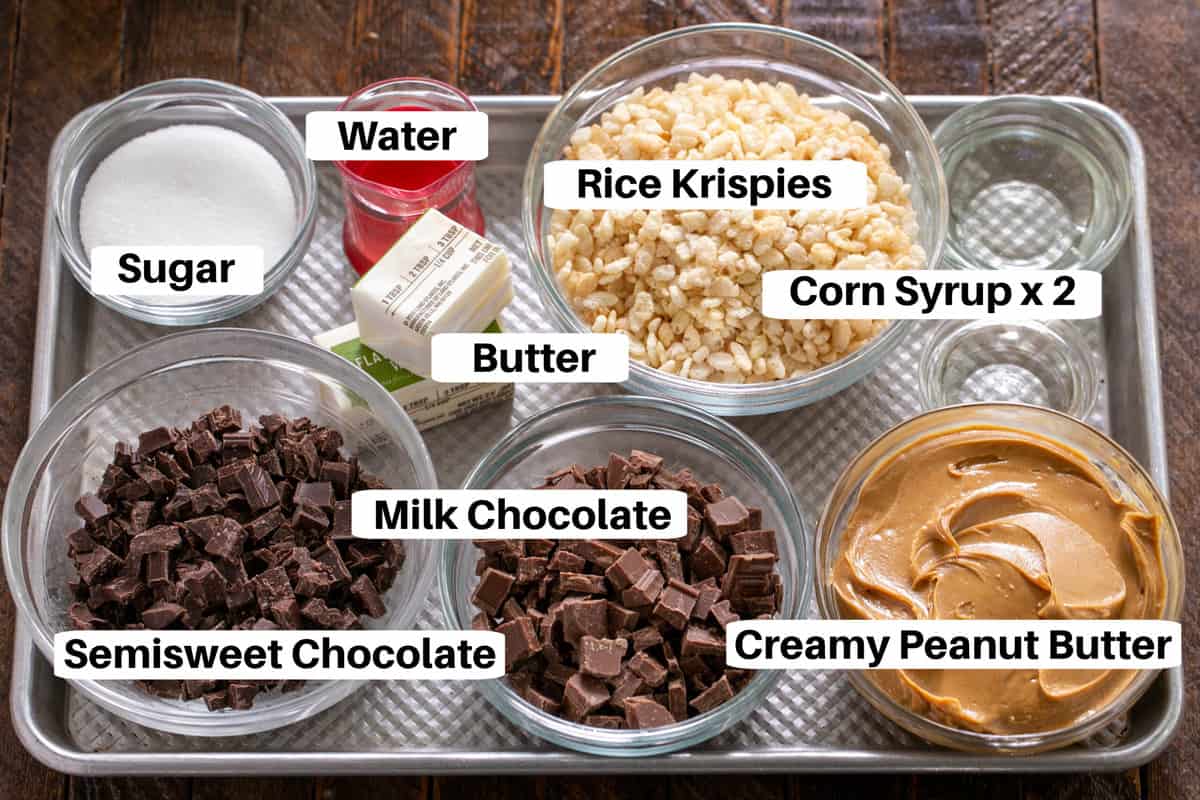
Ingredient Notes
- Essentials: Water, Sugar, Butter are your base ingredients.
- Rice Krispies: I recommend using Kellogg’s for the best texture, although generic brands can work, just avoid puffed rice cereal.
- Corn Syrup: Go for light corn syrup—dark won’t yield the same sweetness.
- Chocolate: I typically use Ghirardelli bars for both milk and semisweet chocolate, but chocolate chips are a great alternative if you weigh them accurately.
- Peanut Butter: A creamy texture is ideal; I love the reliability of Jif for this recipe.
How to Make Chocolate Peanut Butter Krispie Bars
Step 1: Prepare the Baking Pan
Start by lining an 8×8-inch pan with non-stick foil for easy removal and cleanup.
Step 2: Make the Syrup
In a small saucepan, pour in the water and carefully add the sugar and corn syrup right in the center. Give it a gentle stir with a wooden spoon or silicone spatula, avoiding the sides of the pan.
Step 3: Boil and Measure
Insert a candy thermometer and cook over medium-high heat until the mixture reaches a boil. Monitor it closely until it hits the soft ball stage at around 235ºF.
Step 4: Combine with Rice Krispies
Once off the heat, stir in the butter until melted and combined. Pour this warm syrup over the Rice Krispies and mix until every last rice piece is coated. Use a silicone spatula to gently press the mixture into your lined pan, then let it cool at room temperature.
Step 5: Create the Milk Chocolate Peanut Butter Layer
In a microwave-safe bowl, melt together the peanut butter and milk chocolate. Stir well to combine, then pour this luscious mixture over the Rice Krispies layer and spread evenly. Chill for about an hour.
Step 6: Prepare the Dark Chocolate Layer
For the top layer, melt the semisweet chocolate, corn syrup, and butter in another microwave-safe bowl until smooth. Spread this silky chocolate over the peanut butter layer. Chill again for an hour or until firm.
Step 7: Cut and Serve
Using a sharp knife, cut the bars into squares. For cleaner cuts, I recommend chilling the bars first, then running your knife under hot water, drying it off, cutting, and repeating as necessary. Store your indulgent creations in the refrigerator.
Recipe Tips for Success
- A candy thermometer ensures the syrup reaches the perfect stage for optimal texture. They’re easy to find, even at supermarkets!
- When layering the Rice Krispies, avoid packing it too tight. You want it level but fluffy for the best texture.
- Chill your bars before cutting for neat, clean squares. Use a hot knife for cutting, wiping it between cuts for the best results.
- To keep your bars fresh, store them in the fridge to keep the chocolate from softening.
- If stacking the bars in a container, place parchment paper between layers to avoid sticking.