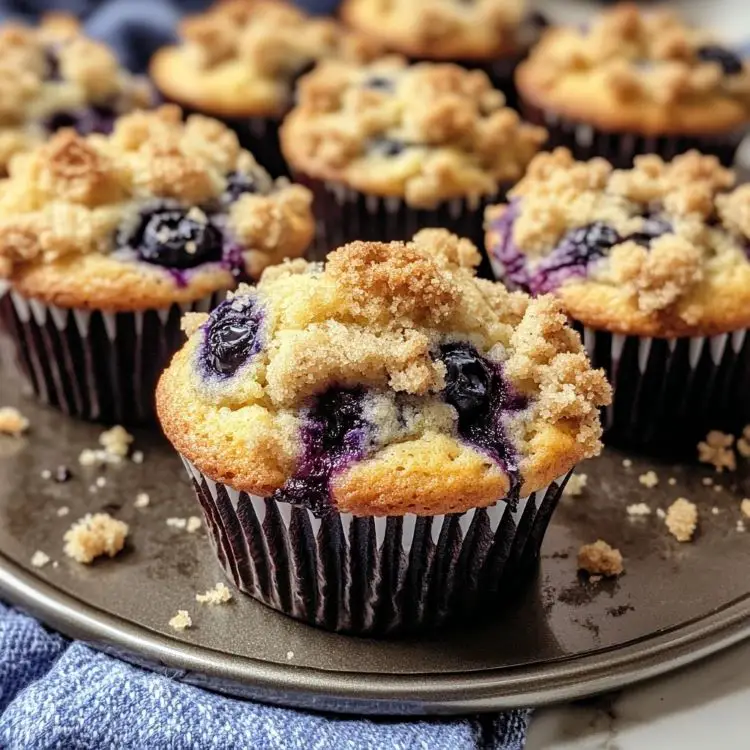
Baked Apple Fritters: A Healthier Twist on a Classic Treat
If you’re in the mood for something sweet and comforting, but want to keep it a bit lighter, look no further than these scrumptious Baked Apple Fritters! Bursting with flavor and delightful texture, these fritters offer all the deliciousness of the traditional fried version, but without the extra grease. Infused with tender apple chunks and fragrant spices, each bite is like a warm hug on a chilly day. Drizzled with a sweet vanilla glaze, these fritters are perfect for breakfast, a mid-day snack, or even dessert. Get ready to enjoy the joys of homemade apple fritters with this lighter, easier option!
Why You’ll Love This Recipe
This recipe is a must-try because it’s not only uncomplicated and quick to prepare, but it also features readily available ingredients. Baked Apple Fritters give you all the cozy flavors of traditional apple fritters without the frying hassle. The soft, baked dough is complemented by juicy apple pieces and a hint of warm spices like cinnamon and nutmeg, making every mouthful comforting and satisfying. The addition of a sweet vanilla glaze elevates these fritters, making them an ideal choice for breakfast or an afternoon treat. Plus, since they’re baked, you can indulge without any guilt!
The Recipe
Ingredients:
For the Fritters:
- 2 cups all-purpose flour
- 1/4 cup granulated sugar
- 2 teaspoons baking powder
- 1/2 teaspoon salt
- 1 teaspoon ground cinnamon
- 1/4 teaspoon ground nutmeg
- 1/2 cup whole milk
- 2 large eggs
- 1 teaspoon vanilla extract
- 3 tablespoons unsalted butter, melted
- 2 cups peeled and chopped apples (like Granny Smith or Honeycrisp)
- 1/4 cup light brown sugar, packed
For the Glaze:
- 1 cup powdered sugar
- 2-3 tablespoons milk
- 1/2 teaspoon vanilla extract
Step-by-Step Instructions:
- Preheat the oven: Start by preheating your oven to 350°F (175°C). Line a baking sheet with parchment paper, or lightly grease it to prevent sticking.
- Prepare the dry ingredients: In a large bowl, take the time to whisk together the flour, granulated sugar, baking powder, salt, cinnamon, and nutmeg until everything is well combined. The aroma of the spices will warm up your kitchen!
- Mix the wet ingredients: In a separate bowl, whisk together the whole milk, eggs, vanilla extract, and melted butter until the mixture is nice and smooth.
- Combine wet and dry ingredients: Gently introduce the wet ingredients into the dry mixture, stirring until just combined. Remember, it’s important not to overmix; a few lumps are perfectly fine!
- Fold in the apples and brown sugar: Carefully fold in the chopped apples and packed light brown sugar, ensuring they are evenly distributed throughout the batter.
- Shape the fritters: Use a spoon to drop heaping tablespoons of the batter onto the prepared baking sheet, forming each fritter into a round shape. Make sure to leave some space between each fritter to allow for spreading as they bake.
- Bake the fritters: Place the baking sheet in the oven and bake for about 15-18 minutes, or until the fritters turn a lovely golden brown and a toothpick inserted into the center comes out clean. Once baked, let them cool slightly on the baking sheet before transferring to a wire rack.
- Make the glaze: While the fritters are cooling, prepare the glaze by whisking together the powdered sugar, 2 tablespoons of milk, and vanilla extract in a small bowl until smooth. If the glaze is too thick, add an additional tablespoon of milk until you reach your desired consistency.
- Glaze the fritters: When the fritters are still warm, drizzle the glaze over the top or dip the fritters into the glaze to coat them. Let the glaze set for a few minutes before indulging.
- Serve and enjoy: These baked delights are best enjoyed warm or at room temperature. Pair them with a comforting cup of coffee or tea for the ultimate treat!
Serving and Storage Tips
- Serving: For optimal flavor and texture, serve these fritters slightly warm. They make a perfect pairing with coffee or tea, or, for a special indulgence, serve them with a scoop of vanilla ice cream.
- Storage: If you have any leftovers (though we doubt it), store them in an airtight container at room temperature for up to 2 days. For longer freshness, you can keep them in the refrigerator for up to 4 days—just reheat them in the microwave before serving.
Helpful Notes
- If you’re after a slightly crispier top, brush the fritters with melted butter before baking.
- For a more pronounced apple flavor, opt for tart apples like Granny Smith or even add a pinch of ground ginger to the batter.
- Chop the apples into small, uniform pieces for even cooking throughout the fritters.
FAQs
1. Can I use a different type of fruit?
Absolutely! Feel free to substitute apples with pears or even mix in dried fruits like raisins or cranberries for a change.
2. Can I make these fritters gluten-free?
Yes! Simply swap out the all-purpose flour for a 1:1 gluten-free flour blend. While the texture may vary slightly, the taste will still be delightful.
3. Can I add nuts?
Certainly! Chopped pecans or walnuts can add a lovely crunch and flavor to the fritters.
4. How do I keep the fritters moist?
5. Can I freeze these fritters?
Yes, you can freeze the unglazed fritters for up to 2 months. When you’re ready to enjoy, thaw them at room temperature, then reheat in a preheated oven at 350°F (175°C) for about 5-7 minutes. Glaze them just before serving for the freshest taste!


