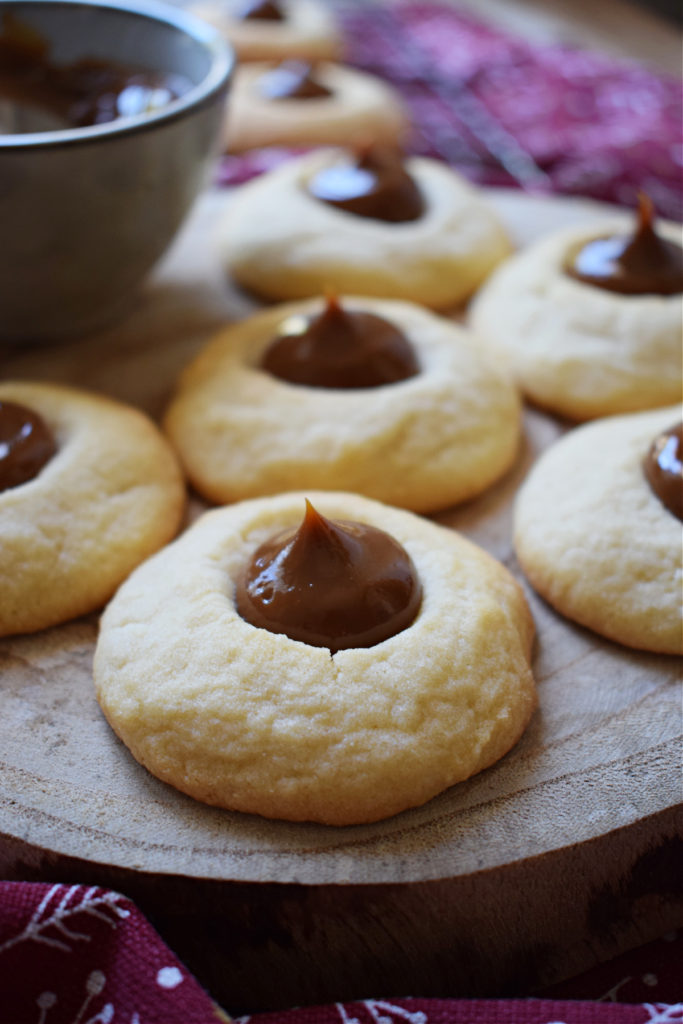
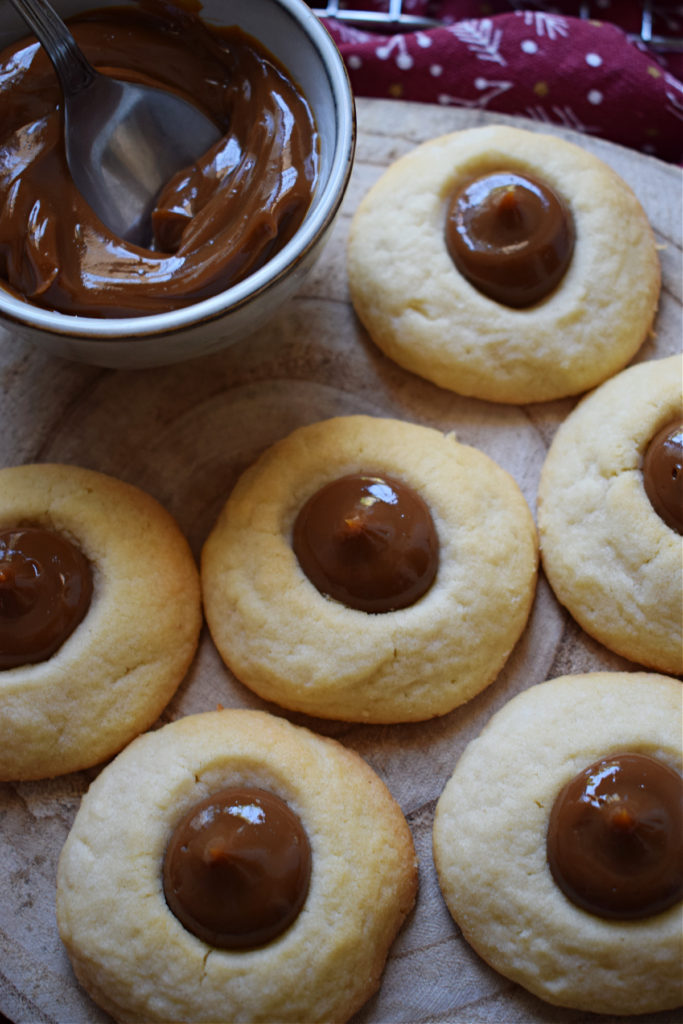
Dulce de Leche Thumbprint Cookies
A must-bake treat for your cookie list! These soft, buttery cookies are generously filled with rich and creamy dulce de leche. Perfect for satisfying your sweet cravings, and they can be made in advance!
Getting Into the Cookie Spirit
Is it cookie season yet? As we’re now into November, many of you are likely starting to think about the upcoming holiday festivities—especially baking! This time of year is my favorite for creating delicious treats. Although I typically wait until December to share holiday recipes, I figured I’d give everyone a head start this year.
If you’re new to the world of dulce de leche, let me tell you—you’re in for a sweet surprise! This silky, caramel-like substance is what dreams are made of. I have several recipes using dulce de leche on my blog, each more delightful than the last, including Dulce de Leche Brownie Torte, Chewy Chocolate & Dulce de Leche Bars, and Dulce de Leche Pistachio Brownies. Be sure to check them out for the upcoming festive season!
What is Dulce de Leche?
Dulce de leche is a caramel confection that hails from Latin America. It’s made by slowly heating condensed milk or a mixture of milk and sugar for several hours until it transforms into a thick, golden caramel sauce.
If you’ve never tried using dulce de leche in your baking before, you’re missing out! It’s such an irresistible ingredient. Be mindful, though, as it’s quite sweet, so a little goes a long way!
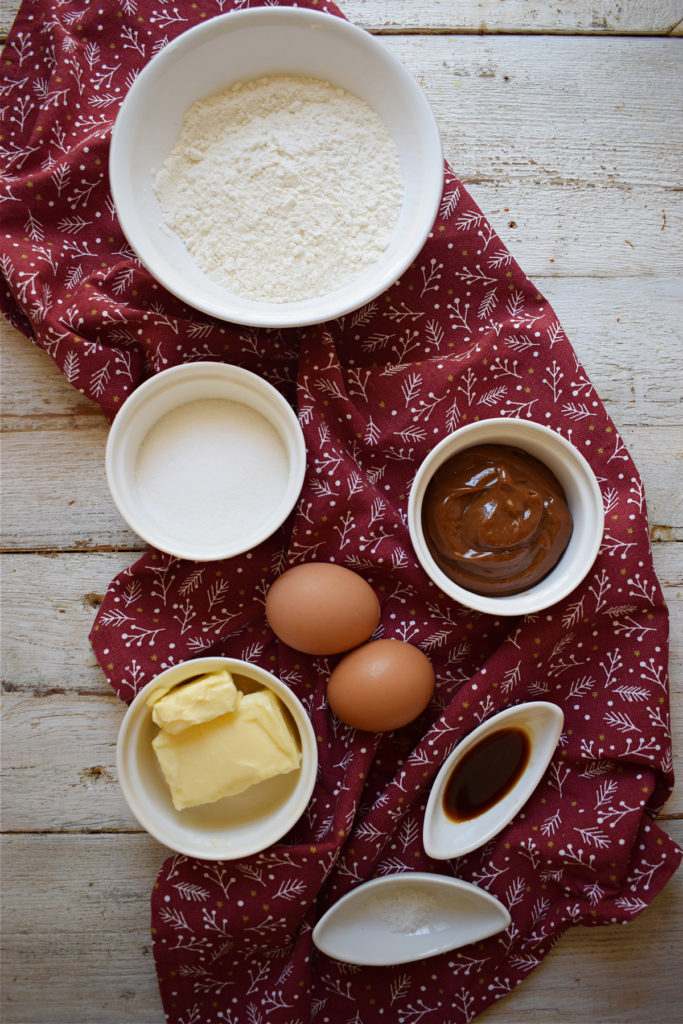
Ingredients for Dulce de Leche Thumbprint Cookies
- Butter
- Granulated white sugar
- Vanilla extract
- Plain flour
- Egg yolks
- Salt
- Dulce de leche
REMEMBER: You can find the complete recipe and instructions at the end of this article in the recipe card.
Instructions: How to Make Dulce de Leche Thumbprint Cookies
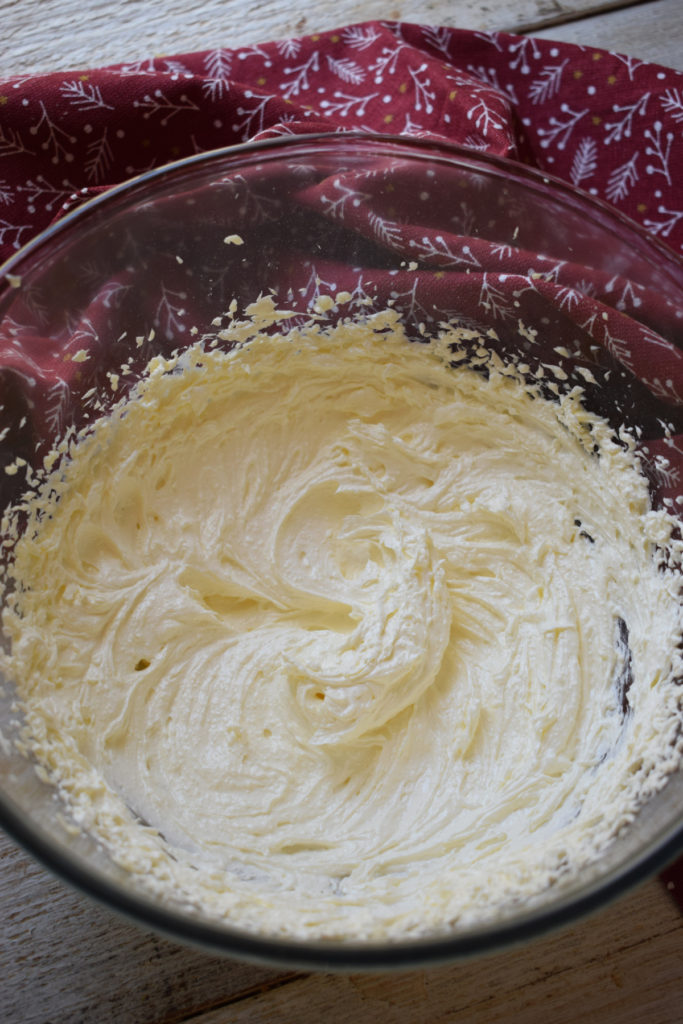
- Beat Butter and Sugar – Start by creaming the butter and sugar in a large bowl until light and fluffy. This should take about 3 to 4 minutes. Afterward, mix in the vanilla extract for about another minute to incorporate it fully.
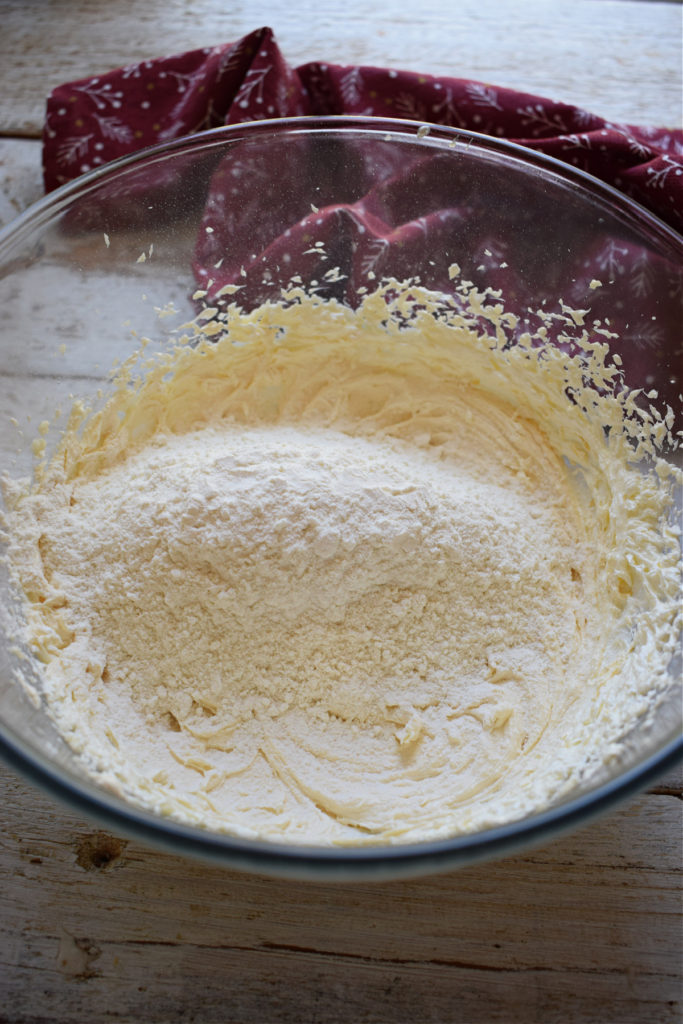
- Add Egg Yolks and Flour – Next, beat in the egg yolks until well combined. Gradually add the flour and a pinch of salt. You can either mix this by hand or use an electric mixer at a low speed. Just mix until everything is combined.
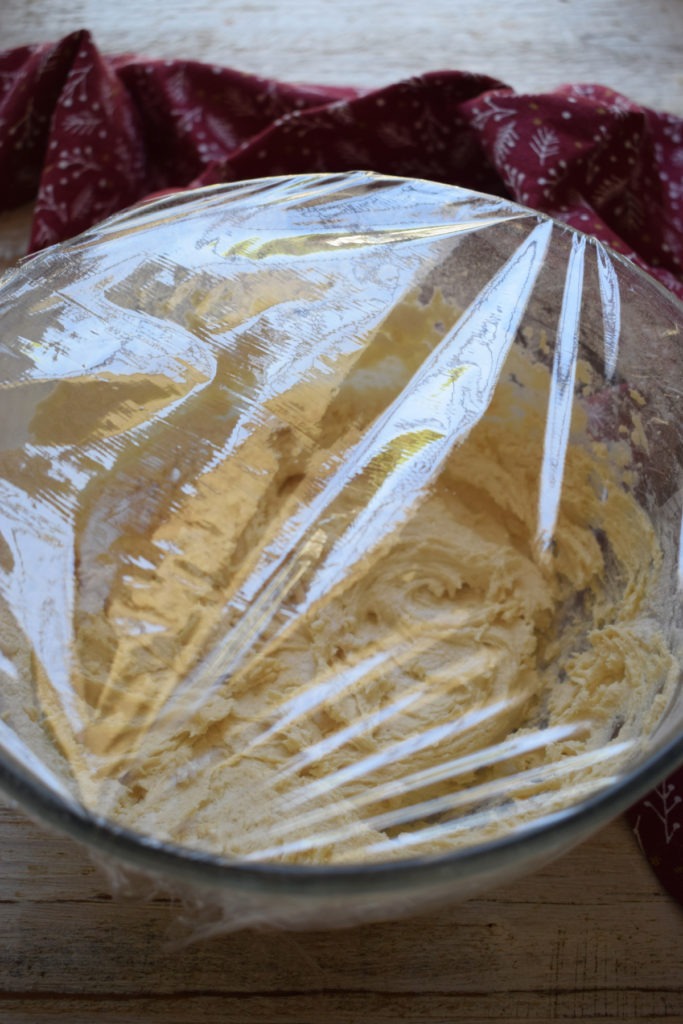
Chill the Dough
- Chill the Dough – Cover the cookie dough with plastic wrap and chill for about 30 minutes. This step is crucial to avoid over-spreading during baking. If you prefer, this cookie dough can also be made ahead of time and frozen.
IMPORTANT – If you skip the chilling step, your cookies will spread too much, and you won’t get that distinctive thumbprint shape!

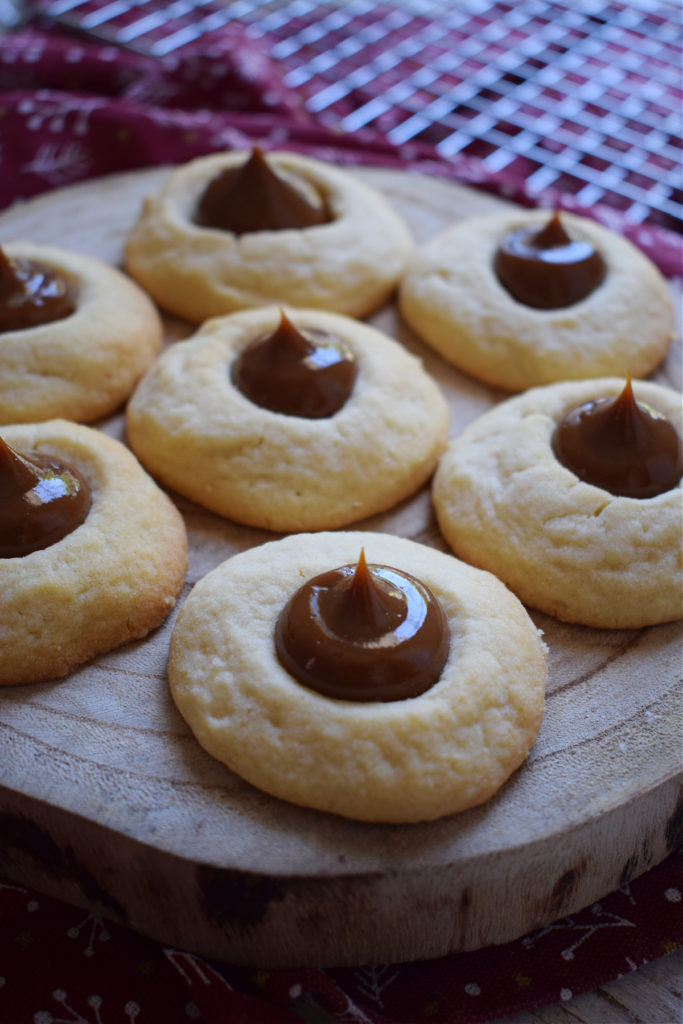
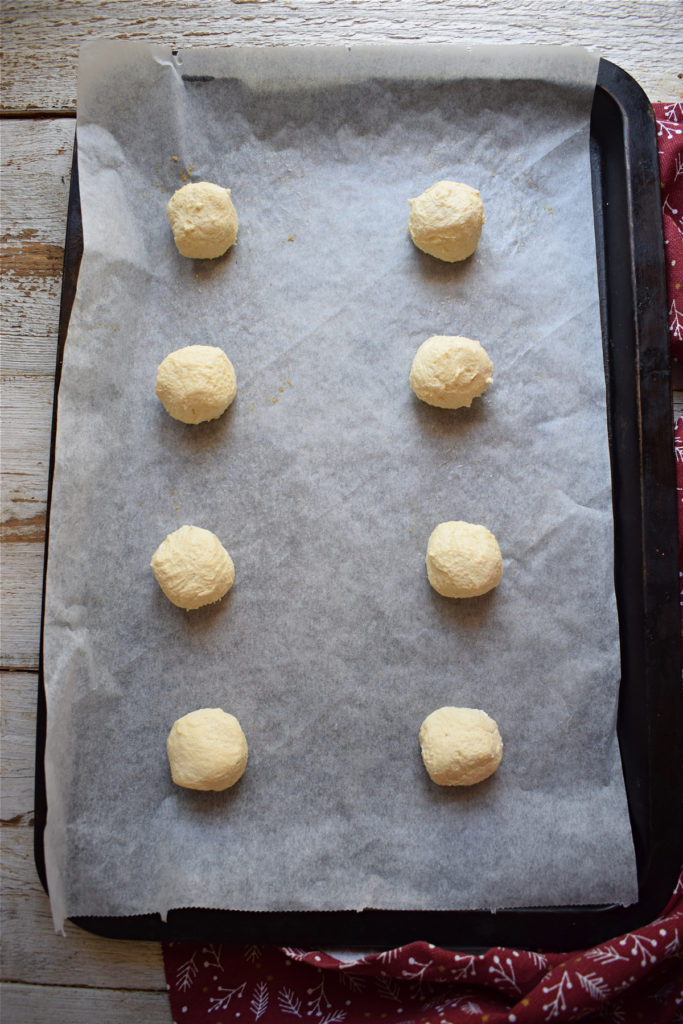
Form the Thumbprint Cookies
- Form into Balls – Grab about a tablespoon of dough and roll it into a small ball. Repeat this step until all the cookie dough is formed into balls.
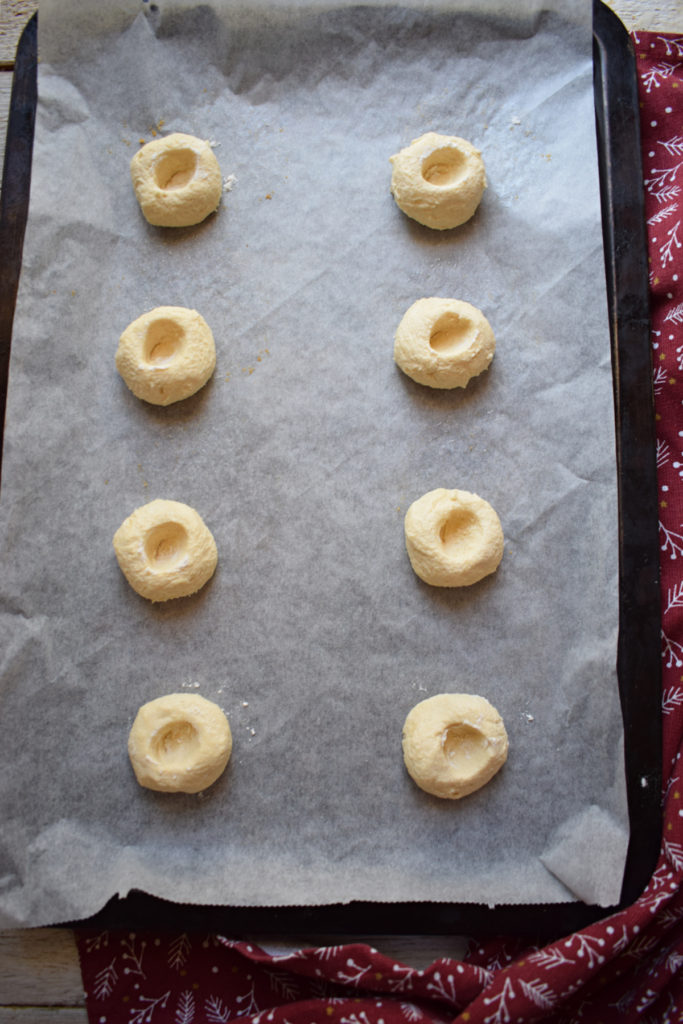
- Make Indent in the Center – Using your thumb, create a gentle indent in the center of each ball. Just a small impression is needed—too big, and it might break apart when baking!
BAKING TIP: If you’re baking in batches, keep the unbaked cookies in the fridge until you’re ready to bake them. This helps ensure even baking and prevents spreading!
Don’t Over Bake the Cookies
- Don’t over bake the cookies—if you do, they will dry out and crumble apart.
BAKING TIPS: I use a convection oven, so my cookies bake perfectly in about 12 minutes. If you’re unfamiliar with your oven, bake a few cookies first to gauge the baking time. When done, the cookies should be pale and soft to the touch; they will harden as they cool.

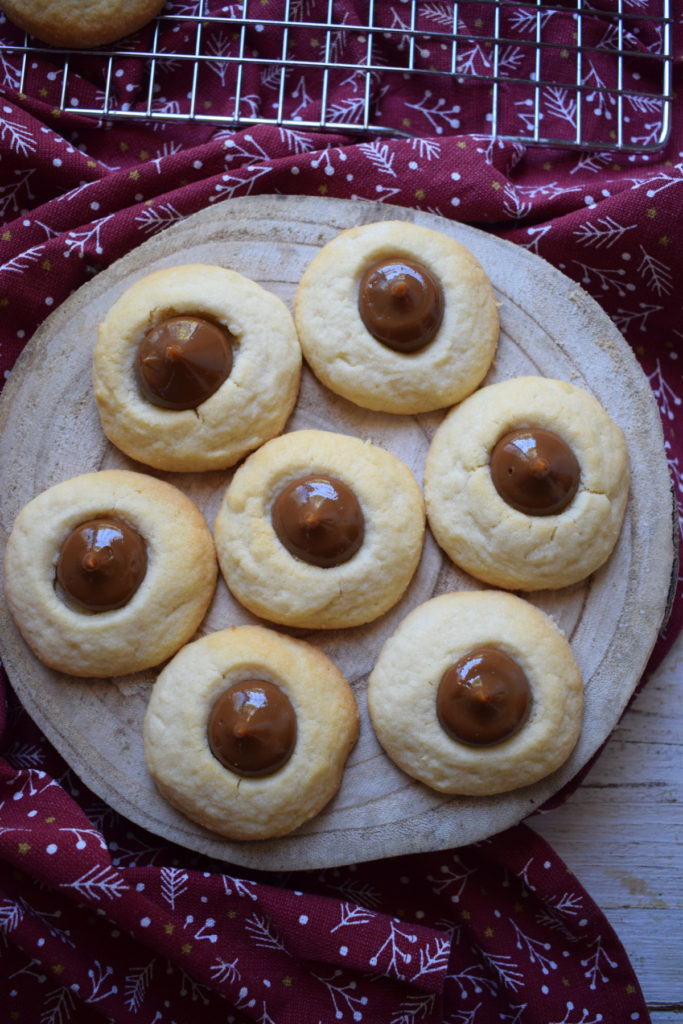
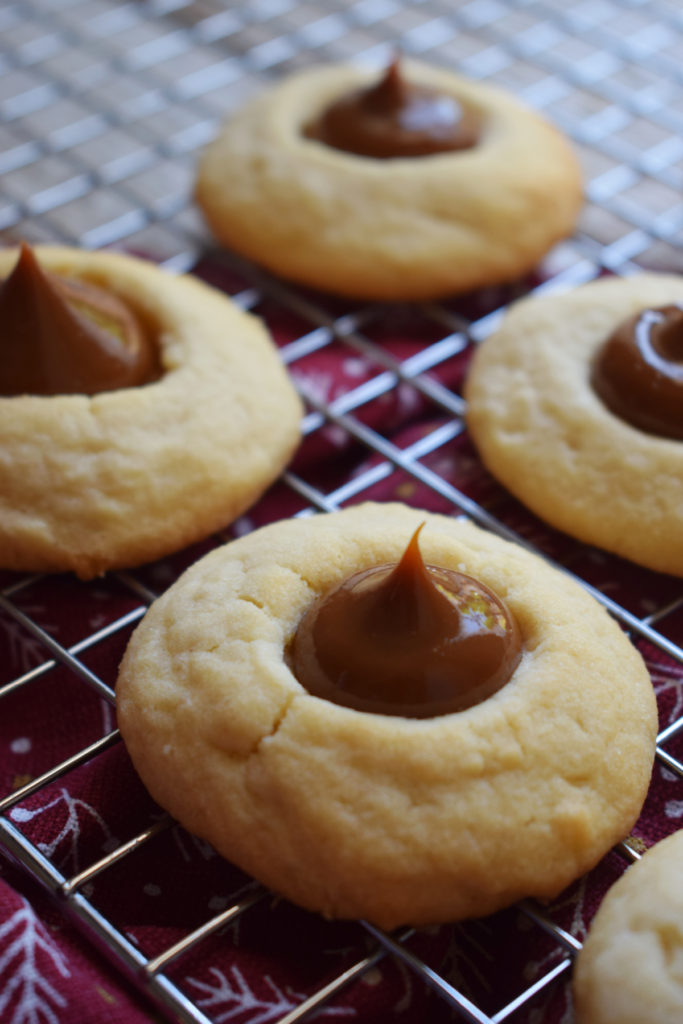
How to Fill Thumbprint Cookies
- Piping Bag – Fill a piping bag fitted with a 1/2 inch round tip with dulce de leche and pipe it into the centers of the cookies.
- Zip-lock Bag – Alternatively, cut a small corner from a zip-lock bag, fill it with dulce de leche, and pipe it into the centers.
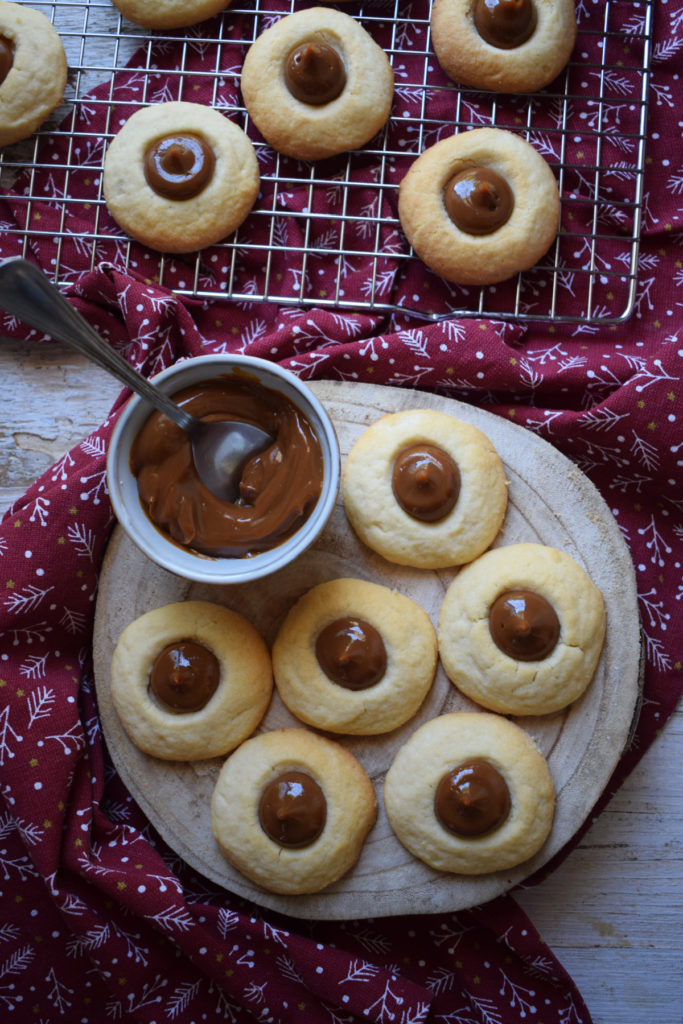
- Spoon – You can also use a teaspoon to scoop and smooth the dulce de leche into the centers. This method creates a flatter filling compared to the piping method.
Storing Your Dulce de Leche Cookies
- Store for up to 5 days in the fridge – These cookies can be stored for up to 5 days in an airtight container in the fridge. Just remember to avoid stacking them if they’re filled with dulce de leche, as the filling can flatten.
- Store unfilled in the freezer for up to 2 months – You can bake the thumbprint cookies and freeze them unfilled for up to two months. When ready, simply defrost and fill as needed.
Can I Make My Own Dulce de Leche?
You can certainly make your own dulce de leche! Here’s a simple method:
- Make Dulce de Leche in a Double Boiler – Fill the bottom portion of the double boiler with water, open a can of sweetened condensed milk, and pour it into the top part. Heat it over medium heat on the stovetop for about 3 hours, stirring occasionally to ensure even cooking. It’s ready when it turns thick and a lovely golden color.
- NOTE: By using this method, the resulting dulce de leche may differ slightly from the store-bought version used in this recipe.
Frequently Asked Questions
1. Can I use store-bought dulce de leche instead of homemade?
Absolutely! Store-bought dulce de leche works perfectly for these cookies and saves you time.
Store them in an airtight container in the fridge for up to 5 days, or freeze unfilled cookies for up to 2 months.
If your dough is too soft, chill it for a bit longer to make rolling it into balls easier.
4. Can I substitute any ingredients?
It’s best to stick to the recipe for the best results, but you can try using different flavored extracts if you want to experiment!
The cookies should look pale and be soft to the touch when you remove them from the oven. They will harden as they cool, so don’t overbake them!
This version humanizes the original content while maintaining the structure and key information. It offers a casual, friendly tone aimed at engaging readers keen to explore the delicious world of dulce de leche thumbprint cookies.