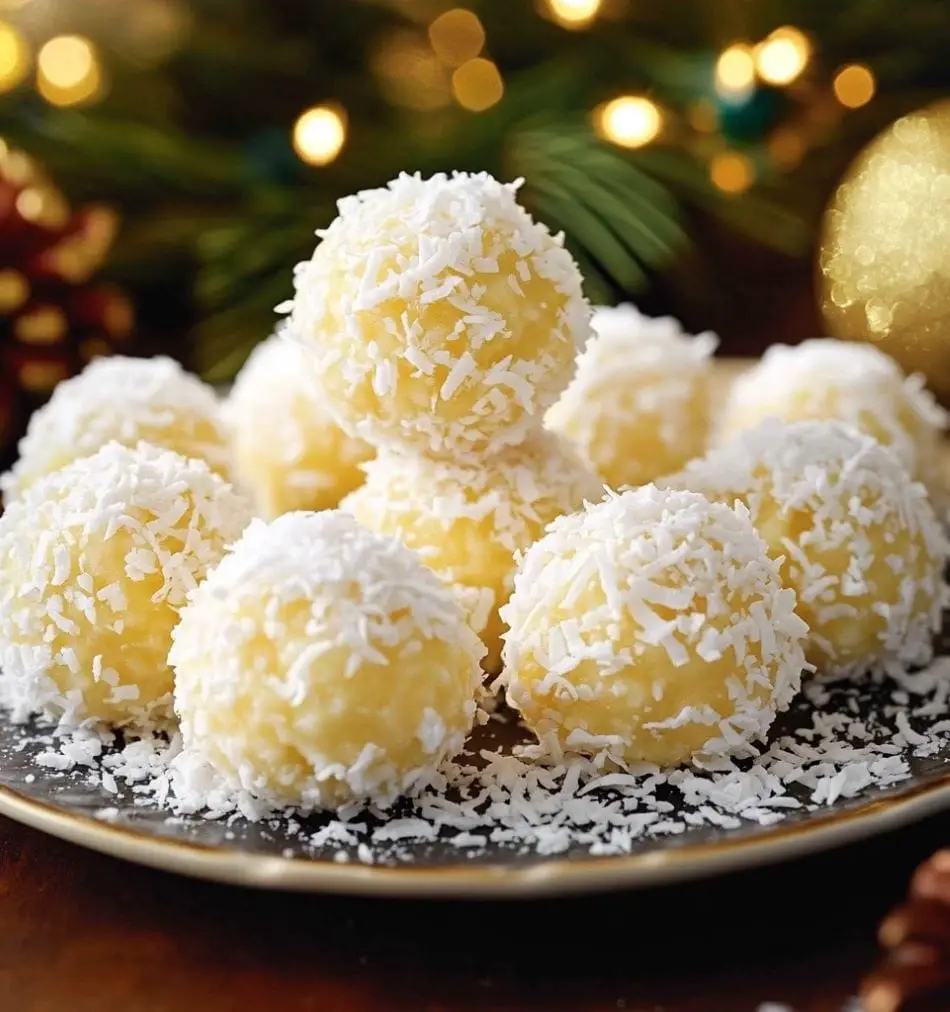
Granny Kat’s Delightful Pumpkin Roll Recipe
Introduction
If you’re on the hunt for a breathtaking dessert that will impress your family and friends during the holiday season, look no further than Granny Kat’s Pumpkin Roll. This timeless treat is ideal for those brisk fall evenings, festive winter celebrations, and, of course, the joyful Christmas gatherings. Picture a soft, tender pumpkin cake lovingly wrapped around a rich, creamy filling. It’s a delightful fusion of flavors and textures that makes for the perfect sweet ending to any meal. The amazing blend of warm spices and the creamy, sweet filling make each slice of this pumpkin roll a true testament to the joys of the season.
Ingredients
- 3/4 cup all-purpose flour
- 1 teaspoon baking powder
- 1 teaspoon baking soda
- 1/2 teaspoon salt
- 1 teaspoon cinnamon
- 1 teaspoon ground ginger
- 1/2 teaspoon nutmeg
- 4 large eggs
- 1 cup granulated sugar
- 1 cup canned pumpkin puree
- 1 teaspoon vanilla extract
- 1 8-ounce package of cream cheese, softened
- 1/2 cup powdered sugar
- 1/4 cup unsalted butter, softened
- Additional powdered sugar for dusting
Instructions
Step 1: Prepare the Pan
To begin your pumpkin roll journey, preheat your oven to 375°F (190°C). Next, take a 15×10-inch jelly roll pan and line it with parchment paper. This will prevent the cake from sticking and make it much easier to roll later on.
Step 2: Mix the Dry Ingredients
In a medium bowl, combine the all-purpose flour, baking powder, baking soda, salt, cinnamon, ginger, and nutmeg. Whisk these together until they are well-blended and set them aside for later.
Step 3: Beat the Eggs and Sugar
In a large mixing bowl, whisk the eggs and granulated sugar together until they become thick and light in color. This will take about 3-5 minutes. It’s important to beat this mixture thoroughly as it helps give the cake its delicate structure.
Step 4: Add Pumpkin and Vanilla
Next, carefully fold in the pumpkin puree and vanilla extract into the egg and sugar mixture until it’s well combined. It’s okay if the mixture looks slightly lumpy; just aim for an even distribution of the pumpkin.
Step 5: Combine Wet and Dry Ingredients
Gradually add the dry ingredient mixture to the wet mixture, gently folding until it is just combined. Over-mixing can result in a dense cake, so be gentle here.
Step 6: Bake the Cake
Pour the batter into your prepared jelly roll pan and spread it out evenly. Bake in your preheated oven for 13-15 minutes, or until the cake springs back when lightly touched. You want it to be fully baked but not overdone, so keep a close eye on it!
Step 7: Prepare for Rolling
As the cake bakes, lay a clean kitchen towel on your countertop and dust it generously with powdered sugar. This will make sure that when it’s time to roll, your cake won’t stick. Once the cake is done, take it out of the oven, and carefully flip it onto the towel. Gently peel away the parchment paper.
Step 8: Roll the Cake
Starting from one end, roll the cake up tightly in the kitchen towel. This step may seem tricky, but take your time, and it will work beautifully. Allow the cake to cool completely in this rolled-up position. This will help it retain its shape when you fill it.
Step 9: Make the Filling
To create the creamy filling, beat the softened cream cheese and unsalted butter together until they are smooth and fluffy. Gradually add the powdered sugar and beat until fully incorporated. You can adjust the sweetness here depending on your taste, so taste it as you mix!
Step 10: Fill the Cake
Once the cake is completely cool, gently unroll it and spread the cream cheese filling evenly over the surface. Be careful not to tear the cake; it’s okay if it feels a little fragile. Starting at one end, roll the cake back up without the towel this time, forming it into a lovely swirl.
Step 11: Chill and Serve
Wrap the rolled-up cake tightly in plastic wrap and refrigerate it for at least one hour to set the filling. Once chilled, you can slice it into beautiful rounds and dust the top with additional powdered sugar for that extra touch of elegance. Serve it up and watch as everyone falls in love with your homemade pumpkin roll!


