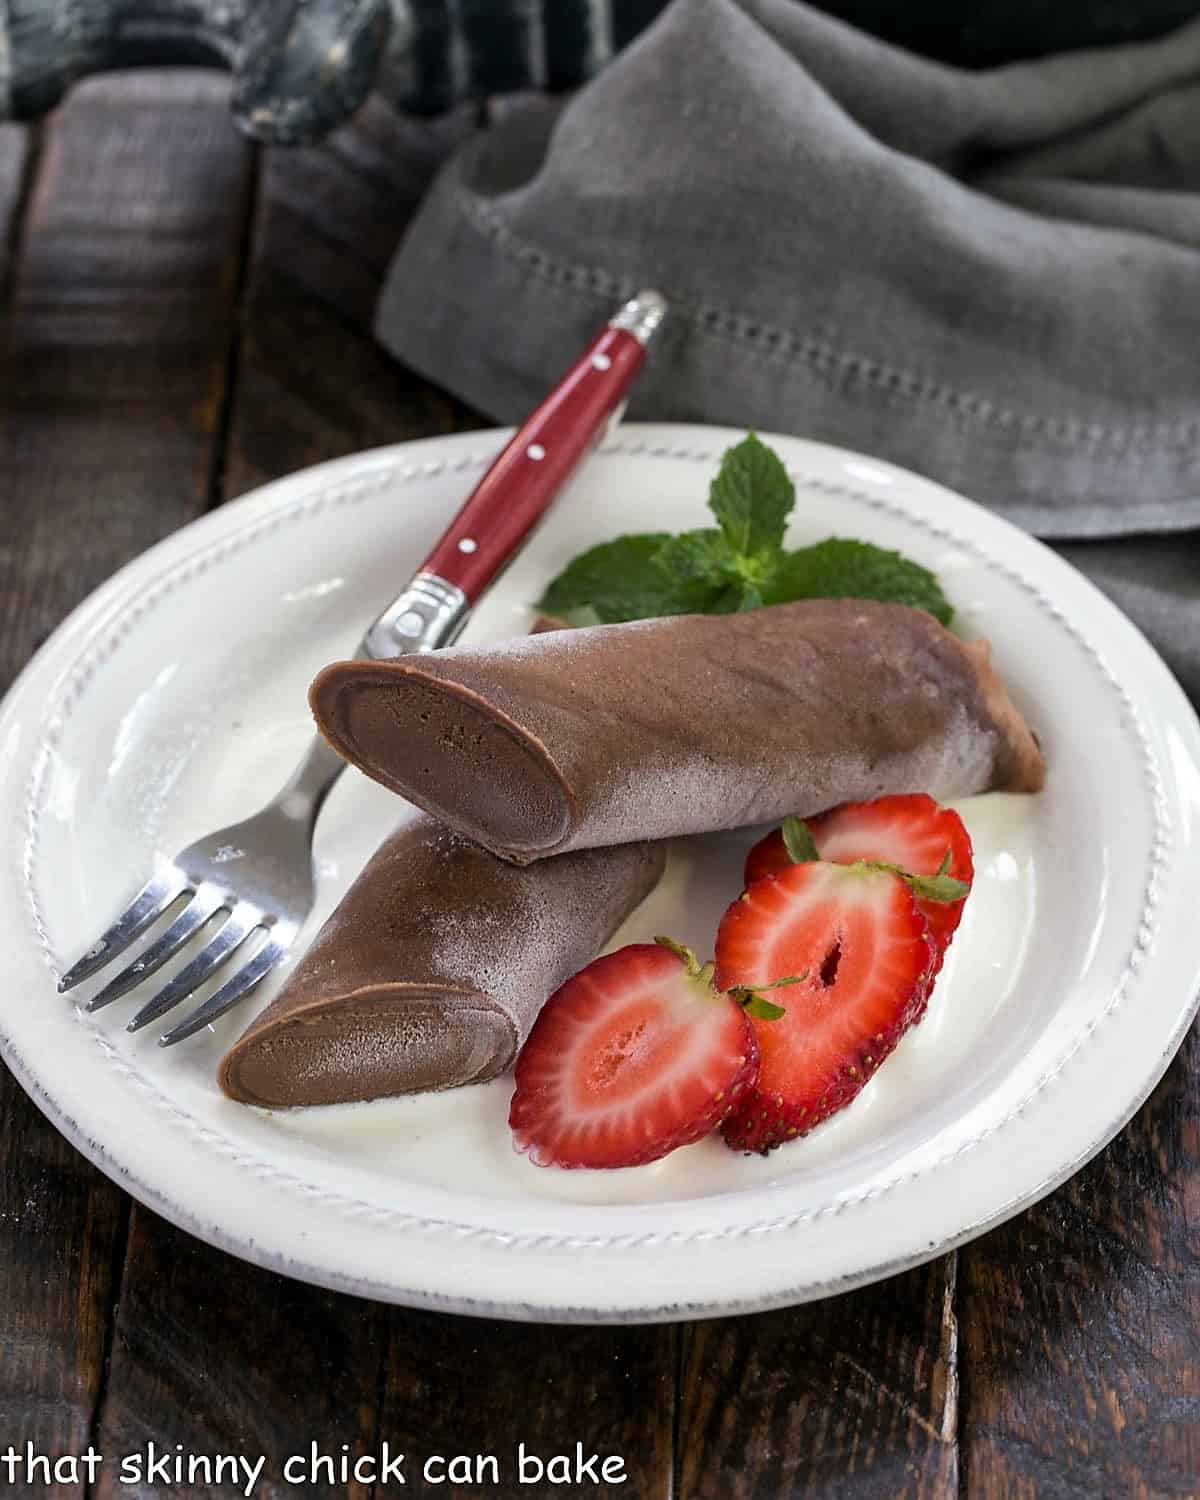
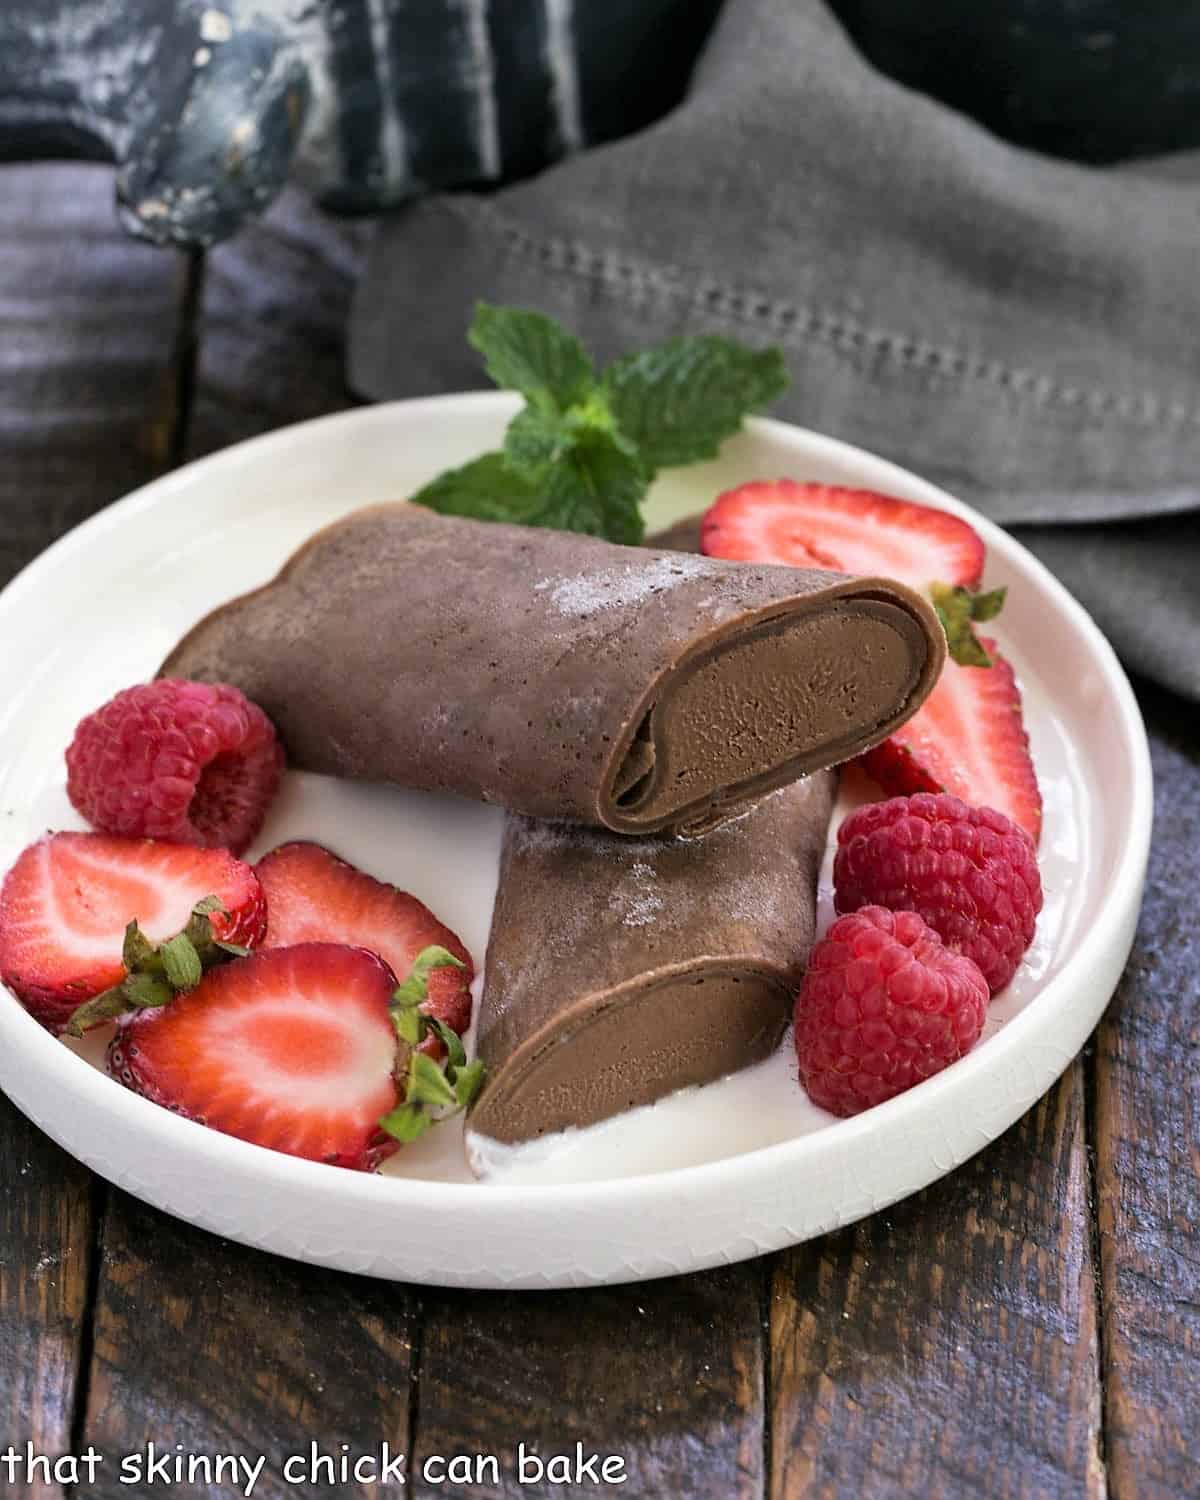
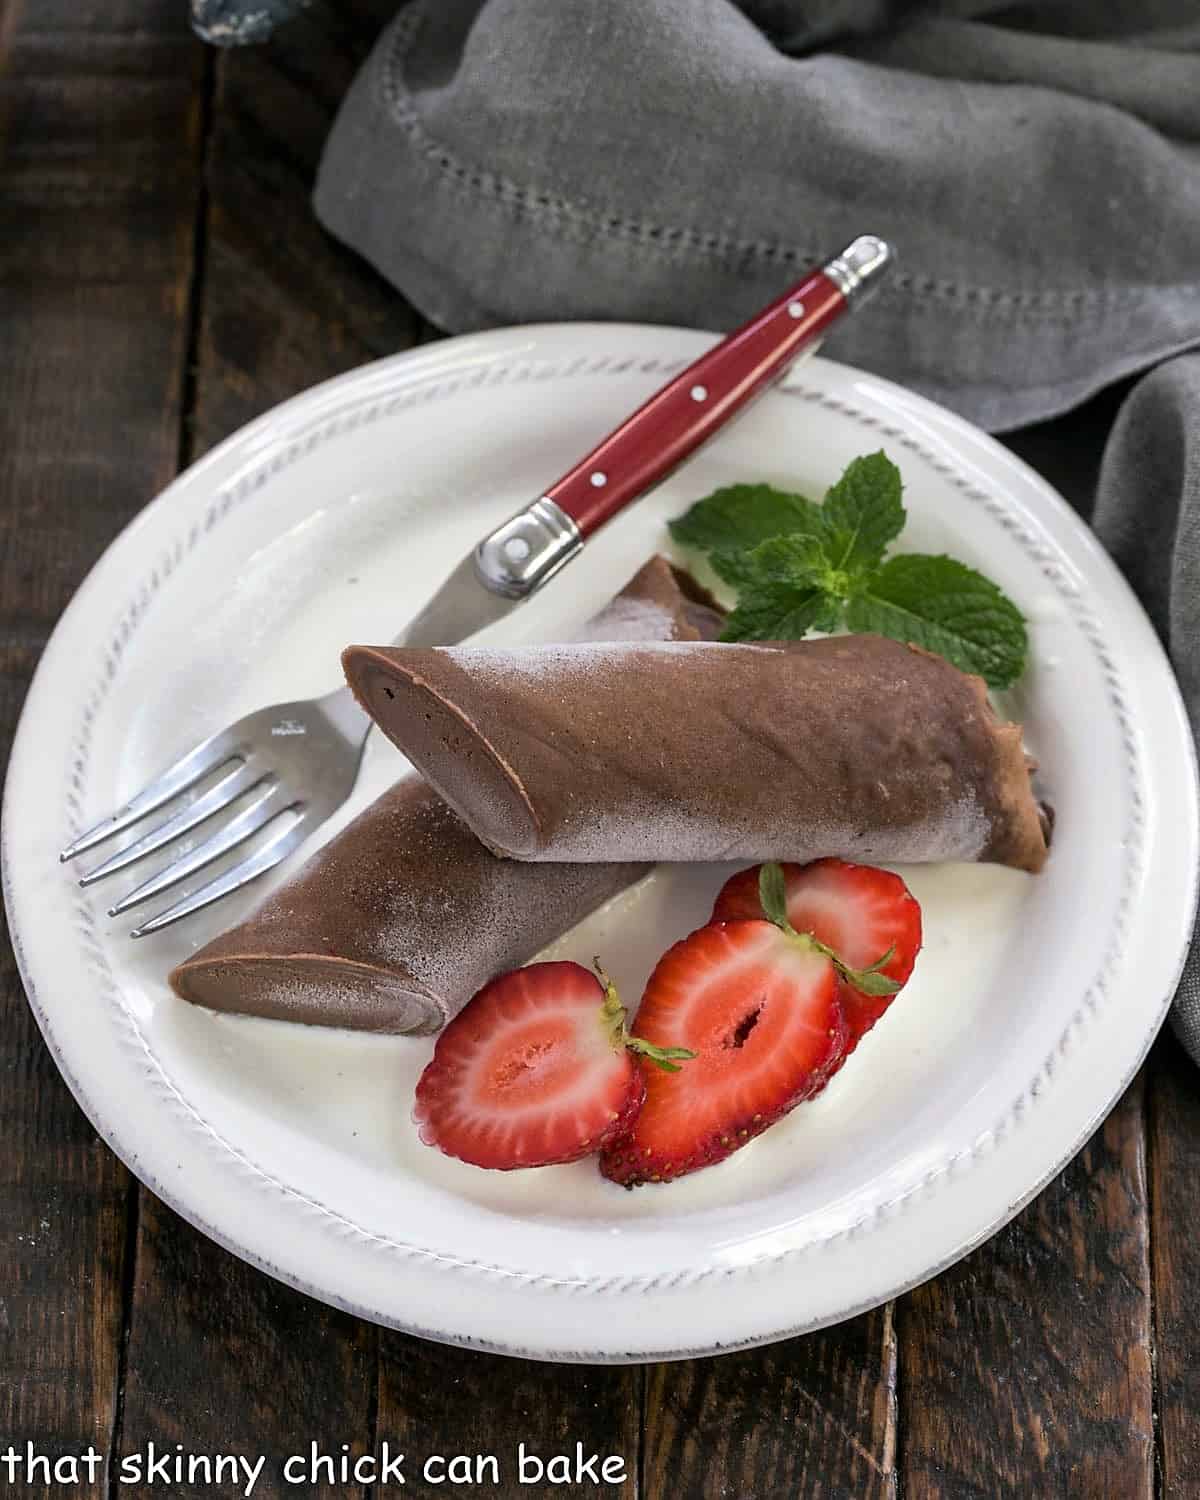
Frozen Chocolate Crêpes with Chocolate Mousse
Indulge in the decadent pleasure of Frozen Chocolate Crêpes, lovingly filled with rich chocolate mousse, making it an elegant dessert that every chocoholic will adore! As these delightful crepes are rolled around creamy mousse and delicately served over a luscious crème Anglaise, each bite promises to impress.
This Easy Chocolate Crêpes Recipe turns a simple dish into a memorable treat. If you’re new to the world of crêpes, this recipe is your golden ticket to mastering these delightful French pancakes right in your own kitchen!

Why You Must Make These Crêpes
- They’re an impressive treat that looks as good as it tastes.
- Enjoy the delightful fusion of cocoa crêpes and chocolate mousse—a heavenly match!
- Perfect for preparing in advance; simply store them in the freezer.
- No need to dread making crêpes; I conquered this challenge as a clumsy teenager, and so can you!
Memories of devouring crêpes filled with fruit and whipped cream on leisurely weekend mornings are dear to my heart. However, my husband favors thick, hearty pancakes. When I mentioned making crêpes, my youngest son raised an eyebrow, questioning, “Crêpes?” It was time to bridge this gap in culinary experience!

How to Make Frozen Chocolate Crêpes
- In a blender, combine the crêpe ingredients (except the melted butter) on low speed until fully blended. Set the batter aside to rest.
- PRO-Tip: Letting the batter rest for 30 minutes to an hour allows the flour to absorb the liquid fully, resulting in deliciously tender crêpes!
- Brush a non-stick pan with butter. When it begins to sizzle, pour in 3-4 tablespoons of the batter.
- Lift the pan off the heat and swirl it to coat the entire surface.
- Allow it to cook for about a minute, then flip to brown the other side.
- Don’t worry if the first crêpe is less than perfect; it’s a tester! You should yield about 12 crêpes, so one mishap is no big deal.
- Stack the successfully made crêpes on a plate while you finish the rest of the batter.
Recipe Tips
- Use your blender for a smooth batter—it’s quick and efficient!
- Let the batter rest! At least 30 minutes is required, but an hour is ideal for the best texture.
- While a dedicated crêpe pan is beneficial, a heavy-bottomed non-stick or cast-iron skillet will work just as well.
- Heat your pan on medium and adjust the temperature as necessary for even cooking.
- Generously butter the pan before making your first crêpe for added flavor and easy release.
- Experiment with the amount of batter; start with around 3 tablespoons and adjust as needed based on your pan size.
- Wait for the edges to dry and the top to appear matte before flipping your crêpes.
- Use a spatula to flip, but be brave—your fingers work too once you get the technique down!
- Once made, crêpes can be stacked without sticking. If storing in the fridge, separate layers with parchment paper to avoid sticking.

Frequently Asked Questions
Crêpes are the French version of pancakes, known for their light, paper-thin texture. They can be filled with a variety of sweet or savory ingredients, making them versatile for any meal of the day!
What Are Crêpes Made Of?
The basic ingredients for crêpes include eggs, flour, sugar, milk, vanilla, and melted butter. To make chocolate crêpes, simply add cocoa powder to the mix. For savory varieties, sugar and vanilla can be omitted.
Do You Need a Crêpe Pan to Make Crêpes?
No special equipment is required! You can use any heavy non-stick skillet to achieve perfect crêpes.
What Else Can You Put in Crêpes?
The possibilities are endless! For dessert crêpes, popular fillings include fruit, Nutella, and whipped cream. For savory options, consider combinations like smoked salmon with cream cheese or sautéed vegetables.
How Do You Store Crêpes?
For storage, layer crêpes between parchment paper and wrap them tightly in plastic wrap. They can be kept in the refrigerator for up to two days or frozen for up to a month.
You May Also Like:
Stay in touch via social media to discover more delicious recipes and tips! Follow us on Instagram, Facebook, and Pinterest for updates, and share your cooking experiences.


